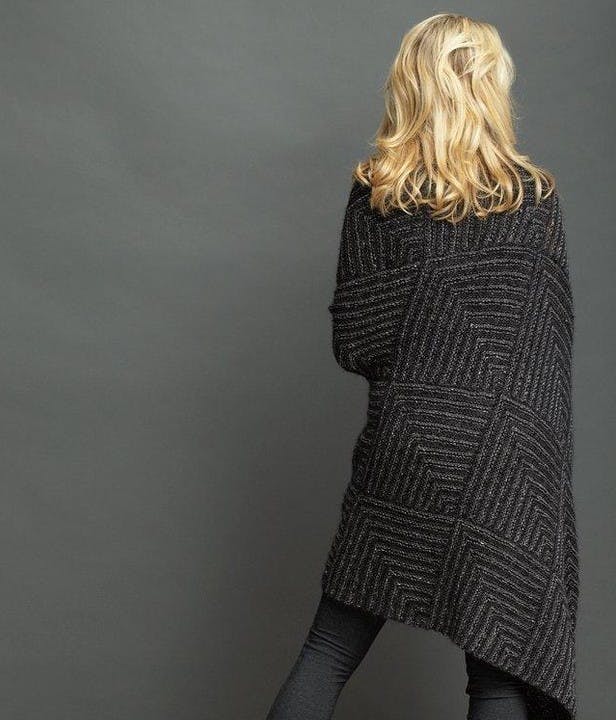
Make some mitred squares
Published on 25 June 2014 By Amy Kaspar 3 min read
Add another string to your crafty bow and learn the art of the mitred square. Once you've mastered these decreases, there'll be no stopping you!
Squares are very common in knitting; they are the perfect (literally!) shape for knitters because if they just want to cast on and knit until something is square, they can take the corner of the work and fold it up to the opposite corner of the work still on the needle. If the sides are the same size, bind off!
Mitred squares are even more perfect because they do the work for you. They are also an easy enough project for a beginner, but can be made interesting enough for even the most finicky of knitters. You cast on two of the four square sides, and strategic decreases cause the knitting to end at a point exactly opposite the middle of the cast-on row. Magic.
Ready? Sweet… you do not need many supplies. Grab a pair of needles, a ball of yarn, and only one stitch marker. There are other ways to make these squares, but let’s set the benchmark at beginner level and get more complicated later.
How to knit mitred squares
1
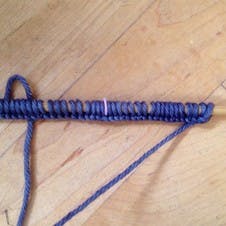
Getting started:
Cast on an even number of stitches
Place the marker at the exact halfway point of your cast-on.
(I used 36 stitches, so I have eighteen stitches on each side of my marker.)
Repeat the following two rows:
1. K to 2 sts before marker, k2tbl, slip marker, k2tog, k to end.
2. K all sts
When you have two stitches left, just turn your work around, knit those two together, and knot your tail through that last stitch to bind off. It really is that easy.
2
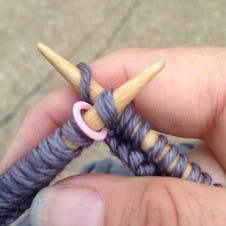
k2tbl and k2tog - the two stitches you need to know:
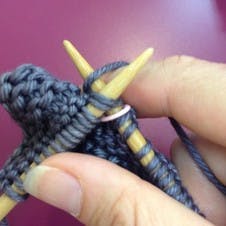
To k2tbl, or knit two stitches together through the back loop, insert your right hand needle into the back loops of both the first and second stitch on the left needle from right to left, and knit them together.
3
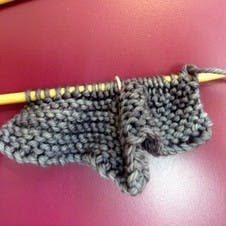
To k2tog, or knit two stitches together, insert your right hand needle as if to knit normally, through the second and first stitch on the left needle from left to right, and knit them together.
4
Why k2tbl and k2tog?
K2tbl causes a left-leaning decrease, and k2tog causes a right-leaning decrease.
With these decreases leaning toward each other, they aid in pulling the sides of the work together to form a point when you have only two stitches left. Also, since garter stitch is more, well… squat than stocking stitch, knitting on both sides will cause an almost perfect square.
Pro Tip
You may not have to block your squares at all! When sewing a bunch of them together, the weight of the other squares helps them to keep their square shape.
More knitting, less soaking.
Don't panic!
If you lose your place, either use your tail as your guide or look at your stitches.
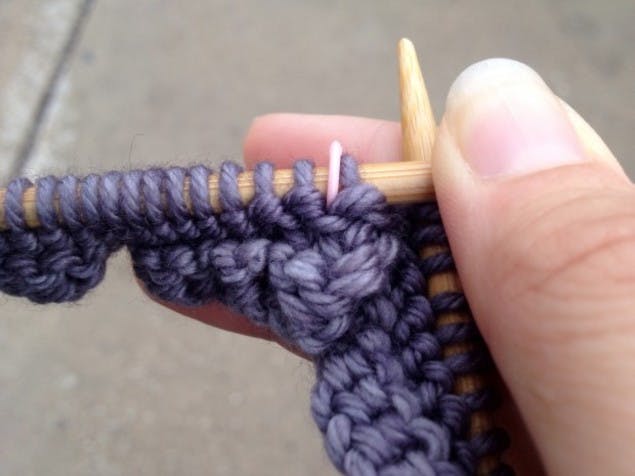
If you are facing two stitches next to the marker that have a slightly larger gap than the rest of your stitches, or you can see the two purl bumps sitting on the stitch facing you, then you know to knit back with no decreases.
The technical right side
While there is technically a right and wrong side, it ultimately does not matter.
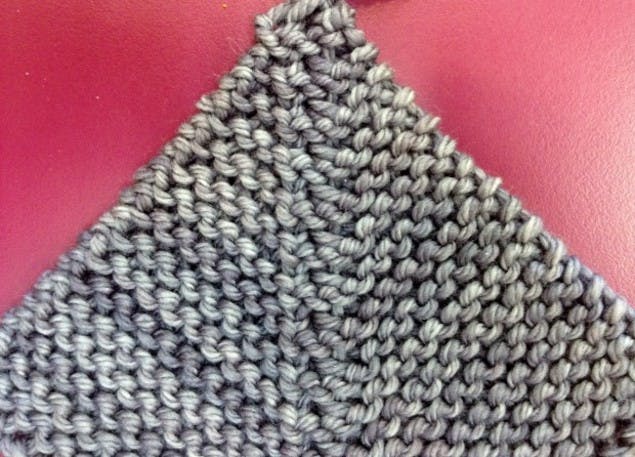
Garter stitch looks the same on both sides, so choose your favourite look where the decreases occur.
This is what the technical right side looks like.
Knitting different sizes
A finished mitred square is whatever size you want to make it.
Your cast-on edge indicates both the height and the width of your finished square, since the row takes up two sides of the square. If you want a seven-inch square, cast on enough for fourteen inches worth of stitches, or twice as many as your stitch gauge.
“Why would I want to knit another square?” you ask? Here’s why. If you do not know what to do with variegated yarn, leftover sock yarn, or remnants of two balls of yarn, you can do fun things like this!
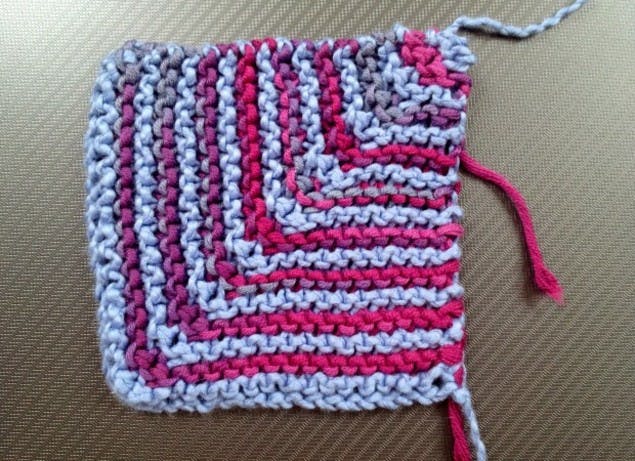
This is two worsted cottons, one solid and one variegated, striped by alternating two rows of each colour. You can certainly use this pattern to make afghan squares and dishcloths, since they are both square, but you can seam them together (or, if you are feeling super-adventurous, pick up stitches on two sides of already-made squares) to make all sorts of items;
Make a dozen of them and sew them together for a scarf.
Make two eighteen-inch squares, seam them on one side, fold it in half, and seam sleeves to make a shrug.
Make two of the same size and sew three sides together for a handbag.
Make six and seam all sides together like a cube, stuff it with toy stuffing, and make a colourful children’s toy.
Make a super-giant square and call it a baby blanket.
Mitred squares are just another new way to make a building block for something else. Once you learn the technique, look at your stash and let the creative juices flow." - Amy Kaspar

