How to make beeswax wraps at home
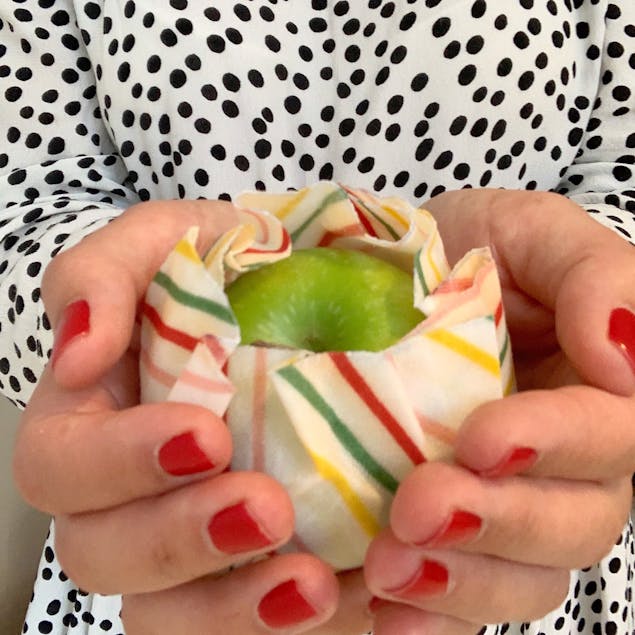
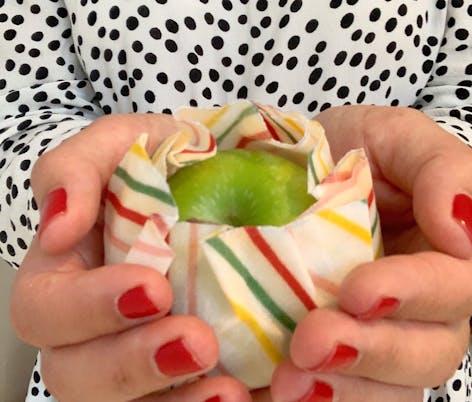
Published on 27 April 2021 By Sarah JonesLooking to ditch the plastic wrap? Beeswax wraps are a super sustainable alternative to wrap up your lunch and reuse them tomorrow! Jane from Tea and Crafting shows you how to make DIY beeswax wraps in a few easy steps. The ideal make for back to school season - personalise the wraps with fun cotton fabrics the kids will love. Grab the supplies, and give this a go yourself!
Materials
- Parchment paper
- Beeswax pellets (cosmetic grade)
- Paintbrush or pastry brush
- Cotton fabric
Fun fabric options for your wraps
Steps to make your own beeswax wraps
1. Cut your fabric
Cut your fabric to the desired size and shape. Perhaps a simple square or a circle to cover your fruit? If you're working with fat quarters, you can skip this step if you wish!
2. Melt the wax
Heat your oven to 150 Celsius. Place parchment paper onto a baking tray and place your fabric on to of the paper. Distribute the pellets over the cut fabric, paying attention to the edges.
Place in the over for around 5 minutes or until the beeswax is fully melting. Take out the oven once it has fully melted.
Pro Tip
Keep a close eye on the beeswax so it doesn't burn!
3. Spread the beeswax
Once melted, using your brush, make sure the wax is evenly distributed across the fabric and any excess wax is brushed away off the edge. If you notice some of the edges haven't got wax just place some more pellets around the edges and place it back in the oven.
4. Leave to dry
Let it dry on the parchment paper. This only takes a few minutes and then it's read to use!
And you're done! Such a simple make to create a sustainable change to your day. Have fun with this fabtastic make and customise with different size wraps and shapes to cover all your pots.
