How to sew a button for beginner sewists
Published on 12 August 2019 By EmmaHand sewing buttons is such a simple technique, even if you’re a beginner, and a skill you can use time and time again. Yet, knowing how to sew on a button the right way is important, if you want them to stay on! We’re going to share our little tricks with you, with this easy, step-by-step guide to sewing on a button.
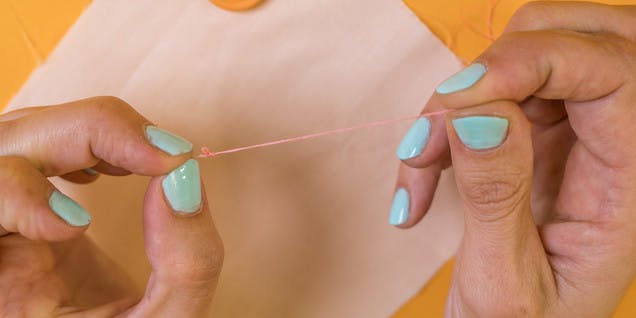
1: Thread your needle
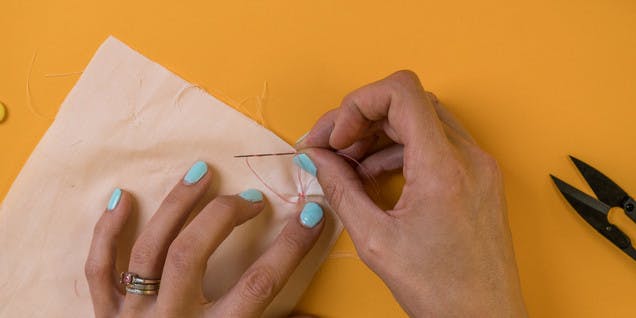
Draw the thread all the way through until both ends meet and tie in a knot. This will make your thread doubly strong.
2: Attach button
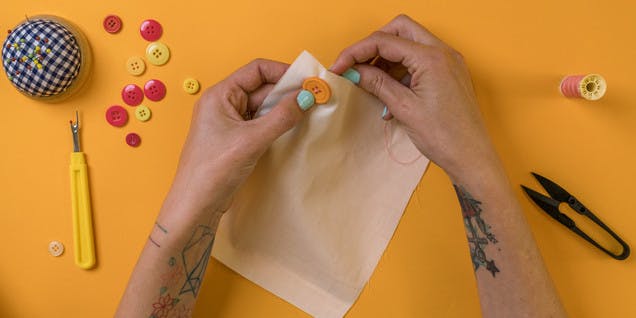
Hold the button in place, insert the needle into the back of the fabric, and draw up through one of the buttonholes.
3: Make some space
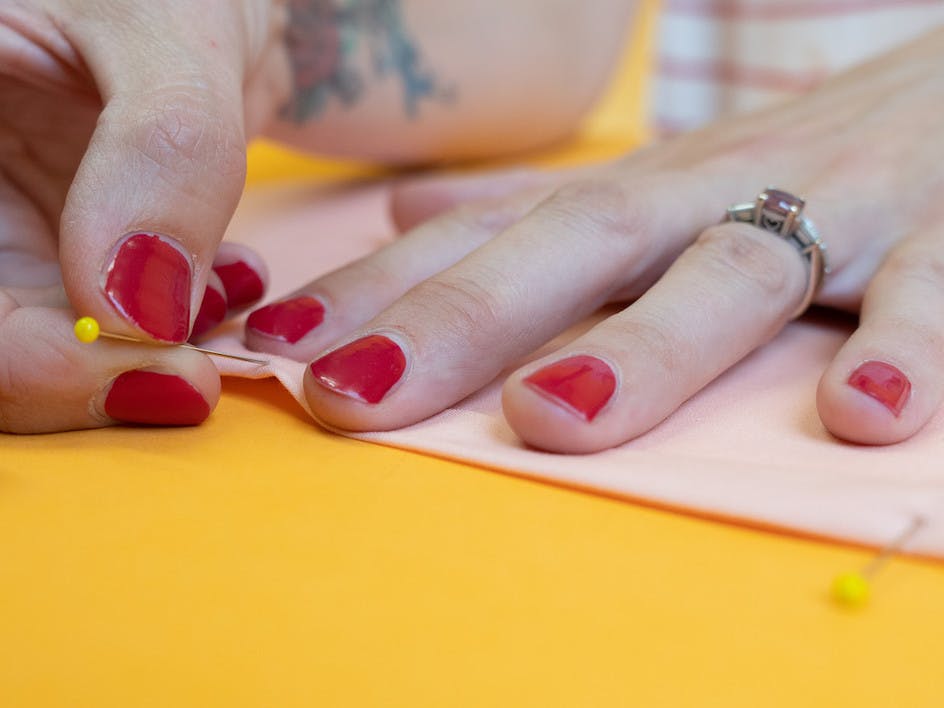
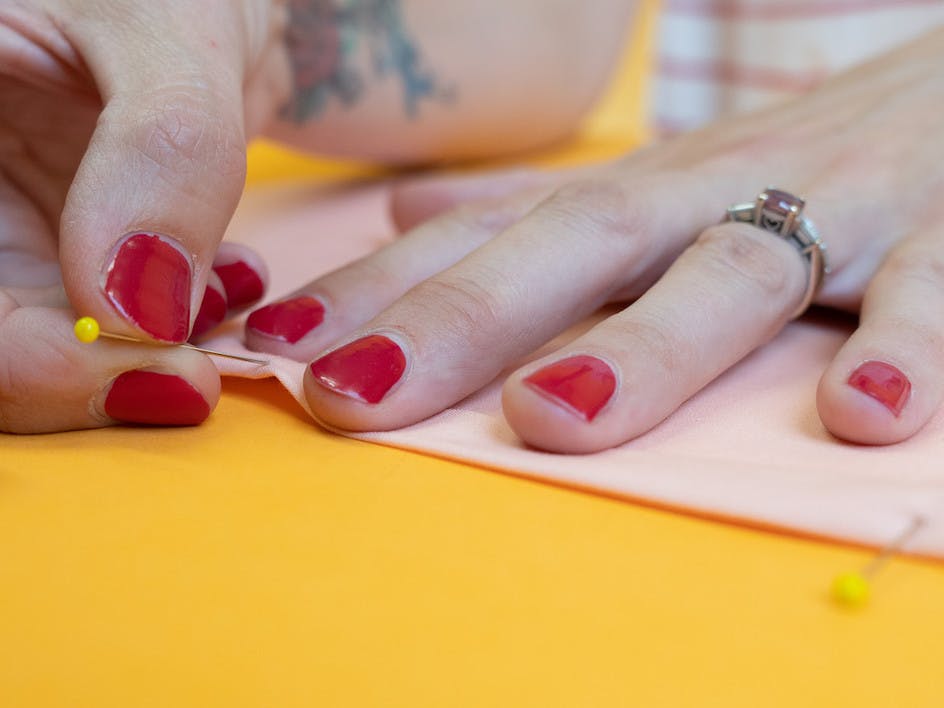
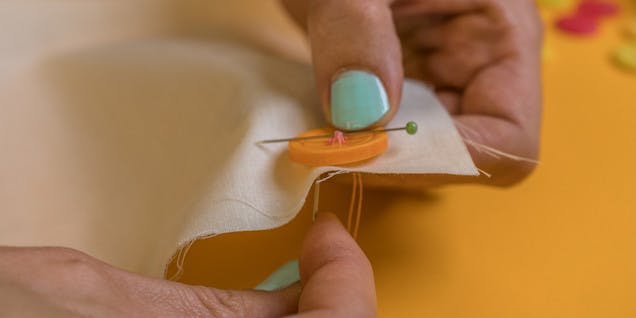
Hold a pin across the top of the button and secure in place with a stitch. You don’t have to do this, but it creates a bit of give in the thread to allow you to get it through the buttonhole nice and easily.
4: Sew
Pass the needle through the fabric and back through the buttons holes eight times.
5: Strengthen button
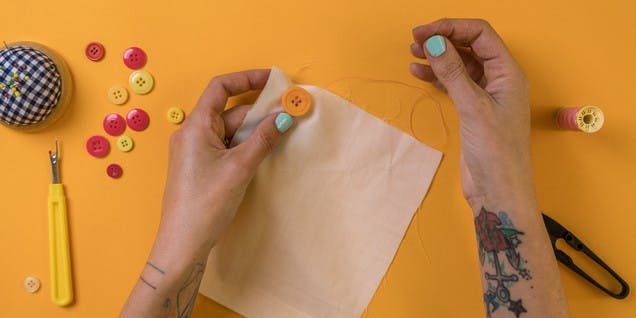
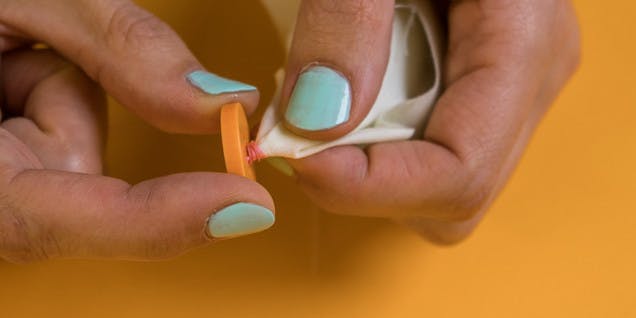
Insert the needle into the fabric and bring it out just behind the button. Now wrap the thread around the stitches eight times.
6: Fasten off
Bring the needle back to the back of the fabric and tie off.
