Crochet a Colour Block blanket with Kate Eastwood
Published on 25 April 2019 By Merion 1 min read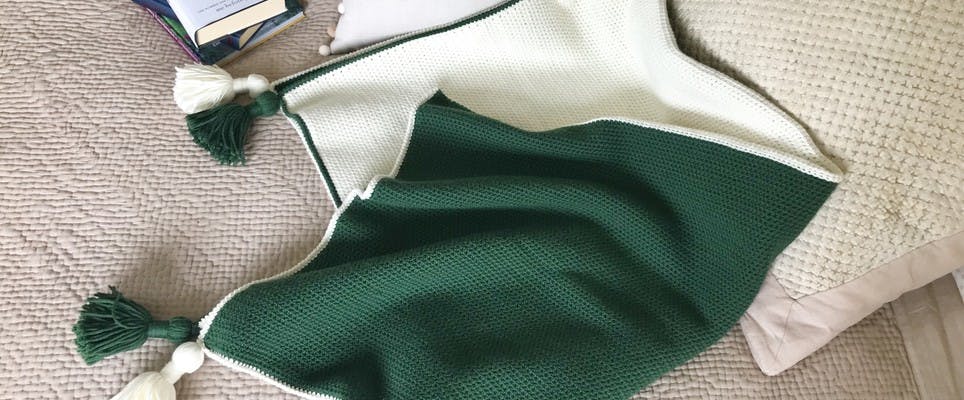
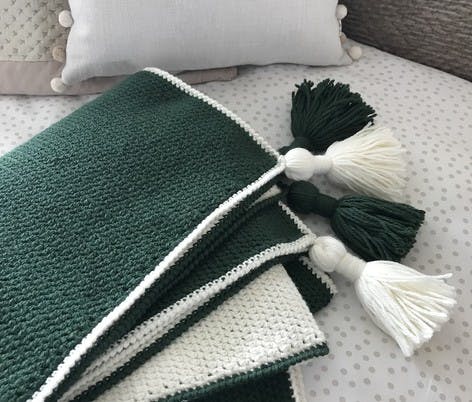
Sometimes less is very definitely more, and that is certainly the case with this beautifully simple crochet colour block blanket. Worked in just two contrasting colours the crisp lines and giant tassels give a contemporary look, perfect for any living room or bedroom. Kate Eastwood's easy-to-follow tutorial makes a great first blanket project for beginners!
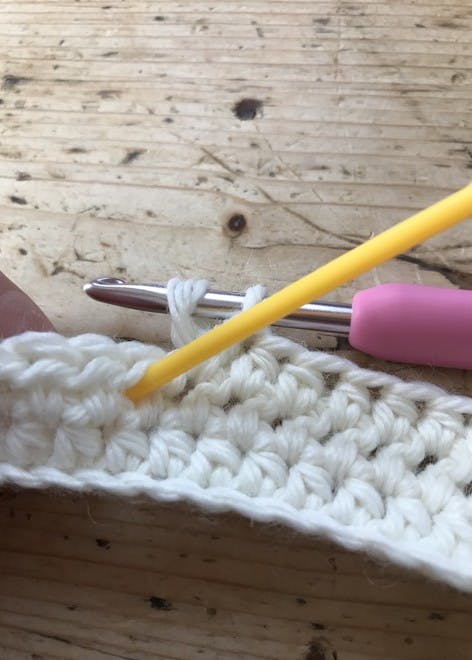
The finished blanket measures approx. L 138cm x W 124cm.
The blanket is worked in half treble crochet (htr UK) throughout, with the edging rounds worked in double crochet (dc UK) and rope stitch. Rope stitch is simply a round of double crochet UK, worked from left to right, rather than the usual way of right to left.
To create a slightly different texture to a regular htr, I worked mine slightly differently. Instead of working into the stitch, I worked into the space below, and this gives a denser finish - but you can work yours into the stitch or space, either is fine.
For my blanket I used 20 x balls of Paintbox Yarns Wool Mix Aran: 10 x balls in Racing Green (827) and 10 x balls in Champagne White, working with a 4.5mm hook using UK crochet terms. If you prefer acrylic yarn with no wool content, you can switch to Paintbox Yarns Simply Aran.
Materials
- Paintbox Yarns Wool Mix Aran
- KnitPro Waves Crochet Hook
1
To begin: Using the Champagne White work a chain of 181. Starting in the second chain from the hook work a row of htr. At the end of the row chain 1 and turn.
2
Row 2: Work a row of htr, at the end of the row chain 1 and turn.
Continue working rows 1 and 2 until the Champagne White section measures 68cm. Finish off the Champagne White at the end of the row.
3
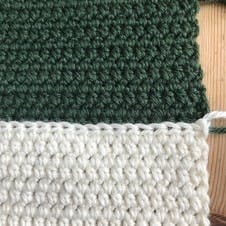
Changing colour: With the right side of the blanket facing you, join in the Racing Green with a chain into the first stitch at the right hand side of the blanket. Now, working in to the back loop only work your first htr in to this same first stitch. Work the rest of the row in to the back loops only. This will give you a clean, straight line where the two colours join. At the end of the row chain 1 and turn.
4
Continue: Working in to both loops again as usual, continue working rows of htr, chaining one and turning at the end of each row, until the green part of the blanket also measures 68cm. Finish off at the end of the row.
5
Edging round 1: With the right side of the blanket facing you, work an edge of dc in the same colour along each of the three edges on both the Champagne White and Racing Green sections. Work 2 to 3 dc in to each corner stitch to keep the shape. Finish off.
6
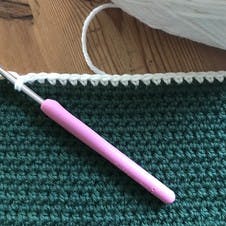
Edging round 2: With the right side of the blanket facing you, work an edge of dc in the contrasting colour along each of the three edges on both parts of the blanket.
7
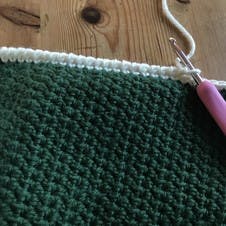
Edging round 3: With the right side of the blanket facing you, work an edge of rope stitch in the contrasting colour along each of the three edges on both parts of the blanket. Finish off the ends at the end of the round.
8

To make the tassels: Find a book or a piece of cardboard to wind the wool around to make your tassel. The length of the book/card will be the finished length of your tassel. For my blanket I used a book that was 14cm long.
9
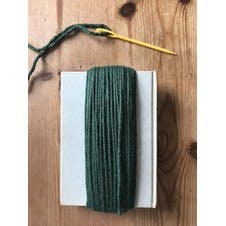
Wrap the yarn round and round the book/card until you have the thickness that you would like for the tassel. For my tassels I wrapped the yarn round 100 times.Thread a large needle with a length ( approx. 40cm long) of matching yarn and thread it under the loops at one end. Tie this very securely to hold all the loops of yarn in place.
10
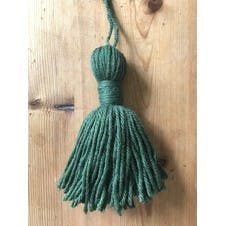
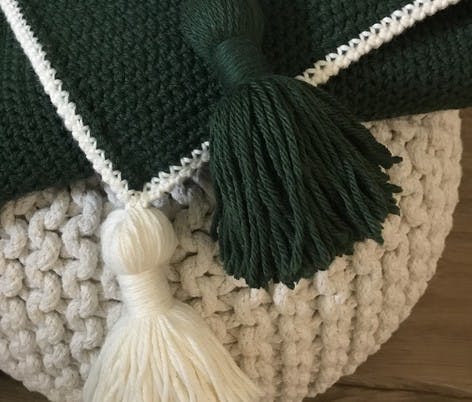
Use a pair of scissors to snip carefully along the bottom of the loops. Using the same colour yarn tightly hold the strands of yarn in place by wrapping round and round several times at the top of the tassel as shown. For my tassels I cut a length of yarn 2m long and had it ready to wrap around. Finish off the wrapped yarn by sewing the end in securely.
11
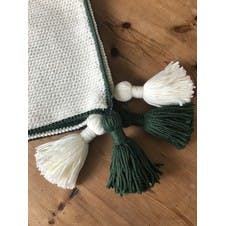
Attach: Using the yarn tie at the top of each tassel attach each tassel to one of the corners of the blanket.
