Make a unique constellation birthday card - free tutorial!
Published on 20 April 2020 By Holly Butteriss 1 min read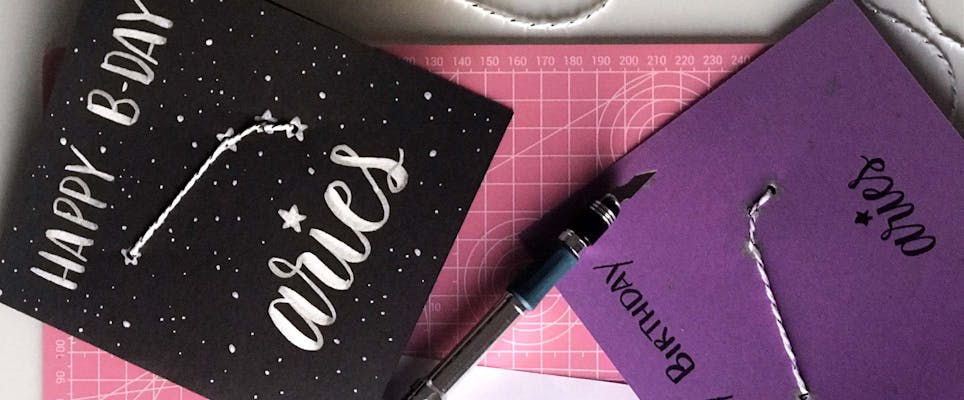
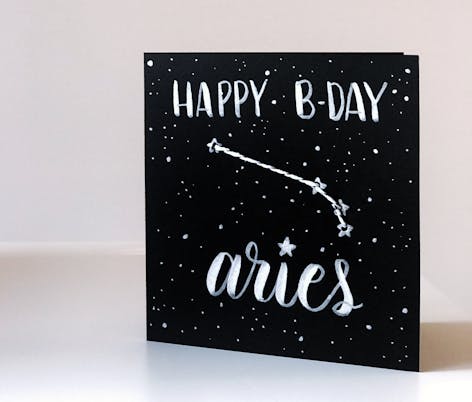
The girls behind The Craft Aisle, Sonia and Caverleigh, are multi-craft marvels and DIY divas! On a mission to make the world a more crafty place, Sonia and Caverleigh have put together this absolutely out of this world constellation card tutorial, perfect for a quick DIY birthday card with an extra personal touch!
Astrology is all around us these days! From horoscopes to home decor we are surrounded by stars.
Learn how to personalise a card with a string art constellation! This DIY Constellation Card is a fun way to add a personal touch to a gift for an Aries, Pisces and all signs in between.
If the planets align, the future will hold star sign cards for all.
Materials
- 1 sheet of cardstock
- Ruler
- Scoring knife
- Scoring mat
- Scissors
- Metallic markers
- Tapestry needle
- Thread
1
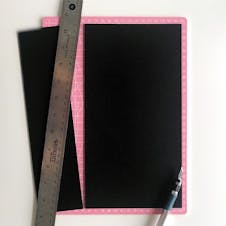
Start with 1 sheet of cardstock. Cut to your desired card size. From a 8.5”x11” sheet, we cut off about 3in. to make a square-shaped card.
2
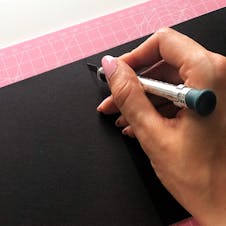
Fold in half down the centre. We lightly scored a line down the centre with a scoring knife to make it easier to fold.
3
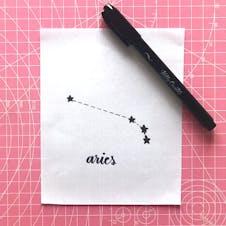
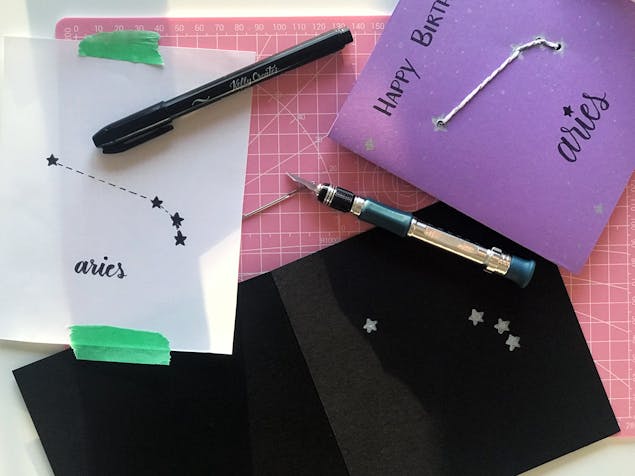
Choose the constellation pattern you’d like to have on the front of the card. We chose Aries for a friend’s birthday!
4
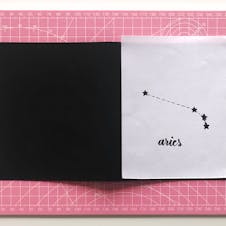
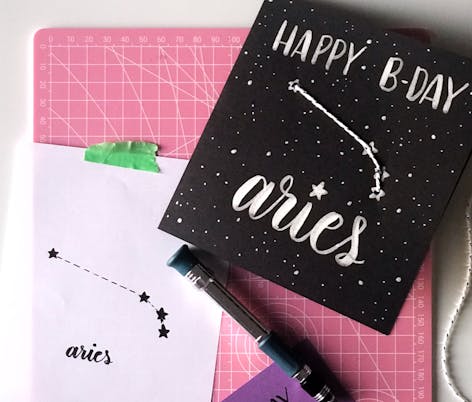
Next we will draw the main star points of the constellation onto the card. No need to draw the lines in between the stars (those lines will be made with string)!
If you’re comfortable, you can freehand the constellation onto the front of the card. Otherwise, feel free to print it out and trace it onto the front.
5
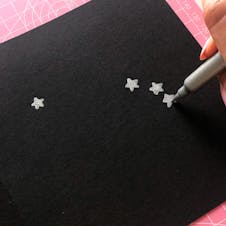
Get creative and draw larger stars over the star points. Silver metallic markers work well for this!
6
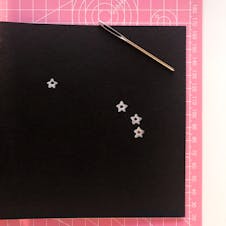
Using a tapestry needle, carefully, poke through the card at the main star points. Make sure you only go through the front of the card!
7
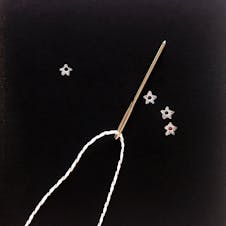
Next up, thread the needle with string and tie the end with a knot. We used white string interwoven with metallic silver to give it an extra sparkle.
8
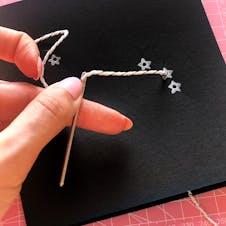
Starting from inside the card, thread the string through the first star point. Weave the string in and out through the other star points to create lines between them, creating the constellation shape.
9

Once all the star points are connected with string, secure the string with a knot. Note: If you can, try to end by threading the string towards the interior of the card so you won’t see the knot from the front.
10
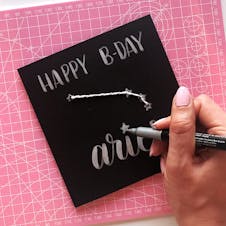
Your constellation card isn’t complete without a few more stars! Fill up the front of the card with all sizes of stars, as well as a message for the lucky recipient!
