How to make a knitted or crochet poppy wreath
Published on 1 February 2022 1 min read
Why not make a knitted or crochet poppy for Remembrance Day? For those that want to get creative with their poppies this year, we have created a step by step guide on how to create a wreath out of your poppies. You can do this using a glue gun, but if preferred, you could do this as an embroidery method.
Materials
- A twig wreath base
- Loose knitted or crochet poppies
- Stick It Hot Melt Cordless Glue Gun (Includes 3 Glue Sticks)
- Craft wire
The very first step for this project is to knit or crochet the remembrance poppies. These couldn't be quicker or easier to make, so whether you put a couple on your wreath or completely cover it – it won't take long to achieve.
Remembrance poppy patterns
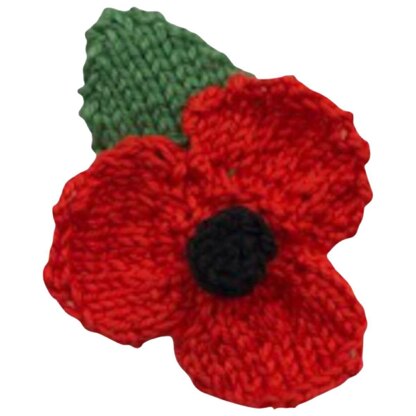
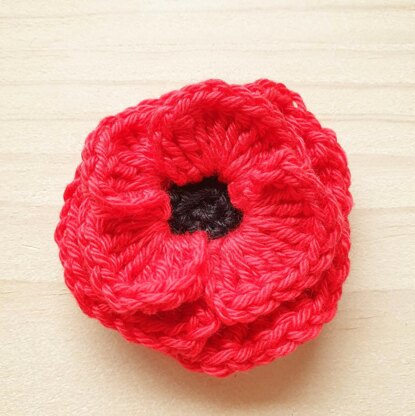
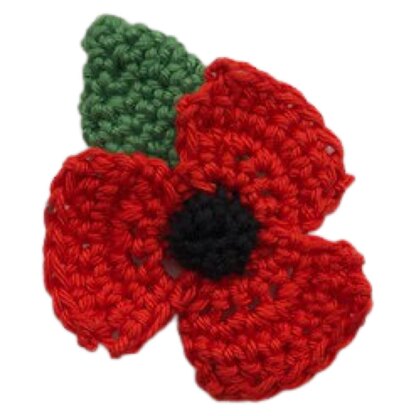
How to make a rememberance poppy wreath
1
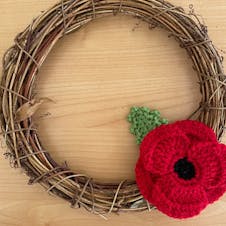
Arrange the poppy where you would like it to sit on the wreath, ideally positioning the leaf at 11 o'clock and glue into place using the hot glue gun.
2
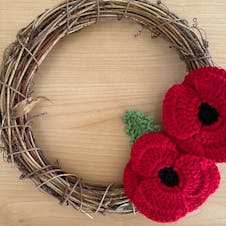
Next, add your 2nd poppy onto the wreath and glue down.
3

Add your final poppy if desired and glue down, or continue this step if you would like a wreath full of poppies.
4
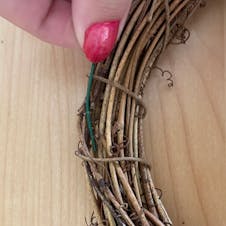
Take your wire and begin to thread it through the wooden wreath.
5

Loop the wire through the wooden wreath and curve back up.
6
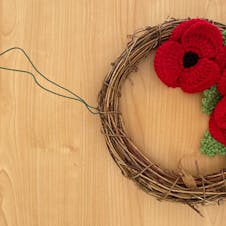
Adjust the wire through the loop until it's at your desired length. Then twizzle the ends together to allow you to pin it to a door.