Make playful pom pom bunnies
Published on 15 April 2019 2 min read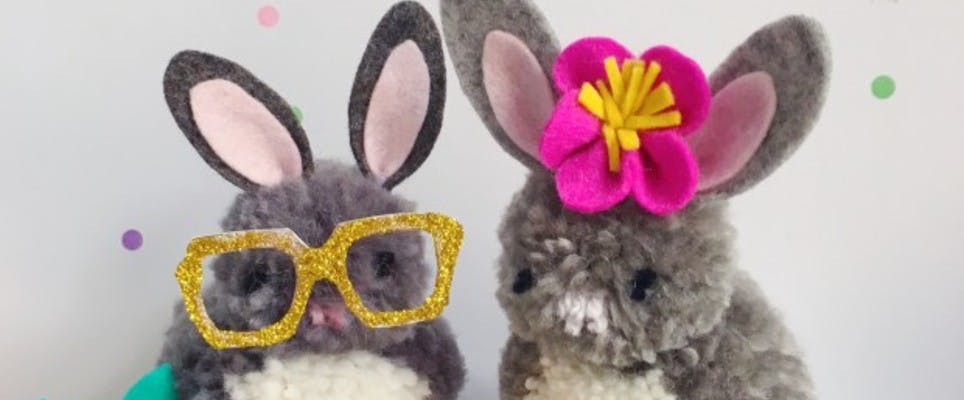
Super cute and cuddly bunnies + perfect little pom poms = a match made in heaven! Here Christine Leech, a blogger and expert pom pom crafter from Sew Yeah, shows you how to make a warrenful of bouncing bunnies. The perfect project for Easter!
How cute are these bunnies? These little fluffy wonders can be that quick to make and they are too sweet to not share with you all too! Once you’ve made the basic bunny, then you just have to go to town on the decoration – fabulous felt flowers and gold glitter glasses (Gucci-inspired no less) mean these bunnies are the ones to beat in any Easter Parade.
Materials
- Pom pom maker set
- Small amount of gray and pink felt
- Small amount of fabric glue
- Sharp scissors
- Ball of yarn in grey and white
- Length of black yarn
- Glue gun
How to make the bunny’s head
1
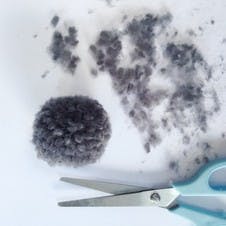
Make a grey pom pom using the smallest pom pom maker.
2
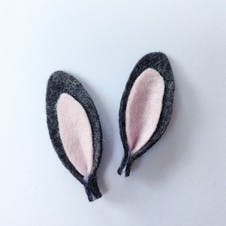
Cut two ear shapes from gray felt. My bunnies have average length ears of about 5cm long and 1½cm wide. Then cut two pieces of pink felt to use as the inner ears, and use fabric glue to stick the pieces together. For a more 3D look, add a blob of glue at the base of each ear and pinch together till dry.
How to make the bunny’s body
1
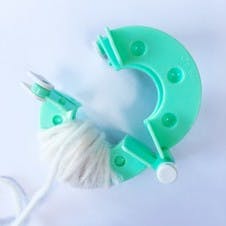
Use the second largest pom pom maker to make the bunny’s body. To make his white tummy, begin by wrapping white wool around one half of the maker. Wind about 20 wraps of wool between the two outer dimples. Continue wrapping wool between these two points but gradually decrease the wraps so you begin to form a triangle wedge shape with the wool.
2
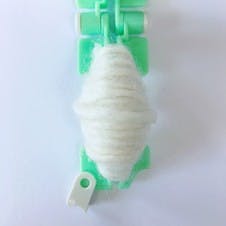
Use about another 30 wraps to form a wedge. It should look something like this when you have finished.
3
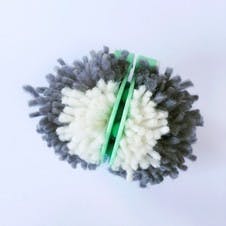
Finish off this half of the pom pom maker with grey wool. Then use the grey wool to fill the other half. Complete the pom pom and remove from the maker. You will hopefully see a big white circle on one half of the pom pom.
4

Trim the pom pom so the tummy circle becomes more defined. Also trim the bottom of the pom pom so it’s flat and can stand up by itself.
5
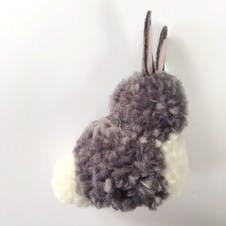
Make a small white pom pom for the tail and trim it down to smaller than the bunny’s head. Use a glue gun to fix the tail and head to the body, then glue the ears in place.
How to make the bunny’s eyes and nose
1
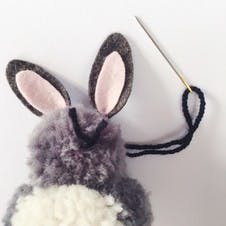
Thread a length of black wool onto a needle making sure both lengths of wool are equal. Push the needle through the bunny’s head where you would like an eye. Trim the wool very short at the back so you can’t see it and trim the wool at the front flush with the grey wool so it looks like a little eye. Repeat for his other eye.
2
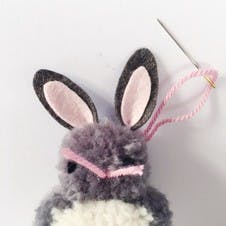
Make a nose in a similar way – three or four strands of pink wool will be enough.
3
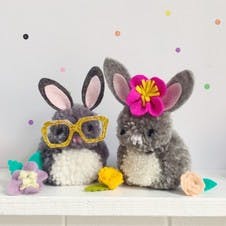
Finish your bunny off with jazzy accessories – some glasses, an Easter bonnet or just a simple bow round the neck!
Hoppity hop! You’ve just made your first bunny. Why not make a whole army of the little pom pom cuties as a bonus find on an Easter egg hunt, or use them as table decorations at Easter time?
Bonus pom pom Easter egg
Don’t stop pom pom making when the bunnies are overflowing! These pom pom Easter eggs are super simple to make. They start off as a basic pom pom but with a little extra time taken on the trimming you end up with a cute alternative for Easter egg hunts and table settings.
How to make a pom pom Easter egg
1
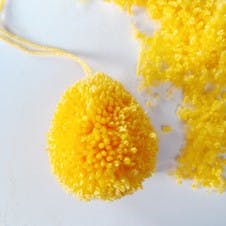
Make a pom pom and remove it from the maker. Use scissors to trim it into an egg shape. Start by holding the pom pom by the long strands of wool and trim one side into a more oval shape, keeping it wider at the bottom getting narrower towards the long strands. When you have cut one guide line on one side continue around the pom pom trimming in a similar way.
Pro Tip
Make speckled eggs by winding two or three colours at the same time to make a multicoloured pom pom.
2
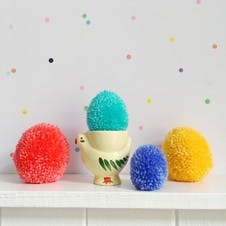
Keep trimming until the egg shape becomes obvious. Brush the wool of the pom pom back and forth to make all the stray bits stick out, then trim them off! Try not to get carried away trimming your egg shapes – you can waste half a pom pom striving for perfection!
Pro Tip
Use the long strands of wool you used to tie the pom pom together to hang your finished egg on an easter tree.
Want more inspiration for pom pom making? Feel like knitting more for Easter? We’ve got heaps of patterns and tutorials for you to try!


