Embroidered photo decorations - free tutorial!
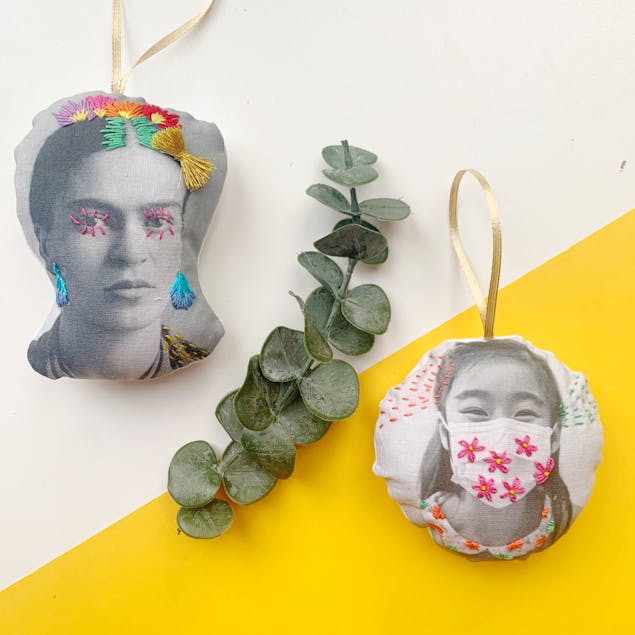
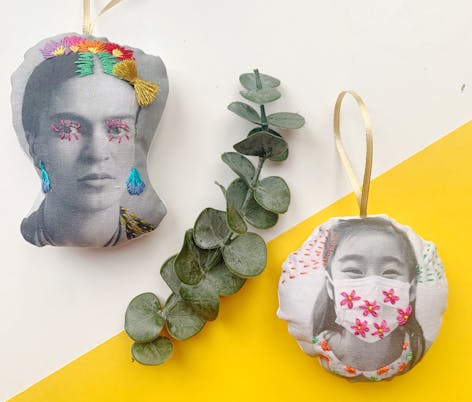
Published on 16 November 2020 1 min readJane from Tea and Crafting is a super passionate maker who has tried her hand at just about everything! These embroidered photo decorations are absolutely adorable and make perfect gifts. Make one for everyone in the family and get creative with embellishments and embroidery in this tutorial.
Follow along with this tutorial in a live workshop with Jane on December 8th!
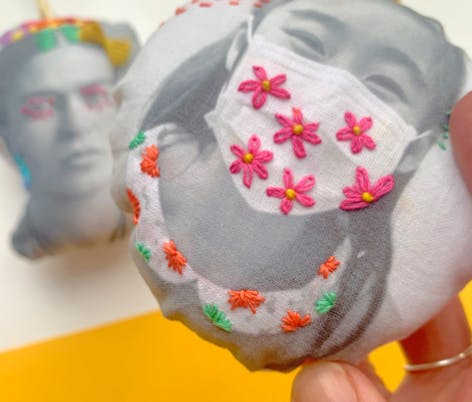
Materials
- embroidery hoop
- white cotton fabric
- embroidery floss
- Freezer paper
- Ribbon
- Needle
- Thread
- Sewing machine (optional!)
- Stuffing
1
Get an A4 size sheet of paper and cut out the exact same size of fabric.
2
Place fabric on top of the shiny side of the freezer paper and iron the fabric onto your freezer paper. The shiny side gets tacky when heat is applied and it will adhere to the fabric well enough to go through a printer and then peel off.
3
Scan your photos and copy and paste it into a document.
4
Print your scanned photos onto your fabric.
I just placed my fabric paper into my printing tray and printed as normal. This will only work with inkjet printers and does not work in a laser printer. I printed two photos onto one sheet to save on fabric and freezer paper.
5
Gather your floss and get ready to stitch!
Pro Tip
If you like to embroider with a hoop, I recommend using a 4 inch hoop. I use a mixture of hoop embroidery and embroidering without one where needed.
1
Use straight stitches in both designs to create flowery patterns and then a daisy stitch for the little girl’s mask. Add detail wherever you like!
2
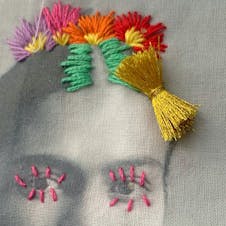
I made this little gold pom pom like a hair adornment by wrapping thread around two fingers, tying it in the middle and then cutting the edges.
3
Fill in white spaces with sashiko style stitching.
4
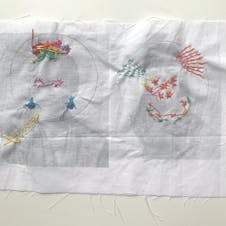
You’re now ready to cut your decorations and start sewing! I like to draw my shape on the back of the fabric to use as a guide for cutting. Remember to add a seam allowance for sewing.
5
Cut a second set of identical fabric shapes for the backing of the decorations.
6
Sew your pieces together (by hand or machine) with wrong sides together, and your ribbon in-between the two layers of fabric, remembering to leave a small gap open, so you can turn your decorations inside out.
Pro Tip
If sewing curves, cut out little triangular notches to help shape the curve when you turn it back out.
7
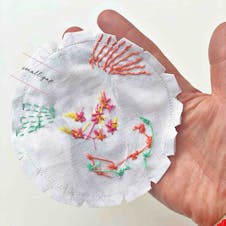
Turn inside out, stuff and sew up the gap by hand to close it.
8
Well done you’ve made your decorations! Hang them up on the tree and be proud. These would make great gift ideas too!
