How to make your own reusable advent calendar to countdown for Christmas!
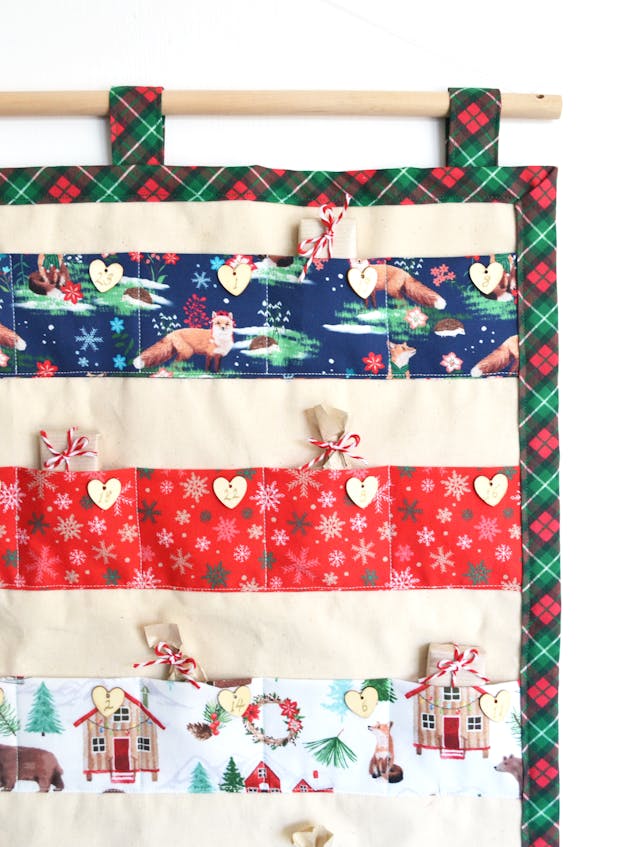
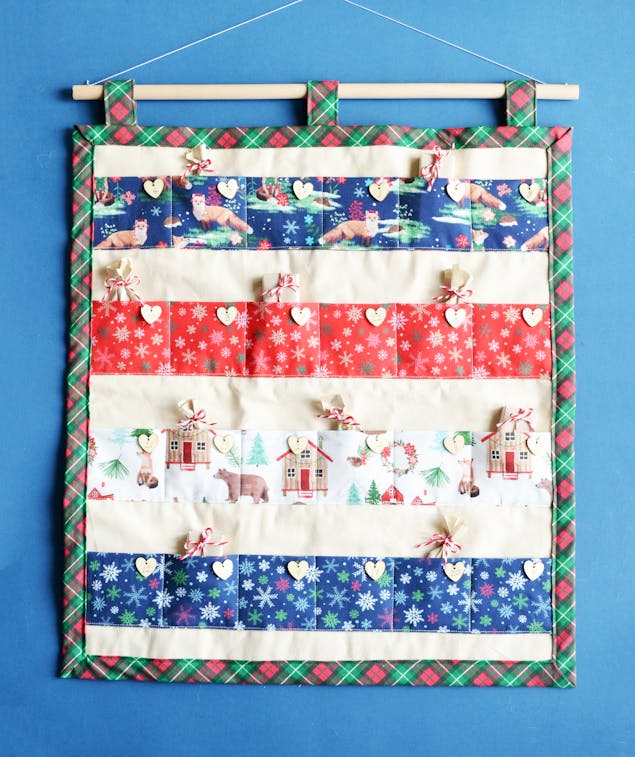
Published on 28 September 2022 1 min readFancy having a go at making your own advent calendar this Christmas? Super stylish sewist Anna Alicia shows you how to make a reusable advent calendar, step by step. Whether you fill the pockets with tiny toys or tasty treats, this is one handmade Christmas decoration that the whole family will love getting out year after year.
Materials
- ¾m calico (or a similar heavyweight fabric). Anna used:
- Oddies Textiles Calico - Extrawide
- ¼m quilting weight fabric for each strip of pockets. Anna used:
- LoveCrafts Christmas Village - Snowflakes Red
- LoveCrafts Christmas Village - Snowflakes Navy
- LoveCrafts Christmas Village - Winter Fox
- LoveCrafts Christmas Village - Winter Scene
- ¾m quilting weight fabric for the backing/edging and tabs. Anna used:
- LoveCrafts Christmas Village - Holiday Plaid
- 50x55cm stiff sew-in interfacing
- 50x70cm lightweight sew-in interfacing
- 50cm macrame dowel (roughly 1.2cm thick)
- 70cm scrap of yarn or string
- Papermania Wooden Hearts (200pcs)
- Extra fine gold market pen
- Gold thread
- Standard sewing kit and sewing machine
How to make a DIY advent calendar
1
Start by cutting out the fabric pieces.
For the back panel:
Calico, two pieces: 50cm (w) x 55cm (h)
Stiff sew-in interfacing, one piece: 50cm x 55cm
For the backing/edging:
Quilting weight fabric, one piece: 57cm (w) x 62cm (h)
For the hanging tabs:
Quilting weight fabric, three pieces: 20cm (h) x 12cm (w)
For the pockets:
Quilting weight fabric, one piece in each of four fabrics: 50cm (w) x 17cm (h) Lightweight sew-in interfacing, four pieces: 50cm (w) x 17cm (h)
2
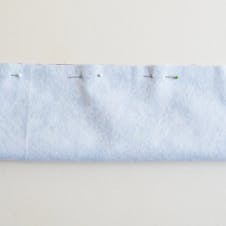
First prepare the pockets. Lay out the pieces of light-weight interfacing and place a pocket strip of fabric on top of each, face-up. Treating the two layers as one, fold each strip so that the long edges meet and the fabric is right-side in. Pin along that long edge and sew along that edge only, with a 1cm seam allowance.
3
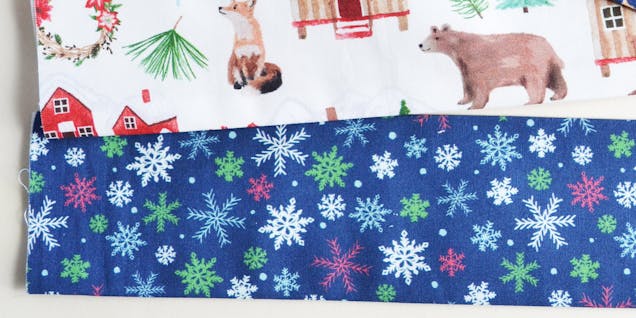
Turn each of your strips right-side out and press.
4
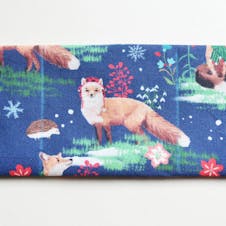
On each strip, measure and mark a line in tailors chalk, 10cm in from the left narrow edge, then another four lines, each 7.5cm apart. These will mark out the dividing lines we’ll sew between your pockets later.
5
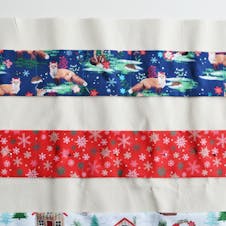
Lay out one of the pieces of calico, portrait position. Starting from the top, narrower edge, mark a series of lines across the calico panel, at 12.5cm intervals.
Lay out the other calico piece and lay the stiff interfacing piece on top, portrait. Lay the marked up calico piece on top (all these layers just help to make the calendar sturdy).
Line up the bottom edge of the first pocket strip with the first line and pin in place. Repeat with the other three pockets on the other three lines.
6
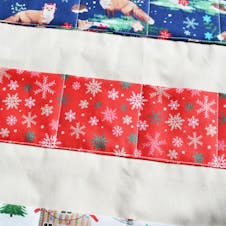
Sew along the bottom edge of each pocket strip roughly 3mm in. Next, sew along the lines you marked earlier on the pocket strips, to divide each strip into pockets.
7
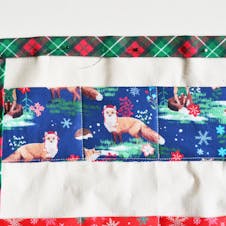
Now you can add the backing/edging. First, fold 1cm in all the way around the edges of the large piece of quilting weight backing fabric and press to crease, right-sides out.
Next, lay the fabric out right-side down. Lay the pockets panel on top, right-side up, and line up so that it is in the centre (there should be about 2.5cm of the patterned fabric showing around the edges).
Fold the patterned fabric over on to the front of the pockets panel and pin in place, all the way around. At the corners, fold the fabric to form a neat corner and pin.
8
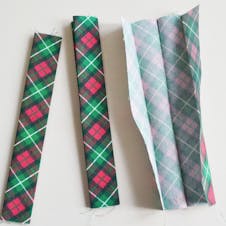
Set the main panel aside for a moment while you make the tabs that the dowel will go through. Take one of the three small tab pieces and fold in half, right-sides out, so that the longer edges meet. Press to crease. Open out, and now fold in the edges so that they meet along the centre crease, pressing again. Finally, refold along the centre crease and press again. Repeat with your other two strips.
9
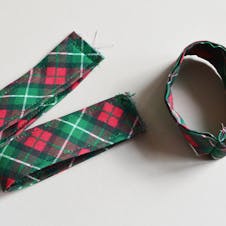
Sew along both longer edges of each of the strips, roughly 2-3mm in.
Fold each strip in half so that the narrow ends meet then sew along that edge. Turn the loop you’ve made inside out, so that the seam is hidden inside.
10
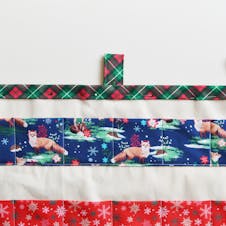
Flatten the loops you’ve made and place behind the top edge of the calendar, so that 5cm sticks out above that edge, with one loop in the centre and one 3cm in from each end. Pin in place. Sew all the way around the inner edge of your edging, roughly 3mm in.
11
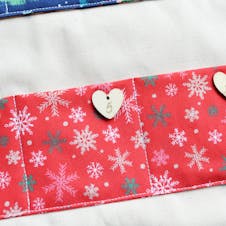
Now you can add the numbers! Take 24 of the tiny wooden hearts and use the gold pen to write out numbers 1-24 on them. Mix up the numbers so you have a random order. Using gold thread, sew a heart to the top right-hand corner of each pocket. If your wooden shapes don’t have holes you can glue them on instead.
12

Finally, all you need to do is add the dowel and string! Slide the dowel through the tabs at the top of your calendar. Cut a length of yarn/string roughly 70cm long. If the dowel has holes at each end, thread the ends of your yarn through the holes and tie in place. If not, simply tie the yarn around the dowel at each end.
Now all that's left to do is fill your advent calendar with presents or tiny treats!
