How to crochet a fish in under 10 minutes!
Published on 30 May 2019 By YazMaking a squishy fishy friend is so easy and a great project for kids and beginners! In this tutorial we'll show you how to crochet a fish in under 10 minutes.
All you need is a simple crochet square (in any stitch you like), a few tools and these simple steps. With this crochet fish pattern why not make a whole shoal?
Materials
- A crocheted square (can be any size or yarn weight you like!)
- Yarn
- Rico Creative Melange Chunky
- Tapestry needle
- KnitPro Tapestry Needle Set
- Plastic eyes
- Scissors
- Trimits General Purpose Scissors 21.5cm
- Stuffing
- Trimits Toy Stuffing - 200g
How to crochet a fish in under 10 minutes step-by-step
1
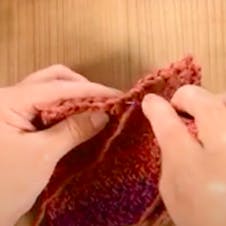
Take your crocheted square (which can be any size or yarn weight you like) and stitch along one side.
2
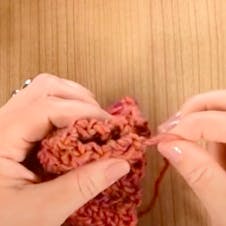
Stitch along one side of your square. Then pull yarn to gather and sew corners together.
3
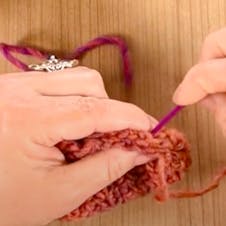
Fold and stitch the sides together. Then turn inside out.
4
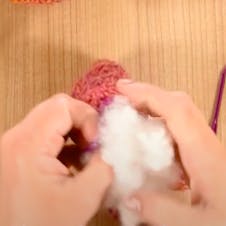
Fill two thirds with stuffing, you'll begin to see main body of the fish take shape.
5
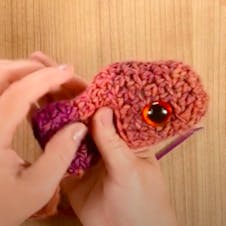
Attach the button eyes.
6
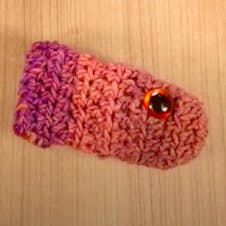
Tuck away all but one thread. Then stitch the end closed and weave in the end of the thread.
7
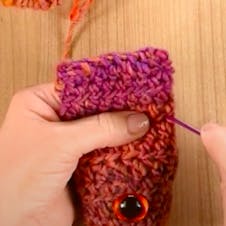
To make the fish tail:
Stitch across where the stuffing ends. Turn over and sew back to the start.
8
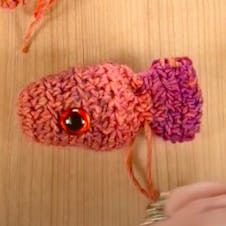
Pull tight and knot to make the tail. Stitch across where the stuffing ends.
9
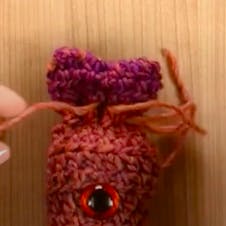
Make the fins!
Turn over and sew back to the start. Pull tight and knot to make the fins.
10
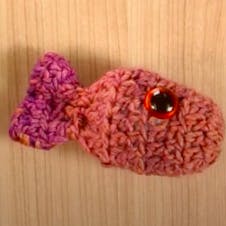
Weave in the end of thread. Hey presto! You've just created your very own fish!


