Learn how to crochet Catherine Wheel stitch
Published on 19 August 2020 2 min read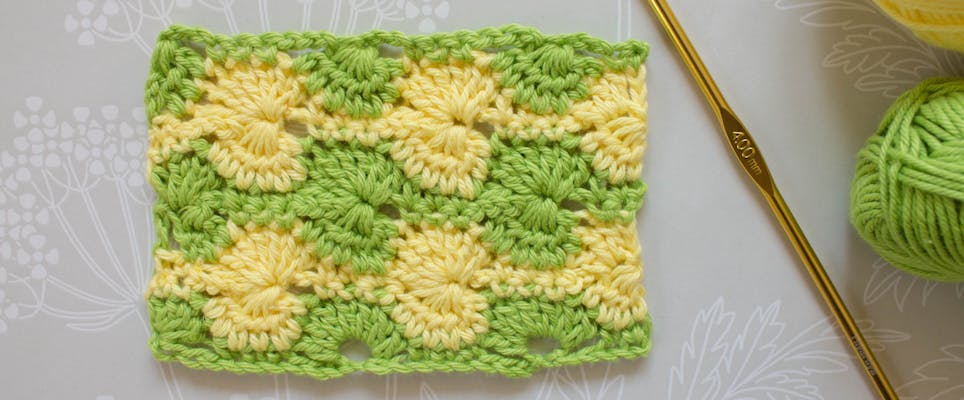
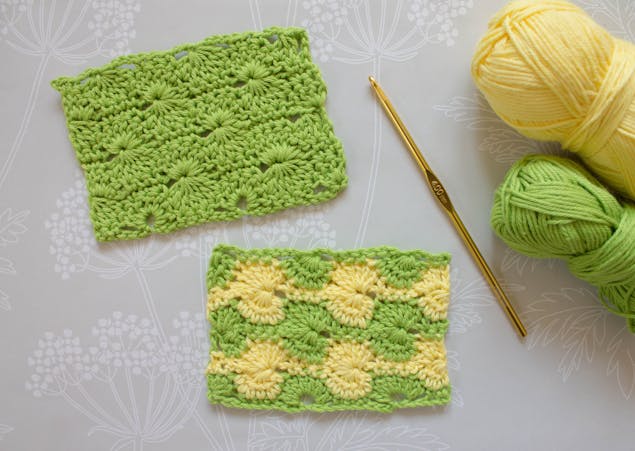
In this step-by-step tutorial with crochet connoisseur Anna Nikipirowicz, you’ll learn how to crochet a two-colour Catherine wheel stitch. This pretty and elegant design which produces mini pinwheels that are particularly glorious when you use two shades of yarn (or if you are feeling adventurous try more than two). For a subtle effect opt for one colour, which will delight the eye on close inspection!
The stitch is worked in single crochet, double crochet and it uses the cluster technique. This involves working yarns around the hook, inserting into stitches and pulling through two loops at the time over a directed number of stitches, then pulling through all loops on the hook, this creates half of the wheel.
The Catherine wheel starts on the WS row and unfortunately you cannot carry the different colour yarns with you up the side of the work to use when needed as the colour change happens every two rows - it is therefore necessary to the break yarn, so I recommend weaving the ends at regular intervals to save the huge task at the end of the project.
Materials
- Paintbox DK Lime Green
- Paintbox Yarns DK in Lime Green (A) & Daffodil Yellow (B)
- KnitPro Waves Crochet Hook
- 4mm (US F/6) crochet hook
Abbreviations
Cluster – work [yrh, insert hook in st, draw up a loop, yrh, draw through 2 loops] over designated number of sts, yrh, draw through all loops on hook.
ch – chain
US sc (UK Dc) – US single crochet (UK double crochet)
skip (UK miss)– omit st(es)
rep – repeat
rs – right side
st(s) – stitch(es)
US dc (UK Tr) – Double crochet (UK treble)
ws – wrong side
yrh – yarn around hook
Changing colour
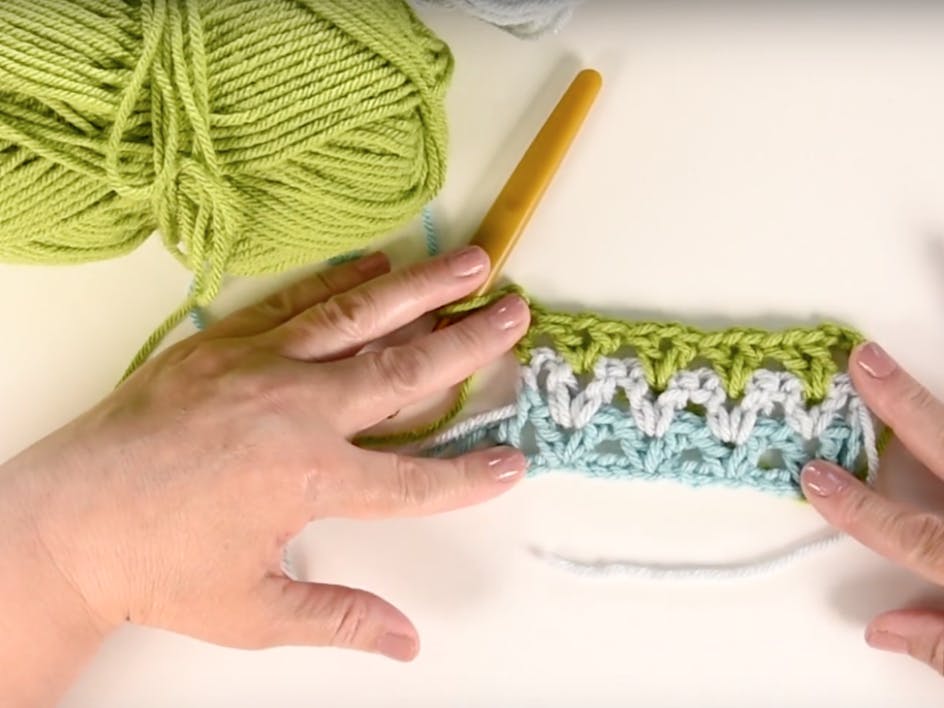
Before we look at the pattern I would like to show you how to change colour in the neatest way.
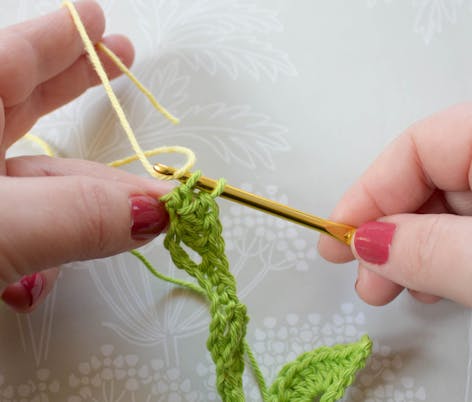
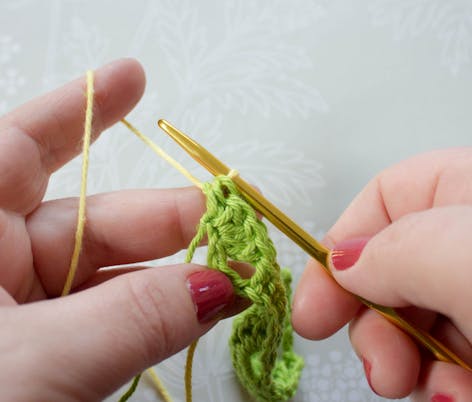
1: When you are working your final stitch at the end of the row, stop at the last 2 loops on hook.
2: Grab the new yarn and finish the stitch with the new colour.
3: Take the tail of the new yarn and the old yarn and twist it once over the new yarn, ch 1 to lock.
4: Now you can continue working with your new colour.
This technique also works well if the last stitch at the end is a slip stitch - just work the slip stitch in the new yarn.
Catherine wheel stitch step-by-step
Pro Tip
This stitch is worked over multiples of 10 + 6 (plus 1 for foundation chain).
For my sample I made 27 chains in colour A.
1
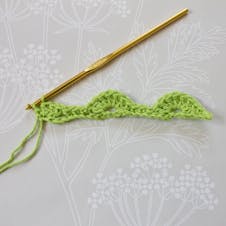
Row 1 (WS):1 sc in second ch from hook, 1 sc in next ch, * miss 3 ch, 7 dc in next ch, miss 3 ch, 1 sc in next 3 ch, rep from * to last 4 ch, miss 3 ch, 4 dc in last ch, turn.
2
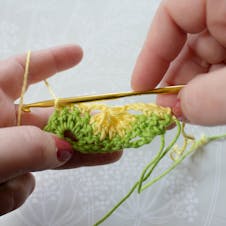
Change to colour B. Row 2: Ch 1, 1 sc in first 2 dc, *ch 3, work 1 cluster over next 7 sts, ch 3, 1 sc in next 3 sts, rep from *to last 4 sts, ch 3, 1 cluster over last 4 sts, turn.
Half of the wheels are now complete.
Cluster worked over 7 sts, at the end you will pull through 8 loops on the hook.
3
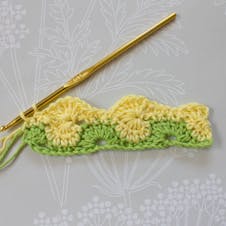
Row 3:Ch 3 (counts as 1 dc), 3 dc in first st, * miss 3 ch, 1 sc in next 3 sc, miss 3 ch, 7 dc in loop that closed next cluster, rep from * and end by missing 3 ch and working 1 sc in the last 2 sc, turn.
4
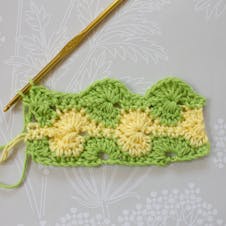
Change to colour A
Row 4: ch 3 (counts as 1 dc), miss first st, 1 cluster over next 3 sts, *ch 3, 1 sc in next 3 sts, ch 3, 1 cluster over next 7 sts, rep from * and end with ch 3, 1 sc in next dc, 1 sc in top of 3 ch, turn.
Row 5: Ch 1, 1 sc in next 2 sc, * miss ch 3, 7 dc in loop that closed next cluster, miss 3 ch, 1 sc in next 3 sc, rep from * and end with miss 3 ch, 4 dc in top of 3 ch, turn.
Steps 2 to 5 form the pattern, just keep repeating until you have the desired length.
