How to emboss: The ultimate embossing guide
Published on 4 November 2021 3 min readTake your card making to a whole new level with embossing! Go from simple homemade creations to ultra-professional makes with this wonderful technique. With our handy guide, we'll take you through all the embossing essentials you need in your stash and how to have a go at embossing yourself!
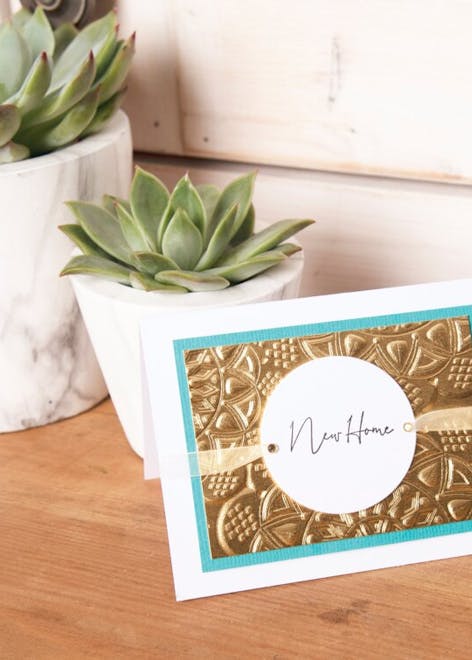
While the results are spectacular, the technique itself is super easy to learn. You need just a few essentials to get started and you’ll be on your way to create exciting embossed designs on cards, in scrapbooks and on any paper decorations.
What is embossing?
Embossing is simply the process of creating a raised surface on your paper. There are two kinds of embossing – heat embossing, and relief embossing using a die-cutting machine. Both types of embossing will give your cards an impressive 3D effect and heat embossing uses special powders to give an additional textured effect - a great beginner technique!
The opposite of embossing, debossing, can also add a cool dimension to your cards and scrapbooks. Whereas an embossed image is raised, a debossed image is imprinted into the cardstock or paper creating a relief impression.
Essential equipment for heat embossing
Embossing powder
If you’ve searched for embossing powder online, you might have noticed the endless options to choose from. This can be daunting for beginners, but don’t worry – we’re here to take you through the library of embossing powders to help you make the right choice for your project!
Embossing powders have key differentiating features – the finish and the ‘size’. The finish tells you how this embossing powder will look once it’s been heated. Finishes include metallic, shiny, matte, distressed and more, so take your pick depending on your personal style.
There are three sizes of embossing powder: extra fine, regular and ultra thick. We recommend opting for a regular powder to begin with, which works as a great go-to embossing powder. Extra fine is good for working with super tiny and detailed stamps, whereas ultra thick is better if you’re using large stamps.
Heat gun
Putting the heat into heat embossing – it’s the heat gun! There are a few types of heat guns you can choose from. You might opt for a larger one that looks more like a hairdryer; a great choice for beginners. Once you get more experienced, you can find more targeted heat guns that work on smaller areas.
Stamps
Create a collection of beautiful stamps, and you’ll never get bored of paper craft! You’ll use these to stamp your embossed design using a special embossing ink, that your powder will stick to. Our guide to stamping, will take you through the steps!
Embossing ink
Similar to an ink pad, embossing ink is what you’ll use to create an adhesive outline of your design using a stamp.
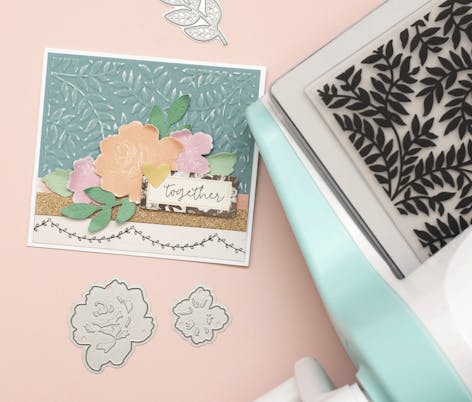
Die-cutting machine
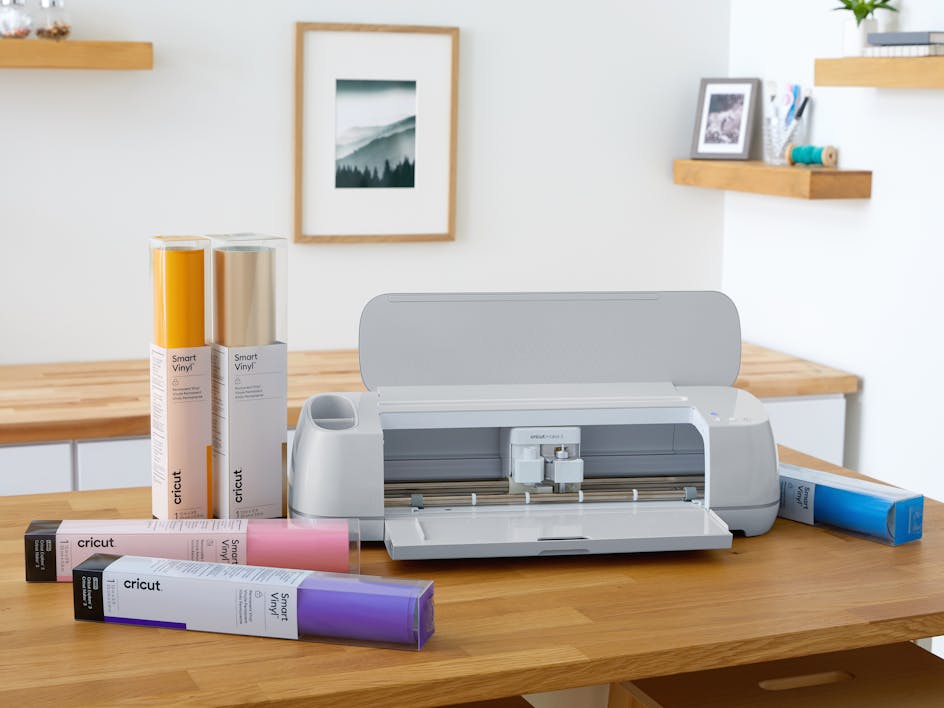
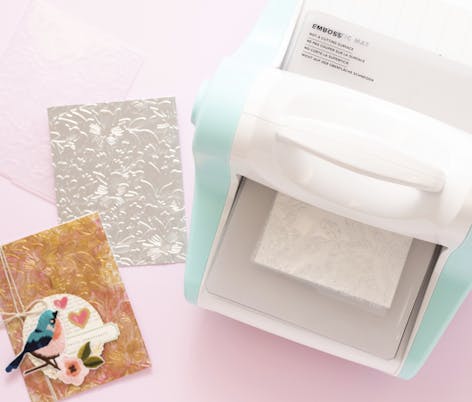
If you’ve tried heat embossing and want to level-up your embossing game, try introducing a die-cutting machine into your craft room. It’s much quicker and less messy than heat embossing; plus the results are super impressive!
Embossing folders
Embossing folders are what you’ll use to imprint your embossed design onto paper or card. They come in a huge range of patterns and designs, and are designed to pass through your die-cutting machine with ease.
How to heat emboss
Heat embossing is easy once you’ve got the tools you need. Learn how to heat emboss with Ranger’s Bonnie Egenton, as she takes you through the basics of embossing and the differences between the powders available.
How to emboss with a die-cutting machine
Learn how to use embossing folders with your die-cutting machine and how to turn your regular dies in to embossing tools with the Sizzix Big Shot.


