How to make a pencil case - a beginners guide
Published on 29 March 2021 By Teresa Bettelley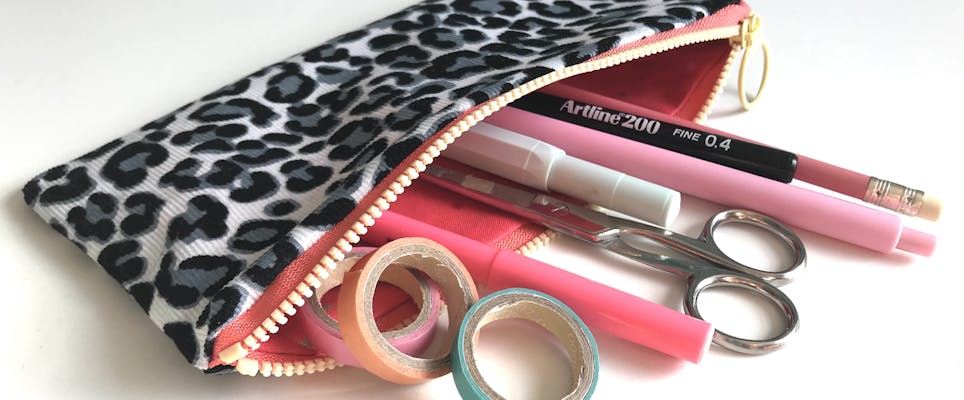
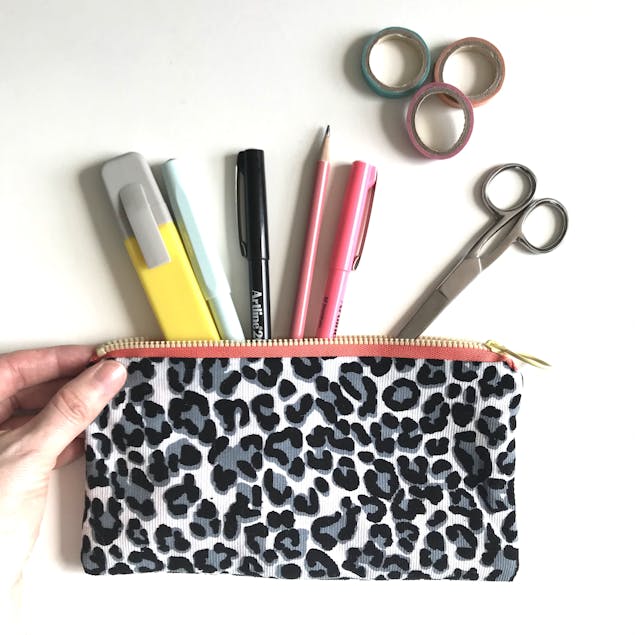
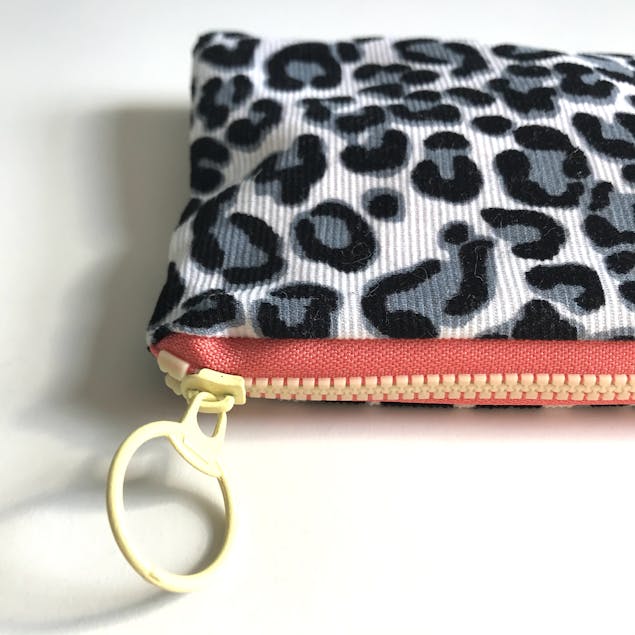
A DIY pencil case is a great beginner sewing project! With this step by step tutorial you will learn how to make a pencil case sewing pattern, insert a zip, and add a lining. Choose a contrasting lining fabric to make this project your own (quilting cotton is great for this) and you could add fun embellishments such as a tassel or key ring on the zip pull!
Materials
- Outer fabric, such as needlecord, light canvas, cotton twill or denim
- Lining fabric, quilting cotton is great
- Gutermann Sew-all Thread 100m
- Fiskars General Purpose Scissiors - 21cm Geometric
- Sew Easy Vanishing Fabric Marker Pen
- Sewing machine and zipper foot
- Iron
- Plain paper, pencil and ruler to make a sewing pattern
- Pins
Pencil case sewing steps
1

Draw a rectangle on your paper measuring 23cm x 12.5cm / 5’’ x 9’’. Cut this paper out and pin to your fabric.
2
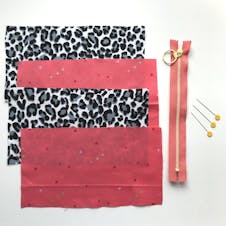
Cut out 4 identical rectangles of fabric: 2 from your lining fabric and 2 from your outer fabric.
3
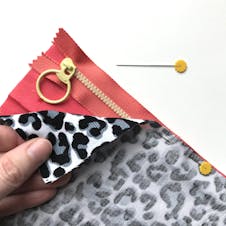
Place a lining rectangle right side up and lay the zip along one edge. Lay the outer fabric rectangle right side down over the top. Pin the zip and both layers of fabric together. The zipper is sandwiched between both layers of fabric.
4
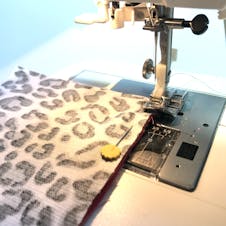
With the zipper foot attached to your sewing machine sew close to the zip teeth, through all layers of fabric, back tacking at each end.
Pro Tip
Back tacking means to sew a few stitches, then sew backwards over the same stitches and then forwards again, which prevents the stitches coming loose and making holes at the ends of your seams
5
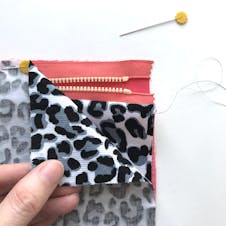
Unfold the fabric away from the zip, and repeat step 3 and 4 on the other side of the zip.
Pro Tip
Sewing around the zipper pull can be a bit tricky. To make it a bit easier, stop the sewing machine, with the needle still in the fabric, lift the presser foot and open or close the zip so the pull is not in your way.
6

Open the outer fabric away from the zip and press each seam, being careful not to touch the iron to the zip teeth if they are plastic!
7
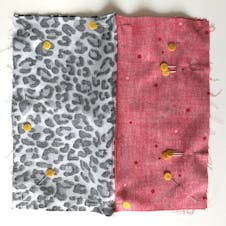
Open the zipper and, with right sides together, pin both pieces of lining fabric together, and both pieces of outer fabric together. Make sure the zipper tape is pinned towards the lining.
8
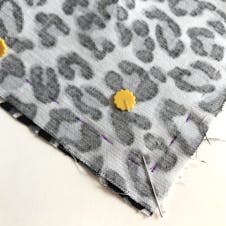
Using the fabric marking pen, mark stitch lines on the fabric with a 1cm seam allowance. Leave a gap at the bottom of the lining fabric, this is where we will turn the pencil case the right way round.
9
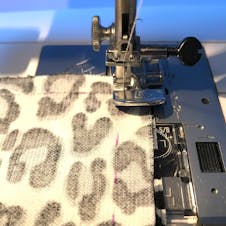
Starting from one side of the opening, sew on the lines marked on the pencil case. Pivot the fabric at the corners with the needle still in the fabric. Go slowly at the zipper ends, you might need to stop sewing with the needle in the fabric and raise the presser foot to gently wiggle the thick layers of fabric through. Back tack at each side of the opening in the lining.
Pro Tip
Mark the sides of the opening with two pins so you know not to sew past this point.
10
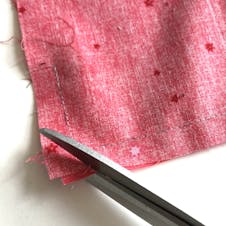
Snip off any loose threads and trim the corners. Trim any bulky seam allowance at the zipper ends. Turn the pencil case the right way round by putting your hand through the gap and pulling the fabric through the right way. Use a pencil or knitting needle to poke the corners into a nice square point.
11
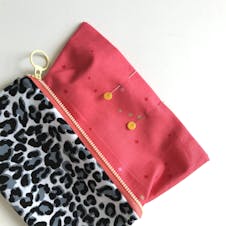
Pull the lining out through the zip and fold the seam allowance through the opening in the stitching. Give this a quick press, and sew it closed, back tacking at each end. Trim any loose threads.
12
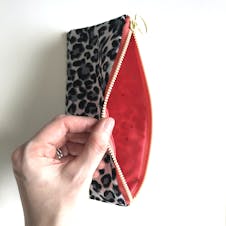
Push the lining back inside making sure the corners are smooth- use a pencil again to push the corners out. Give the pencil case a final iron and you are done!
