How to sew an invisible zip
Published on 3 June 2020 1 min read
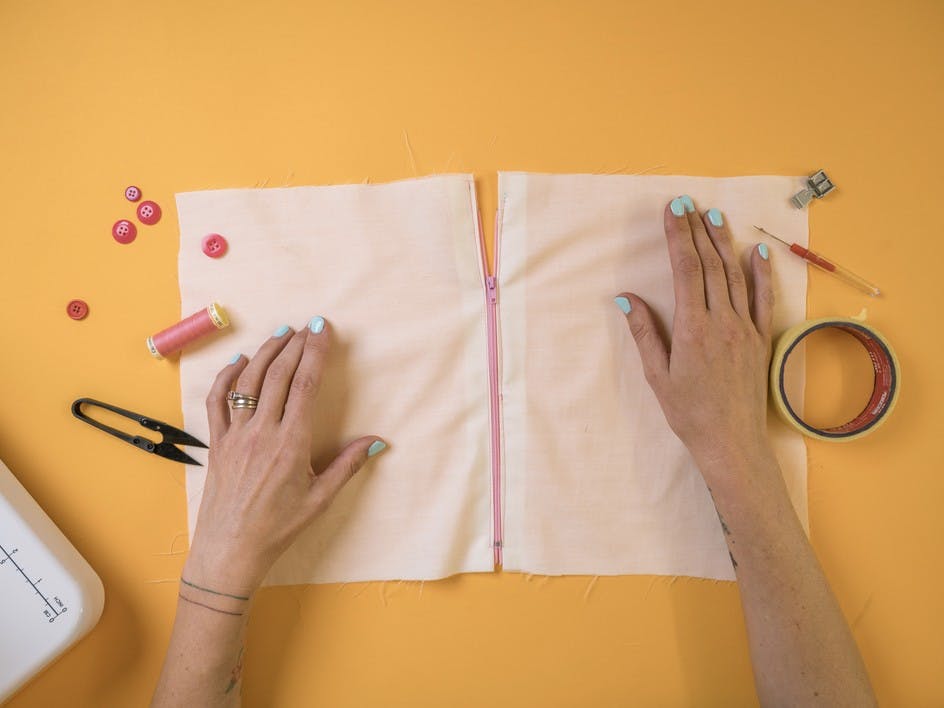
Learning how to sew an invisible zip isn’t as complicated as it sounds! Once you've mastered the simple technique, you'll be able to take your sewing to the next level; creating perfectly finished garments and accessories.
You might be wondering: what is an invisible zip? An invisible zip is a zip that’s sewn into the hem of something, so that when it’s finished you can’t see any stitching on the outside.
The trick to getting perfect invisible zips is taking time to measure things, mark things and double check that everything is in the right place before you start sewing. The other is allowing enough room to manoeuvre the fabric around.
Ready to give it a go?
How to sew an invisible zip step by step
1
Insert the zipper foot. There’s usually a little leaver at the back of the post that holds the needle, all you need to do is make sure the foot is in the raised position, lift the little leaver and the foot should drop off. If you’re unsure, check the manual that came with your machine or just give it a Google. Place the new one under the post, lower the foot back down and it should all click into place.
2
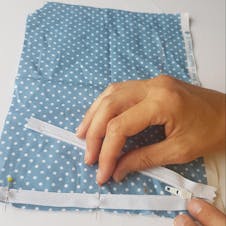
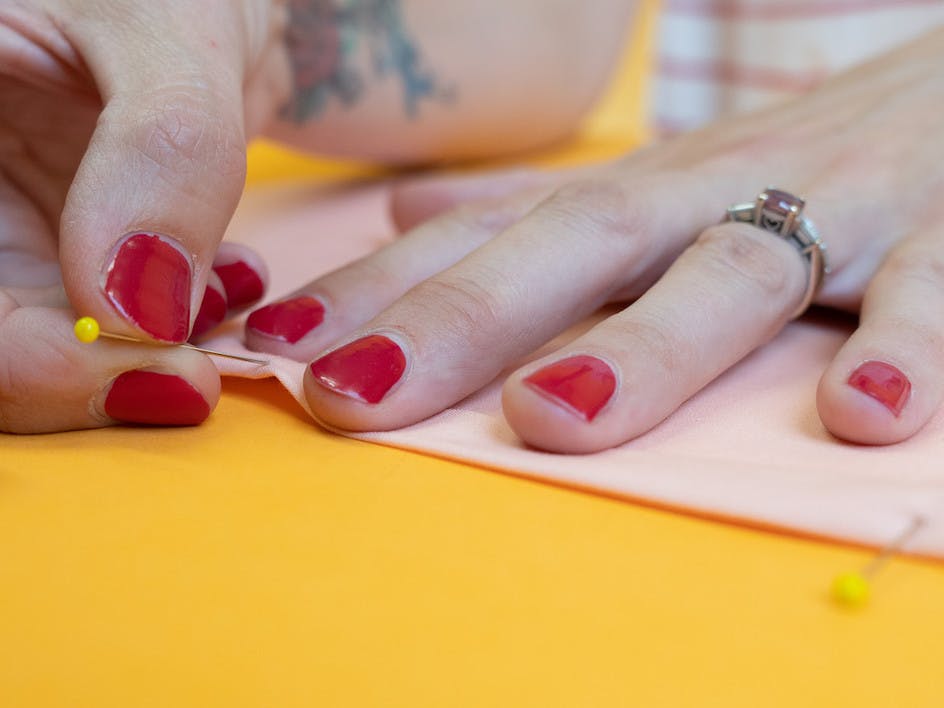
Line it up and pin in place. Starting with the right hand side, lie the fabric so that it is right side up. Open the zip and place it face down, so that the left edge lines up with the edge of the fabric. Pin in place. This is the way up it needs to be when you sew it.
3
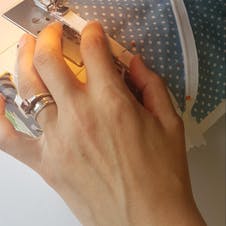
Sew the right hand side. Make sure the zip foot is fitted to sew down the right hand side of the zip and sew a straight line. Stop as you near the zipper head, close the zip and then finish the line.
4
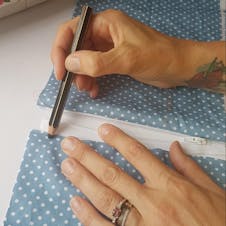
Mark and pin the left side. This is where you need to take your time, line up the left side of your zip and fabric with the right hand side and make a mark on both as a reference point.
5
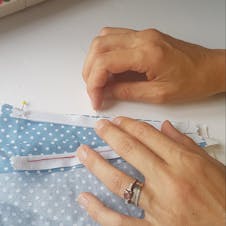
With the fabric right side up, open the zip and place it face down, so that the right edge lines up with the edge of the fabric. Pin in place. This is the way up it needs to be when you sew it.
6
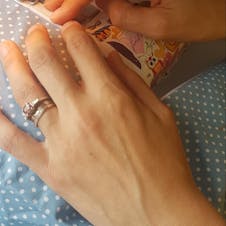
Sew the left hand side. Adjust the zip foot so that it’s fitted to sew down the left hand side of the zipper and sew a straight line. Stop as you near the zipper head, close the zip, and then finish the line.
7
Sew the seam. Getting as close to the stitching as you can below the zipper, but without sewing over the bottom bit of the zip, sew a seam. You can then carry on with the rest of your seam.
8
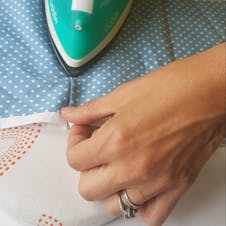
Pressing. With the zip open fold it over so that when the fabric is right side up the zip is neatly hidden. This needs to be the same width as the zip, no more. Iron in place, and repeat on the other side. The ironed edges should meet neatly in the middle and cover up the zipper.
Pro Tip
It's always a good idea to have a practise on some scrap bits of fabric first, even if you just want to get on with your make! Then your invisible zip will be fantastically hidden and allow you to create a flawless finish.
That’s it! You've just sewn your first zip invisible! Now just enjoy the feeling of opening and closing to a few times and give yourself a big old pat on the back for a job well done.
Want to
