How to make a log cabin quilt
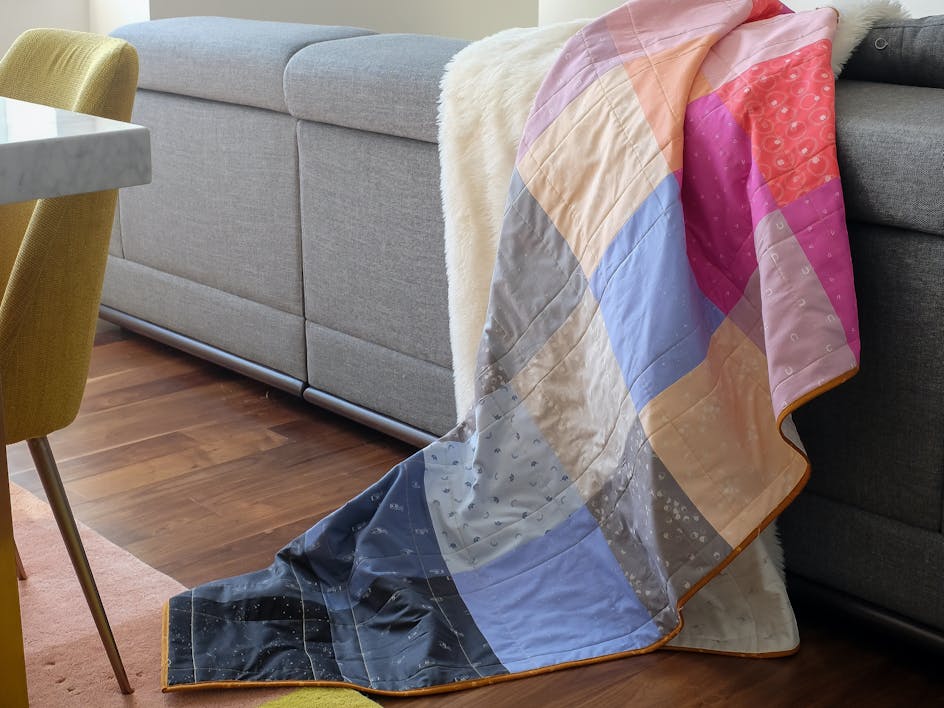
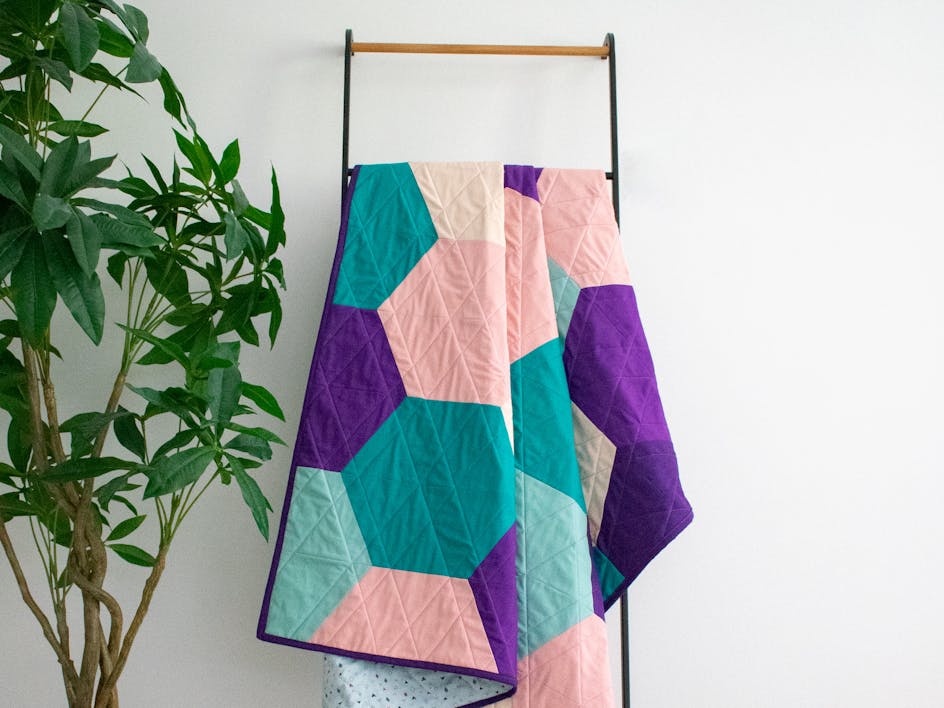
Published on 12 February 2020 By Merion 3 min readLog cabin quilts are composed of strips known as "logs" that a sewn around a square and a great way of testing your quilting skills! This is a perfect sewing project to snuggle up with all year round, draping on your sofa or bed, or bundling up for outdoor adventures. Learn how to make a beautiful log cabin quilt with our fabulous video tutorial by the talented Kate Owen and written instructions to follow along with.
Supplies
Kate's beautiful log cabin quilt is the perfect candidate for using fabric from your stash - but if you're looking for a special colourway, take a look at some gorgeous fat quarter packs!
Materials
- Fat quarter bundles or scraps from your stash
- Hemline General Purpose Scissors 21.5cm/8.5in
- Olfa 45mm Aqua Rotary Cutter & Mat (RTY-2CSTQR)
- Sewing machine
- Pins
Your log cabin quilt block pattern
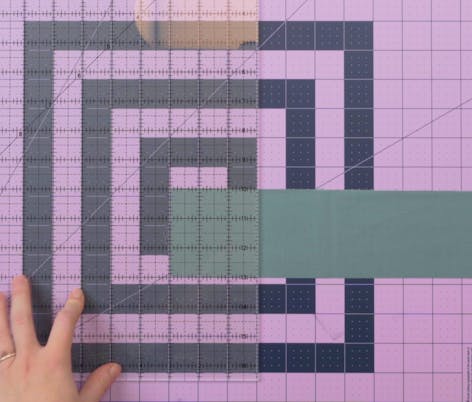
Take your first fat quarter piece and make sure it is ironed and folded so that it's shorter than your ruler. Trim the right side so you have a nice clean edge.
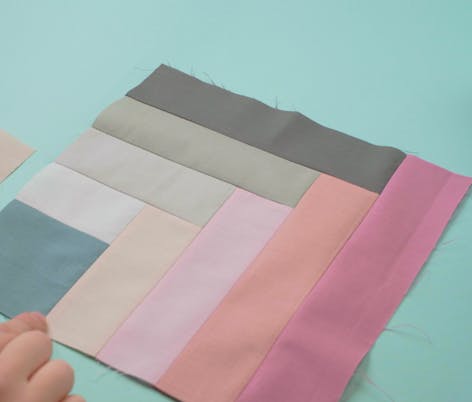
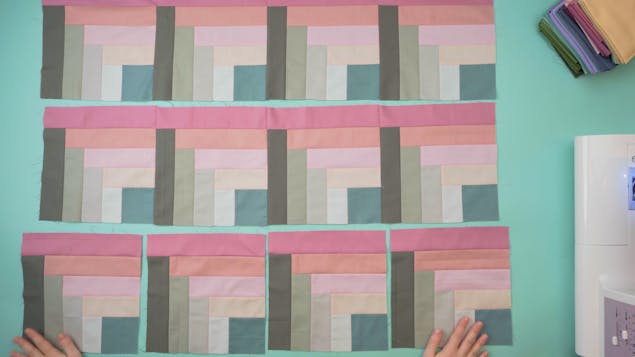
Rotate the fabric and follow Kate’s instructions as you cut strips measuring 2 inches wide and 3 inch squares you need to build the log cabin pattern. All this can be done using your rulers and rotary cutter, trimming your thread and pressing each seam as you go along.
Stitch the front pieces together
Using the same method, stitch your squares together in rows of four. When you have four rows of four-square strips, you are ready to sew them together to form the 16 square quilt front. Remember to press your seams and trim thread as you go!
Add the border
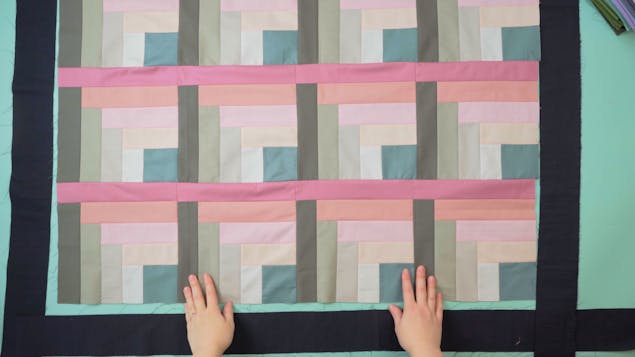
A border will help to preserve the shape and size of your log cabin squares, because when you add a backing to your quilt, the edge will eat up some of that precious fabric pattern! To add a border, cut four 3" long strips of fabric, and following the same principle as before, pin the first strip to one edge, right sides together. Sew the seam together, then trim thread and press. Repeat three more times, working your way around the sides of the quilt.
Quilting
To create the 'quilt sandwich', lie all three layers one on top of the other. First the back, then the wadding, and finally the top. Ensure that your back and wadding are both bigger than the quilt top, so that you have room to move around, and consider for this quilt, that the backing will also form the edging of the quilt, so you will need at least 3" spare around each side.
To quilt your layers together - the process of stitching through all three parts of your quilt sandwich, first secure the layers with either pins, or if the quilt is larger, basting.
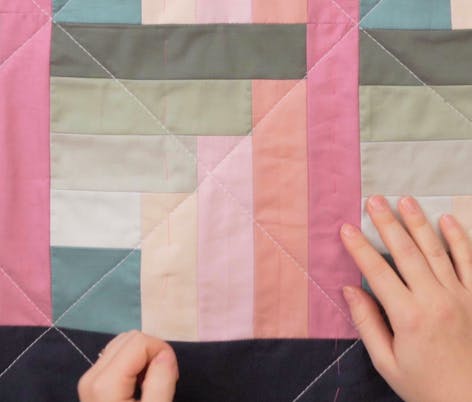
For this quilt, work diagonally through the squares in both directions. If you are able to sew by eye for smaller quilts, go ahead - but with larger quilts you may prefer to pin or draw a line and follow that.
Work one diagonal all the way across beginning from the centre to keep the quilt sandwich neatly secured, and when you have added each quilting line, change the diagonal and work in the other direction, and when you've finished, remove your basting stitches.
Binding your quilt
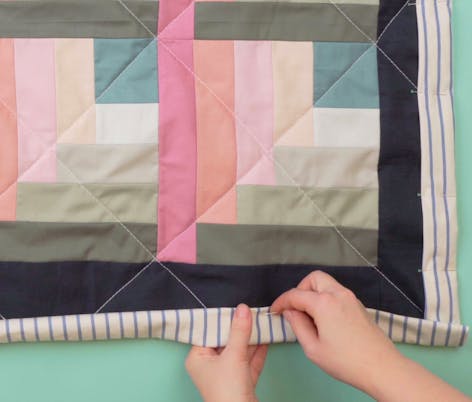
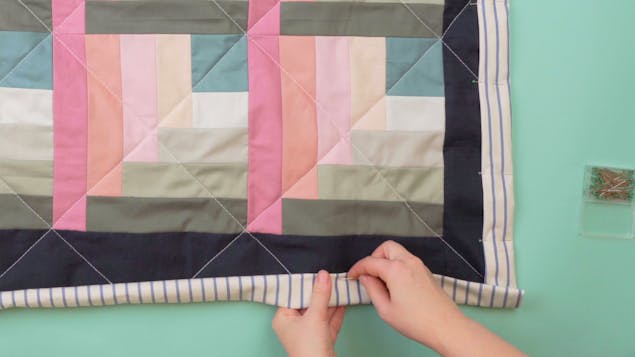
For this gorgeous Log Cabin quilt, Kate is using her 'cheat' method for binding, which means using the backing for the edge binding. Trim the wadding to size, but do not trim the back fabric.
With the backing lying flat, fold one side up to meet the edge, and once again over the edging. Pin to secure, and do the same for the next side, tucking and pinning the corner pieces as shown.
Stitch around the inside edge of the folded backing to secure.
You can do it!
Now that you've learned the log cabin technique, what will you try next? We've got some fabulous patterns for you to try!
