How to make a drawstring bag with no tricky fastenings!
Published on 22 June 2021 By Teresa Bettelley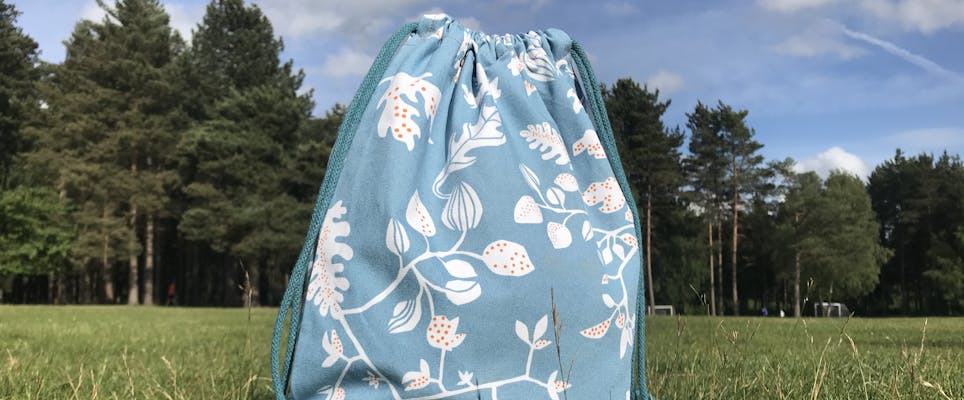
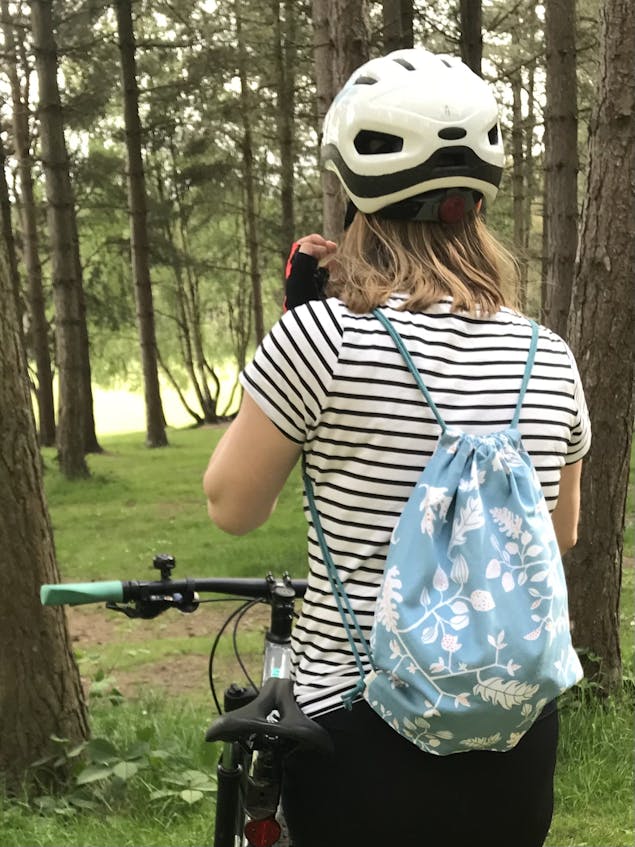
Make yourself a drawstring bag, ready for picnics and adventures this summer! It’s just the right size for popping useful bits and bobs into for a day out. You can adjust the length of the cord to fit a child, making it a useful size for PE kits. It’s a great beginner project, as this step by step guide doesn’t use any tricky rivets or eyelets!
Materials
- Strong fabric, such as canvas duck, denim, cotton twill or upholstery fabric
- Cord, 5mm thick
- Sewing machine and basic sewing equipment including an iron
- Gutermann Sew-all Thread 100m
- Grosgrain ribbon or tape, 2cm wide
- Prym Safety Pins No. 3 50mm Silver-Coloured
- Overlocker, optional
- Hemline Rose Gold 21cm Dressmaking Scissors
1
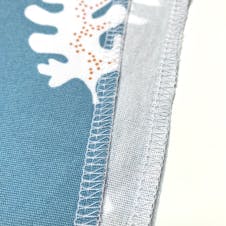
Cut a piece of fabric 45cm long by 36cm wide, (or sew two pieces of fabric together to make a piece of fabric with these measurements). Finish the long edges of the fabric with a zig zag stitch or overlocker.
2
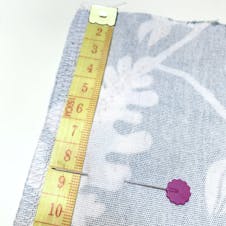
Fold the fabric in half right sides together and pin the long edges together. Place one pin 8cm from the open end of the bag.
3
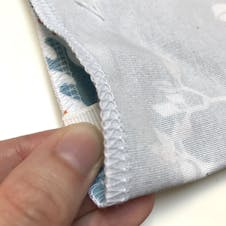
To make the fastening for the drawstring handle, cut 2 lengths of ribbon 5cm long and fold in half. Sandwich the ribbon between the two layers of fabric, with the top end of the ribbon 3 cm from the folded bottom edge of fabric, making sure the raw edges line up with the edge of the fabric.
4
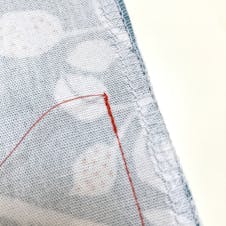
Sew the sides of the bag together, with a 1.5cm seam allowance, to the pin 8cm from the open end of the bag. Make sure you back tack at the bag opening end.
5
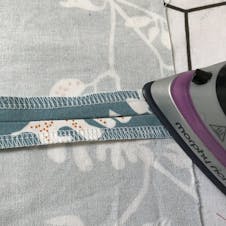
Open the seam allowances at the open end of the bag and press flat.
6
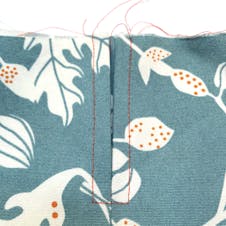
Sew along the folded fabric 1 cm from the fold, starting on the left side of the opening. Turn the fabric (with the needle in and the presser foot up) by 45degrees, then sew across the seam, pivot again and sew back to the open end. Trim the thread.
7
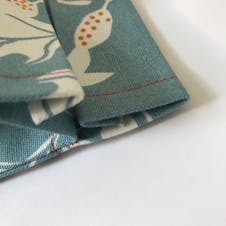
Fold the top raw edge of the bag under by 1cm, and press. Fold the top edge down again, by 3.5cm, press and pin into place. This will make the channel for the cord to go through.
8

Sew over the folded channel, from the inside of the bag, 0.5cm from the second folded edge, making sure to back tack at each end.
Pro Tip
Pull your threads through to the inside of the bag and fasten with a knot for a really neat finish on the outside of your bag.
9
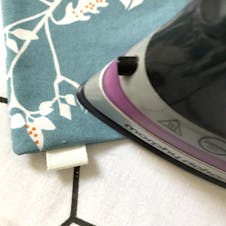
Give the bag a press on all seams.
10
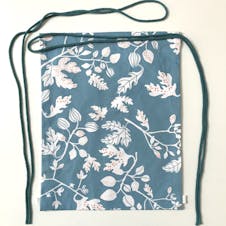
Cut 2 x 180cm lengths of cord (this length fits an adult, you may want to adjust for size) and using a large safety pin, thread it through the channel at the top of the bag from left to right, then go right to left on the other side of the bag. Repeat on the other side using the 2nd length of cord, starting from right to left, then left to right.
11
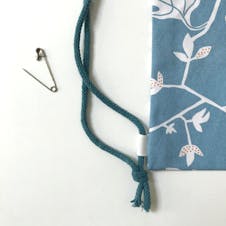
Making sure you have an even length of cord on each side of the bag, thread one end of the cord through the loop of ribbon at the bottom of the bag. Tie a firm knot with the other end of the cord, and repeat for the other side.
12
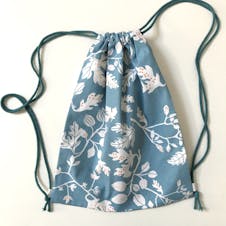
Firmly pull both cords on each side of the bag to close, your bag is finished and you are ready for an adventure!
