Make a mistletoe wreath with Anna Nikipirowicz
Published on 27 November 2020 By Anna Nikipirowicz 1 min readSteal a kiss with this fabulous festive mistletoe Christmas wreath tutorial by Anna Nikipirowicz! A beautiful make for every home, perfect for hanging above the hearth or displaying on your door. Combine real vines of ivy and crocheted mistletoe, for a seriously cosy Christmas make you're just going to adore!
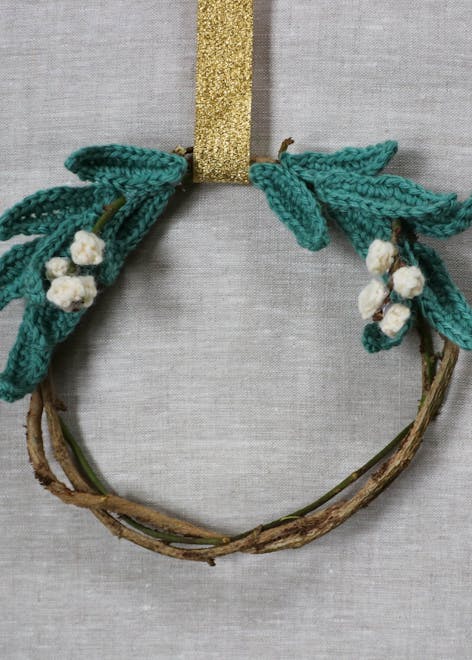
In this tutorial you'll learn how to make your very own, very simple mistletoe wreath.
Materials
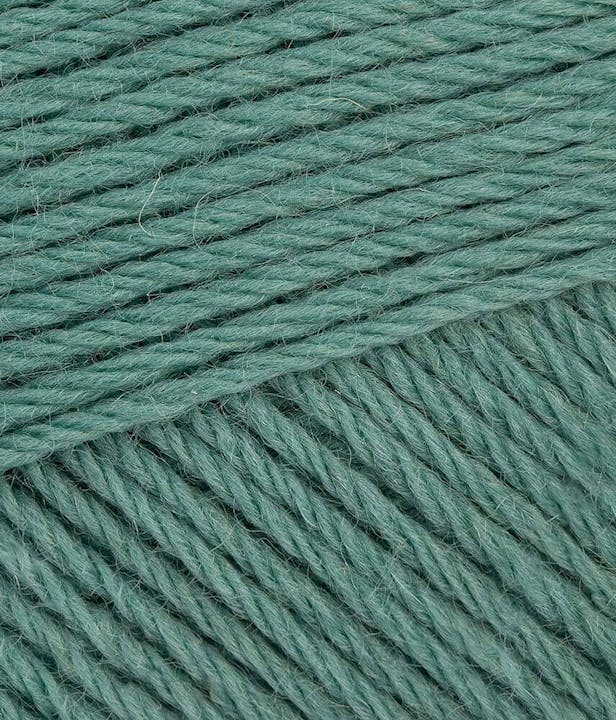
- Paintbox Yarns 100% Wool Worsted Superwash
- Colour A - Slate Green
- Colour B – Cream
- 3.50mm crochet hook
- Ivy vines (medium length)
- 2 twigs or small sticks to attach your berries
- Secateurs (or an old pair of scissors!)
- Floristry wire (2 pieces)
- Glue (Anna loves to use her glue gun!)
- Ribbon (for hanging)
- A nice hot chocolate!
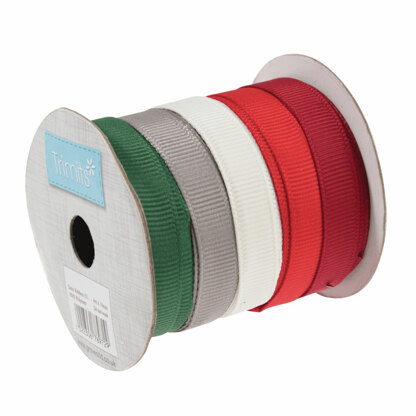
Supplies for your wreath

Abbreviations
Ch – chain
Dc (US sc) – double crochet
Htr (US hdc)– half treble
Htr3tog (US hdc)– half treble 3 together – [yrh, insert hook into next st or as directed, yrh, pull up a loop] 3 times, yrh, and pull through all 7 loops on hook.
Sl st – slip stitch
Yrh – yarn around hook
(This pattern is written using UK terminology with US conversion given in the above abbreviation list.)
To make your wreath
1
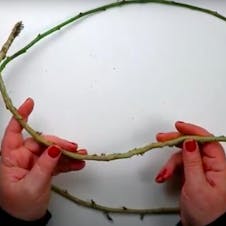
Prepare your vines by removing all the foliage ready to be assembled into your wreath.
Pro Tip
Make sure your vines are a little damp so they stay nice and pliable. Too dry and they may snap!
2
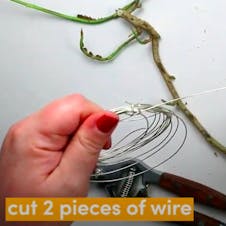
Cut 2 pieces of wire, which you'll use later to secure your wreath.
3
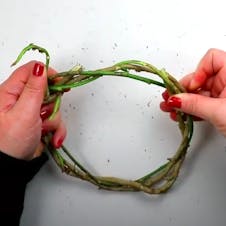
Wind your vines into a circle, intertwining the second vine around the first.
4

Once you're happy with the shape, secure with the wire by twisting around the vines. Add wherever you plan to add your foliage, so the wire can be hidden later on.
To make your leaves
1
To make your first leaf, take colour A and make a slip knot 12 ch.
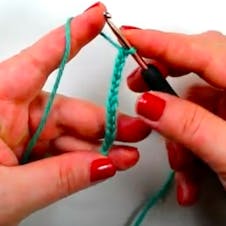
2
Round 1: sl st in second ch from hook, * 1 dc in next 3 ch, 1 htr in next 3 ch, 1 dc in next 3 ch *, sl st in last ch, ch 1, working on the other side of foundation ch, sl st in first ch, rep from * to *, sl st in last ch.
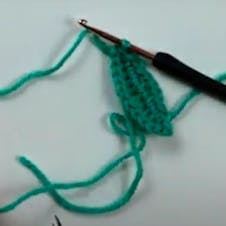
3
Fasten off to complete your first mistletoe leaf! Repeat until you have 14 leaves in total.
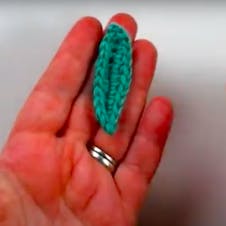
Pro Tip
To make your leaf nice and crisp, place on a towel, insert a pin (to keep its shape) and gently steam!
To make your berries
1
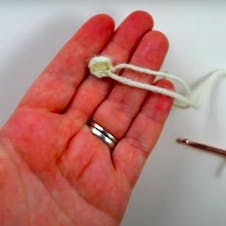
With colour B start with a slip knot, make 3 ch, htr3tog in third ch from hook, ch 2, sl st in same ch as htr3tog.
2

Fasten off. Weave in all the ends to complete your first berry. Repeat so you make 8!
Putting your wreath together
1
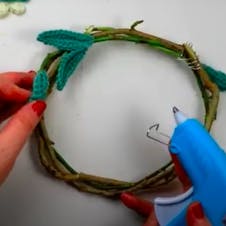
Position and glue your crochet leaves around your vine, ideally concealing your wire in the process!
2
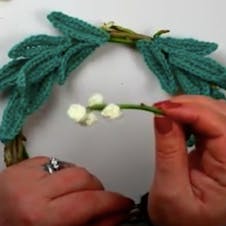
Stick your berries to a small stick or twig and repeat so you have one for each side of your wreath.
3
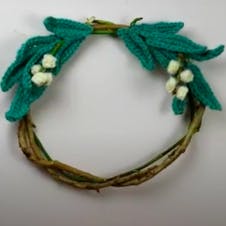
Glue your berry sticks amongst the leaves on either side of your wreath. Attach some ribbon to the top for hanging. That's it! You're beautiful wreath is ready.