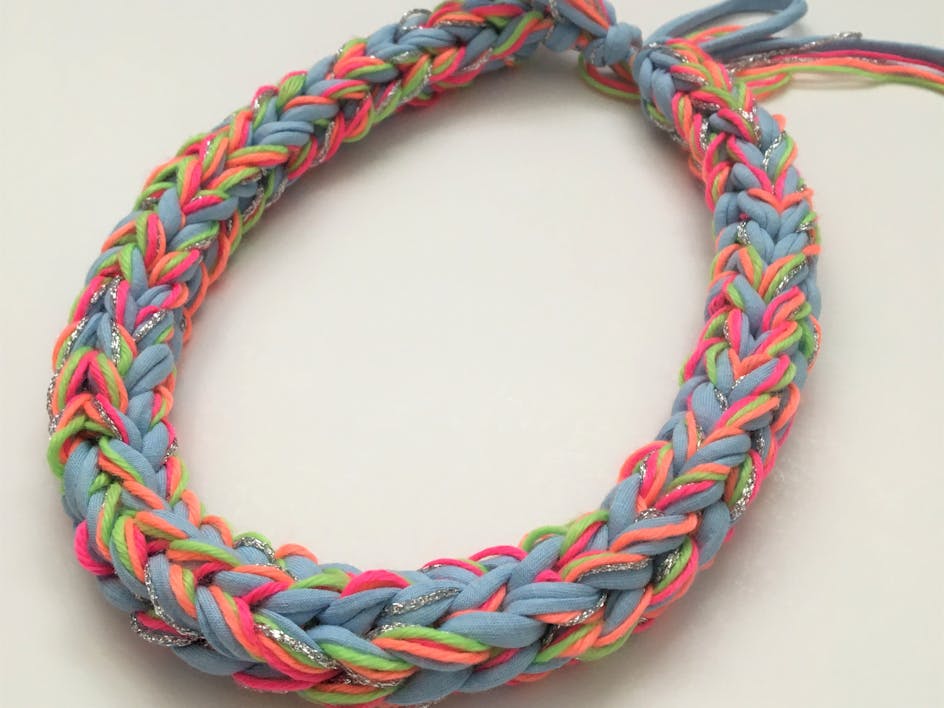
Party tassel earrings - free tutorial!
Published on 26 August 2020 By Holly 1 min readFor some extra razzle-dazzle this party season, Christine Leech shows us how to craft Party Tassel Earrings. Just follow these easy steps for these fabulous show-stoppers!
Tassel earrings are a classic, fun fashion staple that everyone who likes to accessories needs to own a pair. Want to hear the good news? Tassels are one of the easiest things to make and perfect for using up your yarn stash.
Materials
- Cardboard measuring 3 x 5 inches (8 x 12cm)
- Two different colours of yarn
- Debbie Bliss Rialto Lace
- Needle
- Scissors
- Two wooden beads approx 1/2" (1.5cm) diameter with a large hole.
- Two earrings hooks
- Two jump rings
- Jewellery pliers

How to make your tassel earrings
1
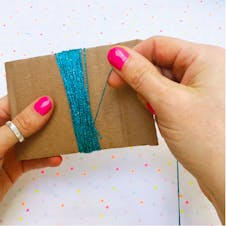
Take one colour of yarn and wrap it around the shorter side of the cardboard. Wrap about 30 times - the more you wrap the chunkier the tassel so its up to you have big you want to go!
2
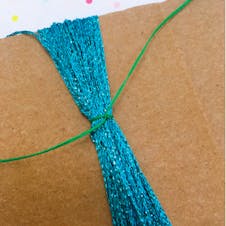
Use a piece of the second yarn, approximately 25cm long, thread it between the yarn and the piece of cardboard then tie a tight double knot.
3
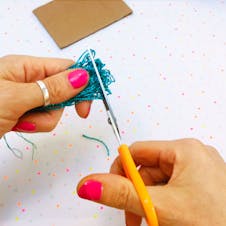
Remove from the cardboard and trim the looped end so all the threads hang free.
4
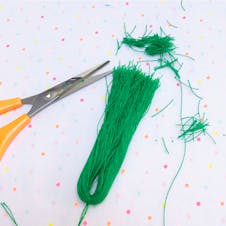
Repeat steps 1-3 with your second colour yarn but this time wrap around the longer side of the cardboard.
5
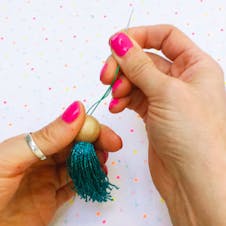
Thread the strands of yarn you used to tie the knots on the first tassel onto the needle and then thread through the bead.
Hopefully you will be able to pull the tassel up into the bead a bit to hide the top.
6
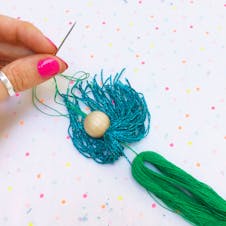
Unthread the needle and then rethread it onto the second tassel.
Thread this through the bead as well. This one probably won’t go into the bead but the top will be hidden by the other tassel.
7
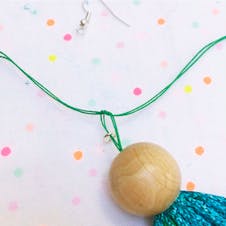
Take the two threads and tie one jump ring on tightly so it sits at the top of the bead.
Use the needle to sew the two threads back down through the bead and into the tassel. Thus hiding the raw ends.
8
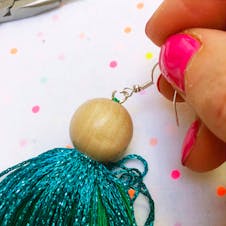
If you need to use the jewellery pliers to open the jump ring then loop one earring finding onto the ring and close tightly.
9
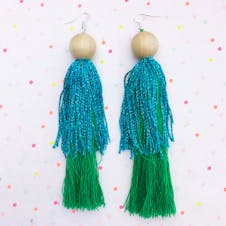
Repeat steps 1-8 to make another earring.
