Stylish strip-quilted Christmas tree tutorial!
Published on 12 December 2019 By Holly Butteriss 1 min read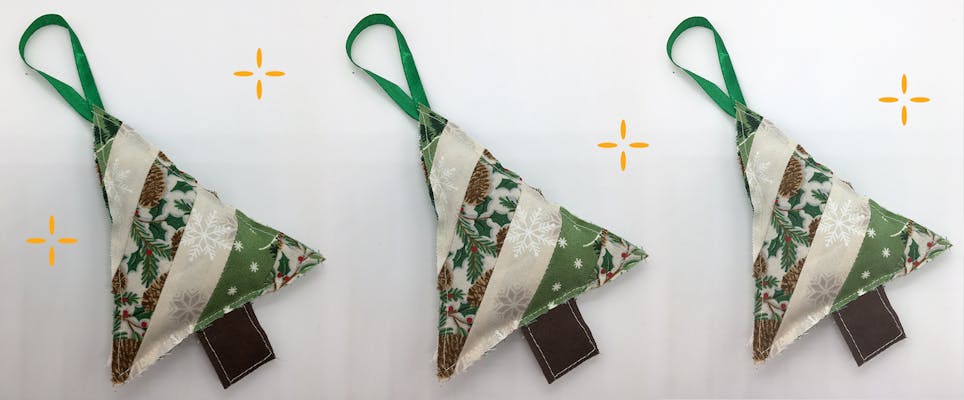
Natalie is a fantastic quilter and baker (what next, candle stick maker?) and these strip-quilted Christmas trees are a cute, stylish way to use up some of your stash! Super easy to make, these little trees will look gorgeous decorating your home this festive season!
You can find more of Natalie’s amazing makes at @nattiesbakesandbites on Instagram.
Materials
- 6-7 strips of bias cut material for tree body each 1 ¼” wide
- Brown material for tree trunk 1" by 1.5" (2.5 x 4.0 cm)
- Padding
- 6" long ¼” width ribbon for hanging loop
- Ribbon or bias binding for wrapping around middle of ball
- Thread to sew
This tutorial uses imperial inches.
How to make your strip-quilted Christmas tree!
1
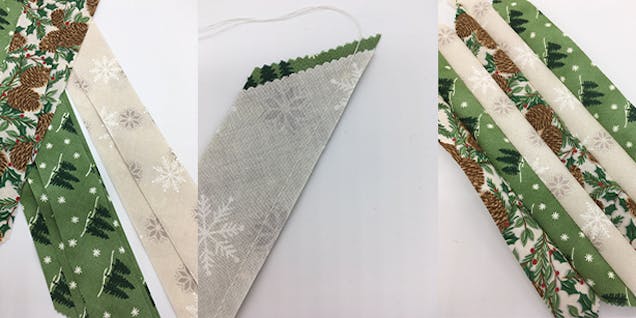
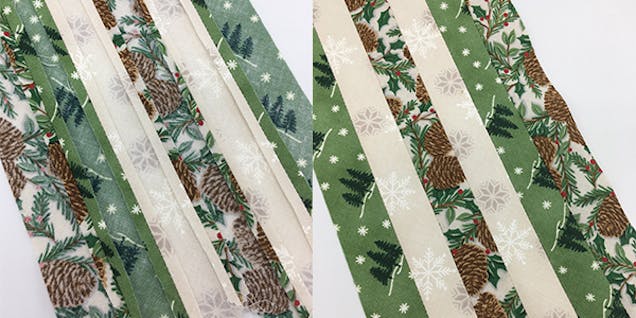
Organise the bias strips of material into the order you wish. Take the first two strips, right sides together and machine ¼” from the edge. Continue to attach each strip until all are completed.
2
Iron the seams open.
3
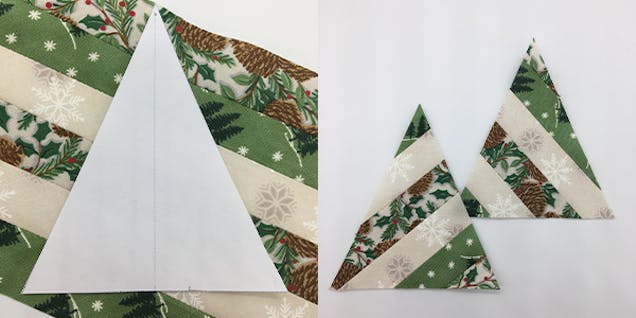
Cut out your fave triangle shape from a piece of paper or scrap newspaper. A tall elongated tree perhaps, or a full-branched beauty - the choice is yours! Place this template on this stripped piece at an angle and cut out two pieces.
4
Cut the tree trunk out of the brown material of 1" by 1.5" (2.5 x 4.0 cm).
5
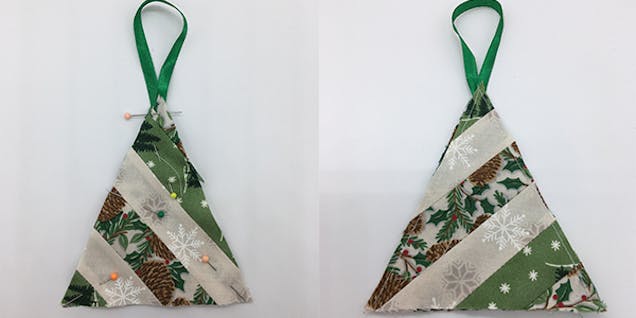
Pin together the wrong sides of the two triangle pieces. Fold the ribbon in half and tuck and pin into the top of the triangle. Sew along both of the long sides ¼ inch/ ½ cm from the edge, leaving the bottom edge open.
6
Fill the triangle with a small amount of padding, pin the trunk piece in centrally at the bottom of the triangle then sew closed, ensuring you sew around the trunk as well.
And voilà! One gorgeous strip quilted Christmas tree, and why stop at one? The more the merrier!


