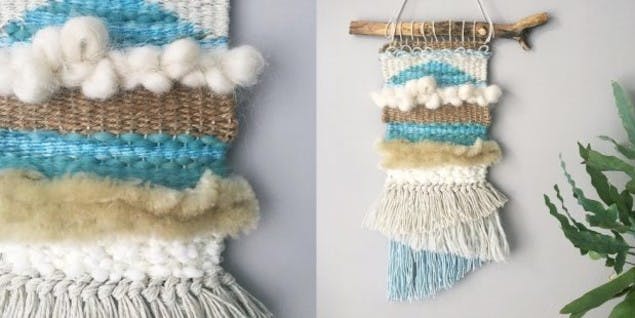
How to weave a wall hanging
Published on 19 April 2019 By Christine Leech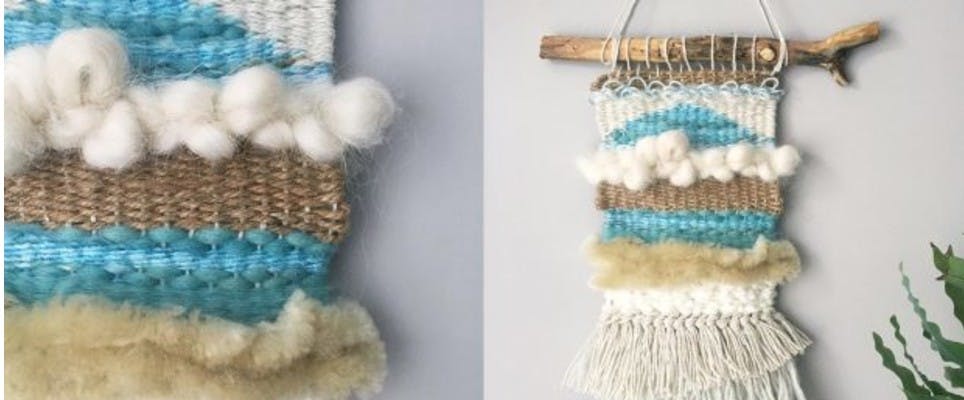
Learn how to weave with Christine Leech – and create a fabulous wall hanging using a knitting loom!
Materials
- Some suggested yarns
- Rico Felting Wool
- Paintbox Yarns Cotton DK
- King Cole Bamboozle
- Wendy Air
- Rico Fashion Light Luxury
- Rico Creative Bubble
- James C. Brett Bubbalicious DK
Now that you've mastered how to loom knit, it's time to take things up a notch and create something beautiful to showcase your skills!
I’ve wanted to have a go at making a woven wall hanging for ages, so I was super excited to get my hands on the Rico Weaving Loom last week and see if I could remember any weaving techniques from the last time I’d woven (which was probably primary school).
This loom is great as it has basic instructions for setting the loom up and how to weave.
My wall hanging here has nothing more complicated than a basic weave and a tassel knot. It’s the assortment of yarns I have used that give all the lovely texture and interest. It’s great for using up your yarn stash.
If you want you can sketch out your design before you start or just weave away and see where it takes you!
Basic weaving
Begin by setting the loom up as per the kit instructions. A cotton yarn such as Paintbox Vanilla Cream is a good base as the yarn is strong and won’t stretch too much as you weave. The yarn you use to fill the loom vertically is called the warp.
1
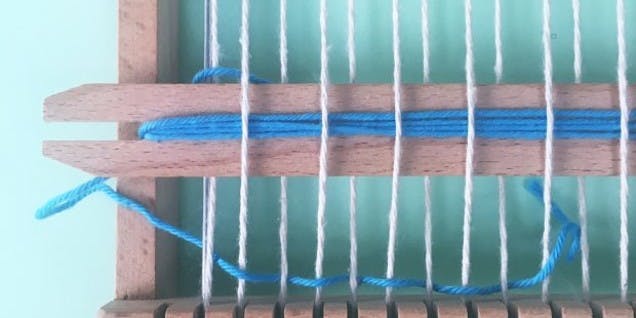
Take your first colour and wrap a length of the yarn around the shuttle. This yarn is called the weft.
2
Starting at the bottom of the loom in roughly the middle of the warp, begin weaving taking the shuttle over and under each warp thread from right to left till you reach the left hand side.
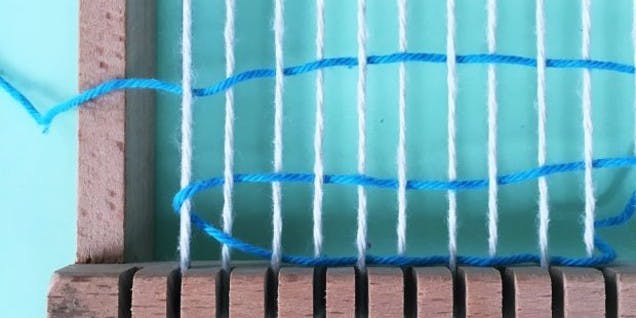
3
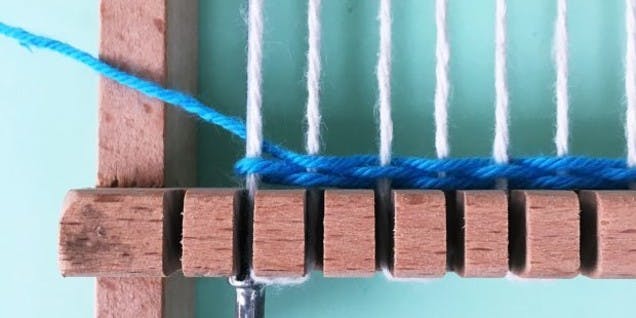
Next take the shuttle over the final warp yarn and start weaving back in the opposite direction, alternating between going over and under the warp.
Pro Tip
Remember if you went over and under in the previous row you want your shuttle to be going under and over in this row.
Things to remember
To make the woven rows sit flat and to keep the tension use the comb (also known as a beater) to push your rows together as you weave.
Every time you want to change yarn, start and finish in the middle of a row. Finish one colour yarn in the middle of the loom and then start the next.
Make sure you keep weaving in the same direction and finish the row you started. Leave a good length of yarn at the reverse of the weave so you can tie the loose ends together when your weave is completed.
Adding texture
What is nice about these weaves is all the different textures that are created — you can stick to the really basic weaving technique, but still get a fascinating wall hanging by using different yarns and materials.

Different yarns
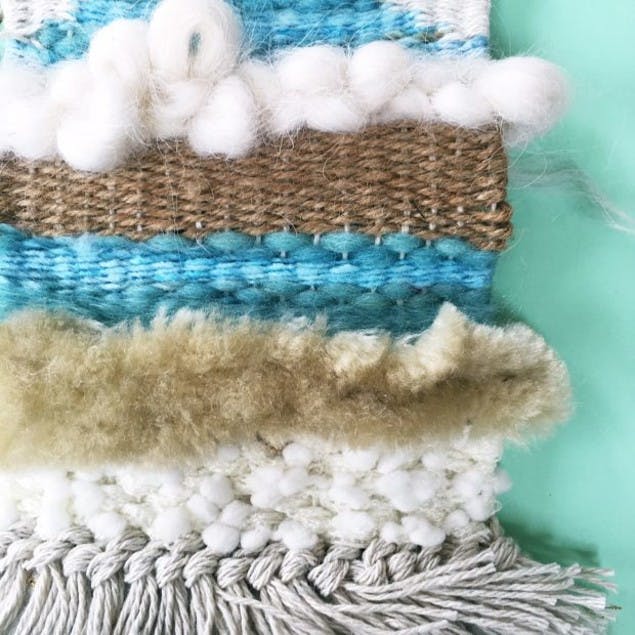
I have added lots of texture to this weave by using interesting yarn types — the Rico Creative Bubble makes it look like I have somehow woven a very dense teddy bear fur and the James C Brett Bubbalicious DK gives the impression that lots of tiny pom-poms have been woven in — whereas in reality they are just rows of basic weaving. You just need to adjust the direction of some of the pom-poms when you’ve finished weaving.
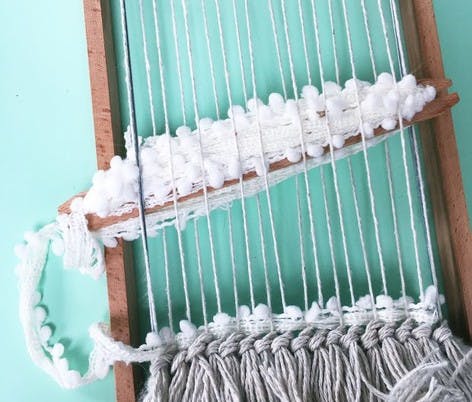
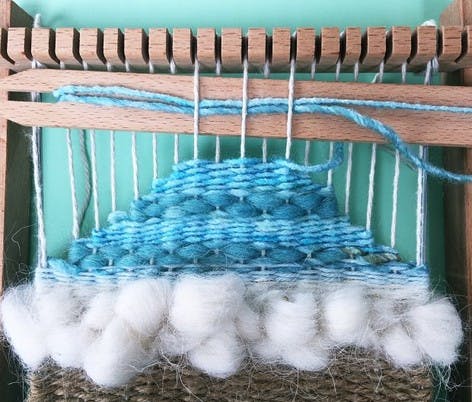
Yarns that have a varying amount of thick and thinness within themselves are also great for weaving as you can build up a lovely random pattern of textures by simply using one yarn. Try using King Cole Bamboozle to get this effect. I used this yarn to weave the triangle at the top of my wall hanging. To weave a triangle, simply weave a basic weave but decrease by one warp strand every two rows so you gradually build up a triangle shape.
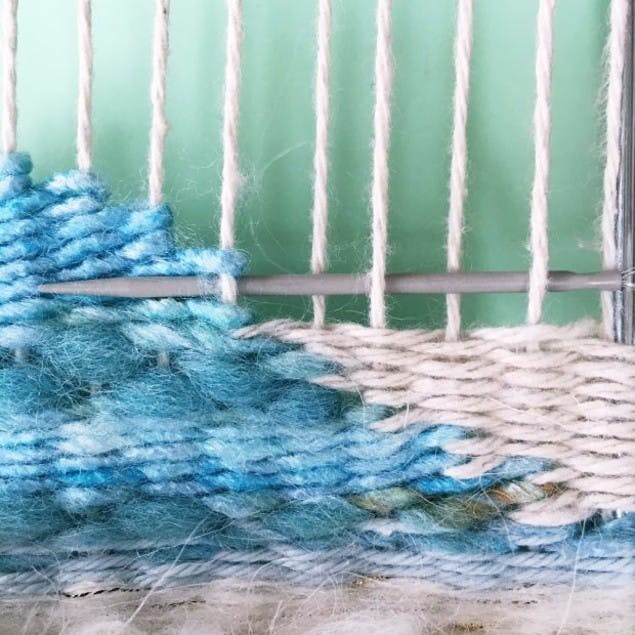
To fill the weave either side of the triangle use a large wool needle instead of the shuttle, as it is easier to manipulate in these smaller areas. Weave a basic weave with a contrasting colour back and forth to fill the area either side of the triangle. Every time you reach the edge of the triangle interweave by one warp strand so you end up with a neat join between the two colours
Roving
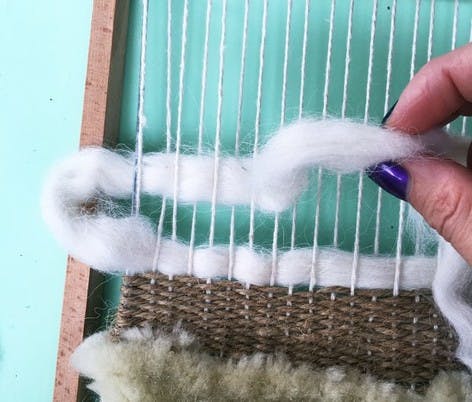
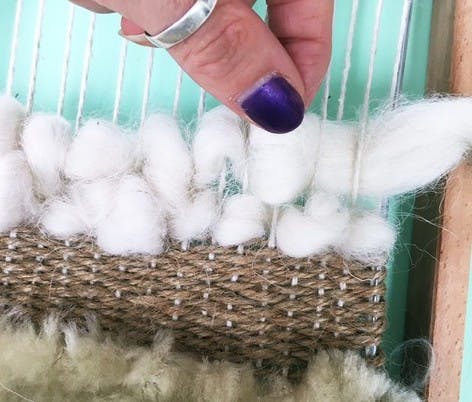
Instead of using yarn there are plenty of other materials you can experiment with to add texture to your weave. I have used a rough garden string and it weaves really nicely. I have also used roving to create big fluffy areas of weave. Roving is bundles of wool just before the final spinning process, they are thick, super soft strands of fibres that weave really nicely. It is easier to use your fingers instead of the shuttle to weave the roving and don’t pull it too taut as you want to be able to manipulate it later — making some areas fuller than others by teasing and pulling the roving away from the warp.
Looped yarn
1
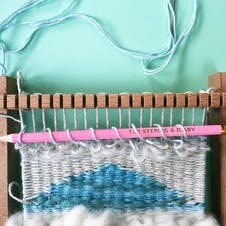
To create loops in the weave, first weave a loose row of yarn from right to left. Then when you have completed the row get a pencil and carefully feed it through the uppermost yarn in the row (this stops it pulling tight when you weave the next row).
2
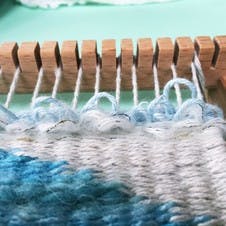
Weave the next row and when you reach the end remove the pencil and repeat feeding it through this new row.
Keep going until you have your required number of rows.
It is good to weave a few rows of regular tension weaving after you have done an area of looped yarn as this will hold it in place securely.
Tassels (Rya knots)
1
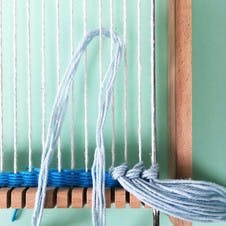
To make a tassel (also known as Rya Knots) cut 4 lengths of yarn — making sure the yarn is twice the length of your final tassel desired length.
Take the bundle of yarn and feed it around two adjacent warp strands.
2
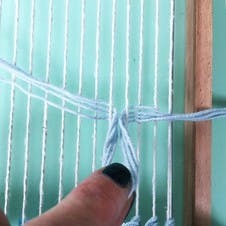
Pull the middle of the yarn bundle between the two warp strands till you have a small loop.
3
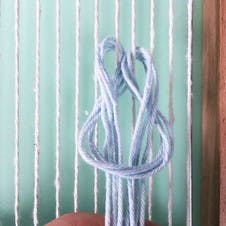
Take the two ends of the yarn bundle and lift them up and then bring them down through the yarn loop and pull tight. This creates the knot of the tassel.
4

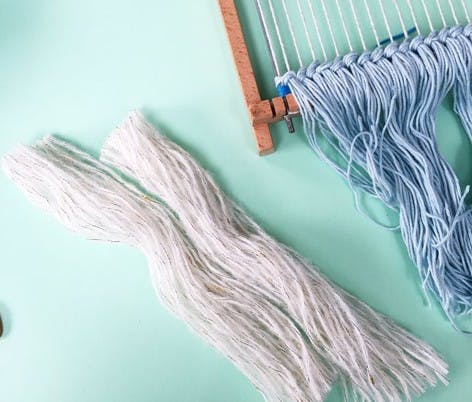
Continue across the loom from right to left. You can either use two new warp strands for each tassel or use one previous one each time (this gives a fuller row of tassels).
Pro Tip
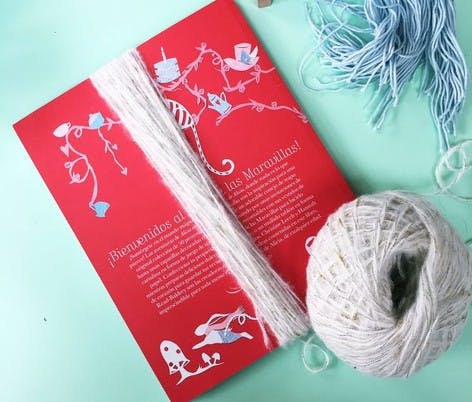
If you are making a whole row of tassels, it’s easier to wrap your yarn around a book that is a similar length to the length you want your tassels to be. Wrap it round several times to give you a nice bundle of similar lengths of wool.
Finishing off
When you start to reach the top of the loom you will find that your shuttle might not pass through the warp anymore, so switch to using a large yarn needle for the final few rows.
Before removing your weave from the loom, trim your tassels.
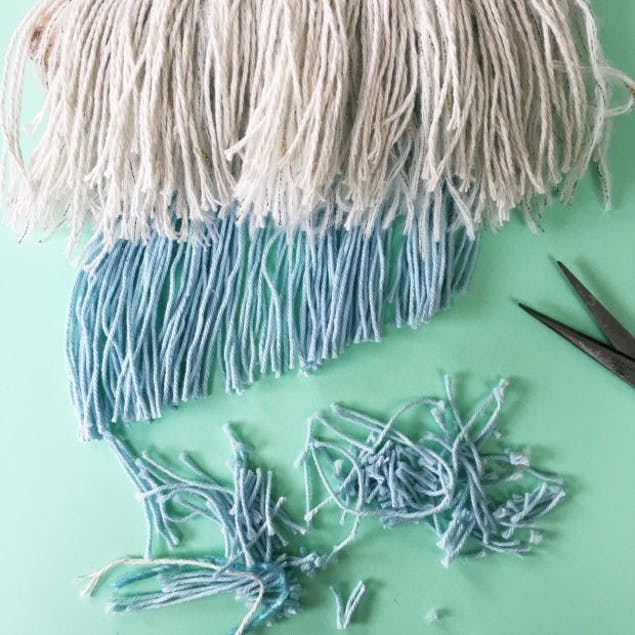
When you have finished the last row of weaving carefully remove it from the loom.
Carefully slide the loops at the top of the weave onto a piece of wooden dowel, or a small stick to display your wall hanging. Finally, tie another piece of yarn around the wood at either side of the weave and use this to hang.
