How to Tunisian crochet: your ultimate guide
Published on September 1, 2019 By Holly Butteriss 1 min read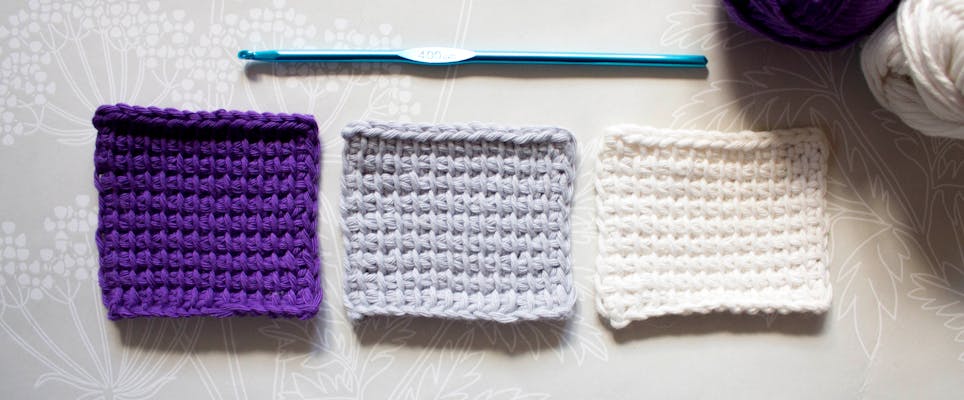
Tunisian crochet (also known as Afghan crochet) is achieved by collecting loops on your hook which are then worked off it. It produces fabric that is beautifully textured and rather dense, quite similar to knitted fabric!
When working Tunisian crochet your right side is always facing you. You create Tunisian crochet by alternating ‘forward pass’ and ‘return pass’ rows. ‘Forward pass’ is worked when you pick up the stitches on your hook and ‘return pass’ is when you work them off the hook. Ultimately one row consists of two parts. It is a very easy technique to learn and really satisfying to make.
Tunisian crochet hooks
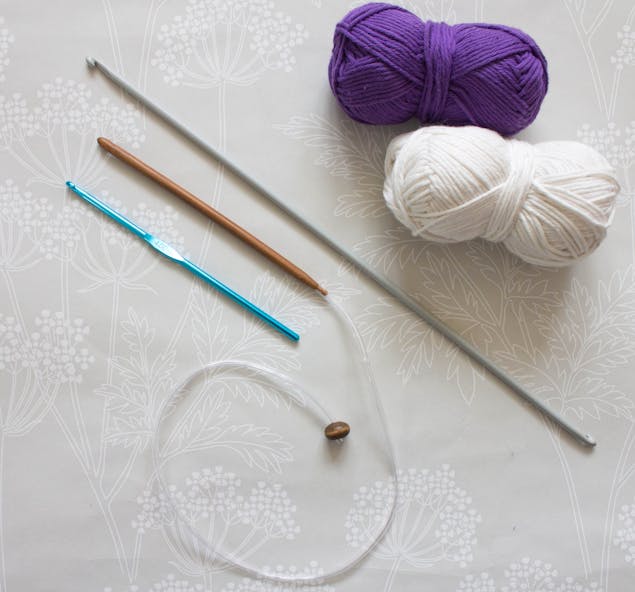
Tunisian crochet hooks are longer than a usual hook, and they allow you to hold the loops on hook. As standard hooks, they come in a variety of sizes. There are some that are double ended, these ones are perfect to use when working in the round and ones with blockers at the end. However, when you are working on small project (like a swatch or glasses case) your standard crochet hook will be just fine, just make sure the stitches do not slip off the end. You can use any yarn you like for Tunisian crochet, I’ll be using Paintbox Cotton Aran and a small G/6 crochet hook.
How to do Tunisian crochet
1
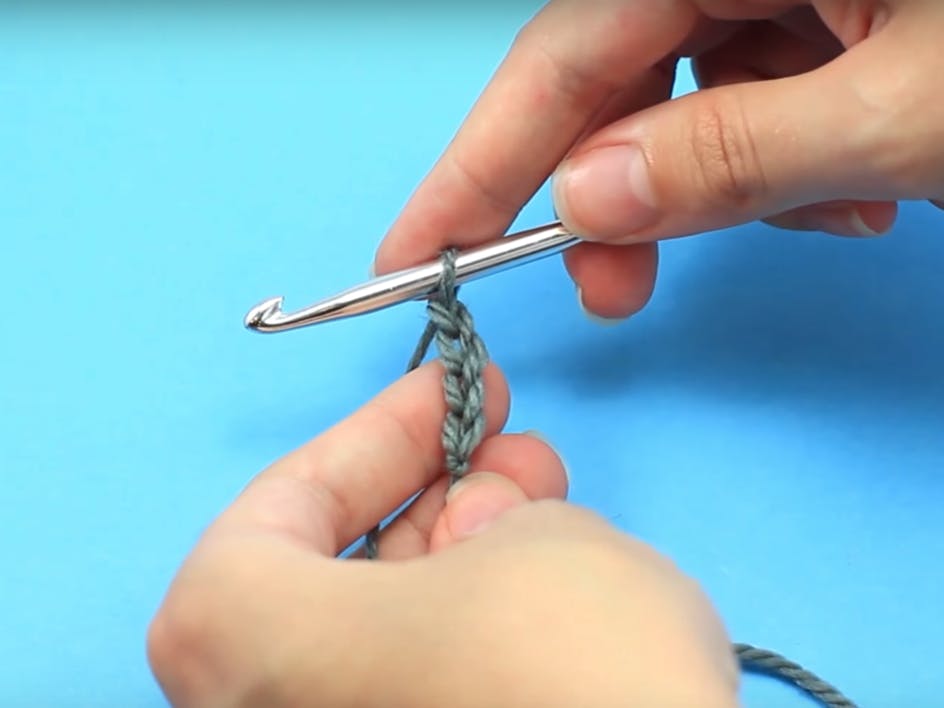
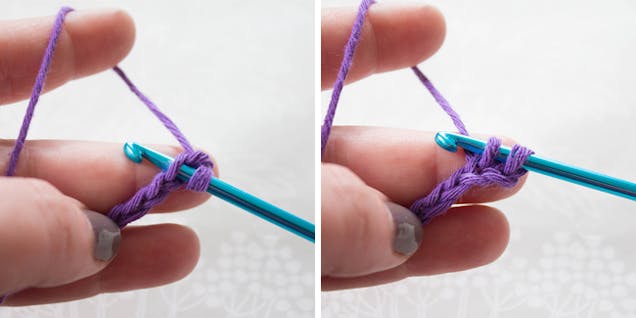
With your chosen hook and yarn make 14 chains. Insert hook into second chain from the hook, yarn around hook (yrh) and pull through, you will now have 2 loops on the hook.
2
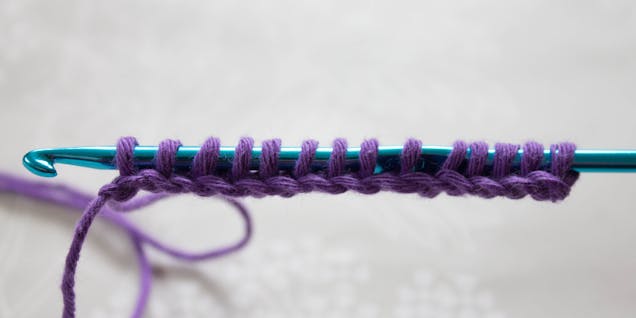
Insert hook into the next chain and pull up a loop. Continue working into every chain, pulling up loops until you come to the end of the chain. You should have 14 loops on your hook. This completes your foundation row.
3
Now let’s work the ‘return pass’ row.
Chain 1, you may wish to place a marker on this chain so it will be easier to work into it on the next row, yrh and pull through 2 loops on the hook.
4
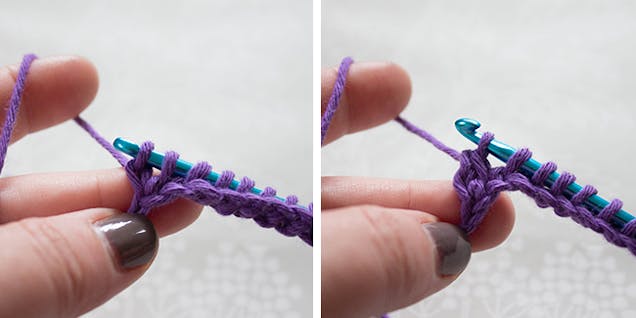
Yrh and pull through next two loops on the hook, continue yrh and pulling through next two loops until the end. You should have 1 loop left on the hook. Two rows have now been completed.
5
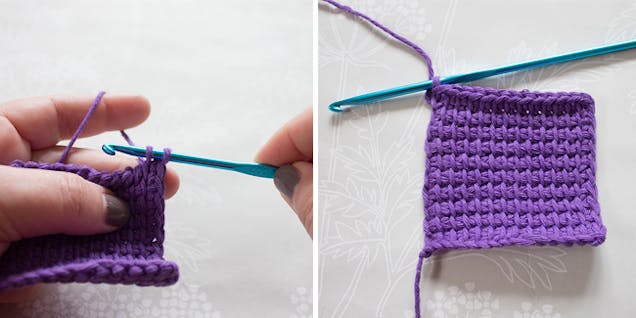
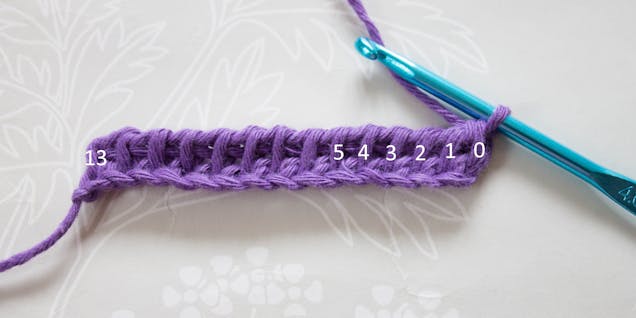
We now have to work another ‘forward pass’ row and collect loops onto hook again. If you look at the pic above, we have created vertical strands running along our work, I have marked them 0 to 13, we will insert our hook into each of these strands, yrh and pull through. We start with number 1 as the strand marked 0 corresponds to the loop which is already on the hook.
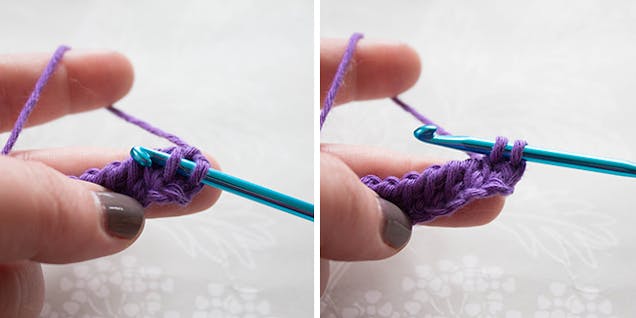
Insert hook into strand marked 1, yrh and pull loop through.
6
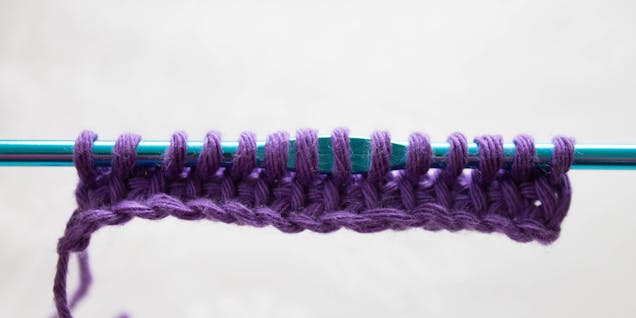
Repeat until you reach strand 13. This is the strand that was created by the chain 1 on previous row, the one I suggested to put a marker on, this is the last loop and it has to be worked as normal, otherwise we will be missing loops and our work will not be even, so yrh and pull loop through. You now have 14 loops on the hook again.
7
Now, make a ‘return pass’ row again: Chain 1, **yrh and pull through 2 loops on hook, repeat from ** until the end.
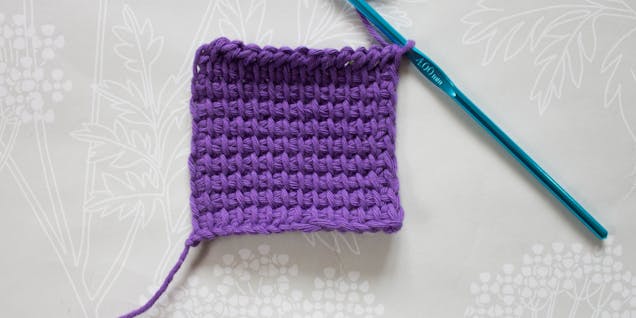
Repeat the steps from * working ‘forward pass’ and ‘return pass’ rows until you reach the desired length. For my swatch, I have worked 20 rows (10 x forward and 10 x return)
8
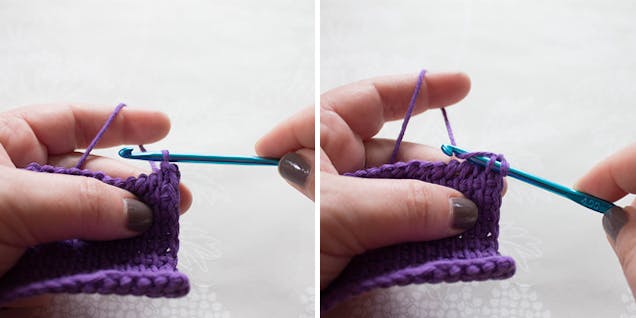
You can cast off when you've completed a ‘return pass’ of the final row, *simply insert your hook in the vertical strand, the same as you would when making a ‘forward pass’ row, yrh and pull loop through, 2 loops on hook, now pull the first loop through the second one.
9
Alternatively, to cast off you can yrh and pull through both loops on hook, repeat from * until all horizontal strands have been worked, fasten off.
