How to read a cross stitch pattern
Published on June 24, 2019 3 min readLearning to cross stitch can be one of the most rewarding and therapeutic hobbies. Once you’ve mastered the basics, you can take on any pattern you set your sights on!
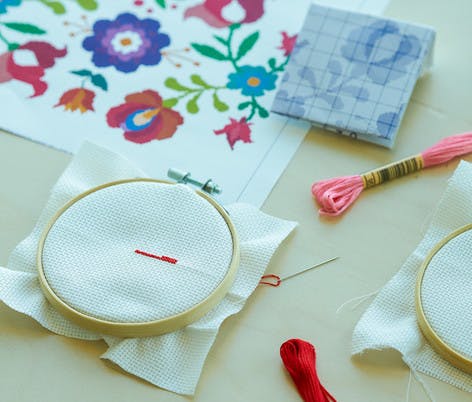
When you’ve got your threads on hand, your aida stretched over a hoop and your needle at the ready – you just need to learn how to read a cross stitch pattern. Also called a cross stitch chart, these colorful grids will represent the design you’re about to stitch.


The key to cross stitch
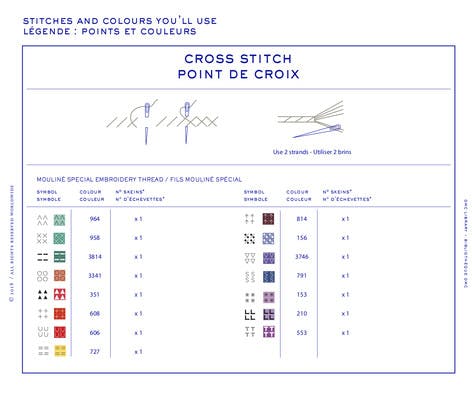
The key to learning how to read counted cross stitch patterns is… to familiarize yourself with the key! Every pattern will have a key explaining the colors and symbols on the chart.
Every cross stitch chart has a legend which tells you what embroidery thread to use. In a full color chart, different threads are shown with different color blocks and symbols. In a black and white PDF pattern, you'll have a symbol to represent the color thread.
Remember: always keep the key and the pattern close and you’ll never go far wrong!
Get to know your grid
Cross stitch patterns are presented on a grid, with each square representing a square of aida (one stitch). Darker lines mark out 10 x 10 square sections, (it makes reading the chart a bit easier!). In cross stitch patterns for beginners, each marked square on the grid will usually represent a full cross stitch, however when you get the hang of it you might start to see half or three quarter stitches (also known as fractional stitches) or other symbols, like a round dot to signify French knots.
Pro Tip
The arrows on the outside align to the center point of your pattern. You'll need to know this when you start stitching!

What else to note?
Depending on your fabric count (the size of the weave in your aida), the finished size of your design will vary. Your chart might include recommendations on the fabric count (and color), as well as the finished dimension of your piece - how many stitches wide by the number of stitches high.
Your pattern might also tell you how many strands of floss to use with your design. So, if your design requires 2 strands, you simply pull the embroidery floss from its skein, and separate the thick thread into strands - there are 6 strands in the thread, so you'll just need to pull away two. Easy peasy.
Start from the middle
Getting started with a bigger cross stitch pattern may seem daunting, but the easiest thing to do is find the center of your fabric and work outwards. This should make reading the chart easier too, as you’ll be working in smaller sections from the central point. To find the center, simply fold your aida in half, then in half again and pinch the aida to make a crease. Then, unfold it and make a small mark or even a loose stitch to keep your place and start stitching!
Practice makes perfect – just make sure to keep count of your stitches!


