How to tie a slip knot in knitting
Published on March 28, 2020 By Sarah 1 min readYou’ve got your needles ready, you’ve worked out how to hold them , and you’ve chosen your yarn – so, what’s next? It's time to learn how to tie a slip knot!
If you’re a knitting newbie, learning how to tie a slip knot in knitting is the first essential skill you need to embark on your making journey. A slip knot is simply a knot that produces an adjustable loop, that you can add to your left-hand knitting needle and use as a starting point to cast on your stitches.
In this super easy tutorial, we'll show you how to tie the perfect slip knot with a simple step-by-step guide to get you started.
How to tie a slip knot
1

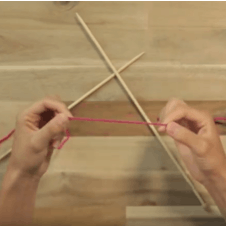
With the ball of yarn on your right, unravel approximately 12 inches
2

Holding the end of the yarn in your left hand, create a loop by folding the right side over the left side
3

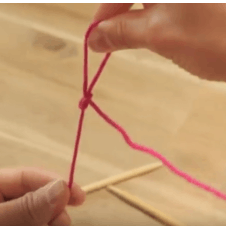
Use your left thumb and index finger to hold the loose loop, then pull the yarn through the loop to form a knot
4

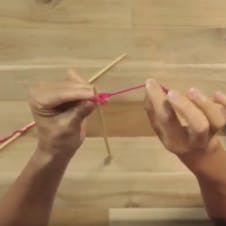
Slip the knot onto the left needle and pull on the yarn on right side to make the knot smaller. And there you have it!
Pro Tip
Sometimes the slip knot can look too loose at the beginning of the row. To avoid this, don’t include it in the stitch count and unravel once you have finished the cast on row.
Super easy patterns for knitting newbies
Mastered the slip knot? Once you've discovered how to hold your needles, your next step is to learn to cast on and start knitting your first row!
