How to knit an i-cord
Published on April 9, 2014 By Amy Kaspar 3 min read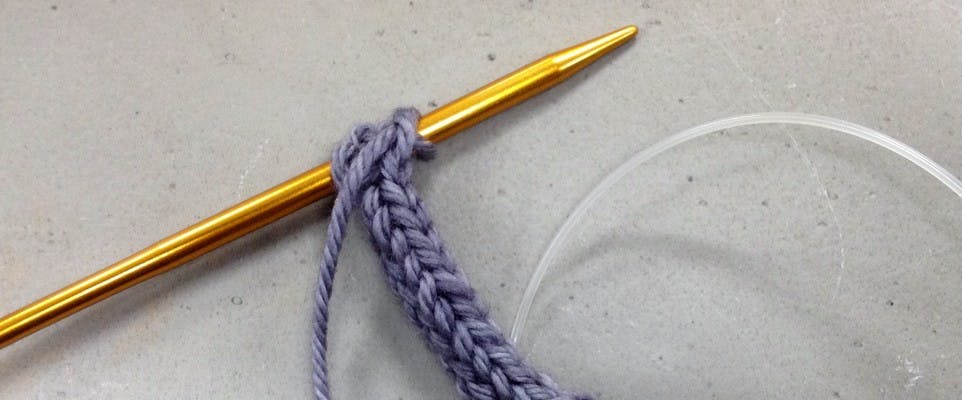
Long before Steve Jobs and his company’s iPhone, iMac, and iCloud, knitters knew a different 'i' product that had nothing to do with technology. Elizabeth Zimmerman, founder of knitting simplification so the masses could learn and enjoy it, invented the 'idiot cord', or i-cord for short.
Materials
- Any weight of yarn
- Addi FlipStix Double Point Needles 15cm (Set of 5)
- OR
- HiyaHiya Bamboo Circular Needles 32" 80cm
I-cords are a very versatile addition to the knitter’s repertoire, functioning both as an embellishment and as a self-contained accessory to another knitted piece. The i-cord is certainly more durable than a single strand of yarn, and it makes a smooth, pretty stockinette-stitch tube that can tie and untie, withstand a reasonable amount of weight, and finish an otherwise unfinished piece of knitting with a knitted cord.
I used a circular needle for the demonstration because I have the attention span of a fruit fly, and the last thing I need is to put down two double-pointed needles and wonder where they went when it is time to knit the next sock.
Knitting an i-cord
1
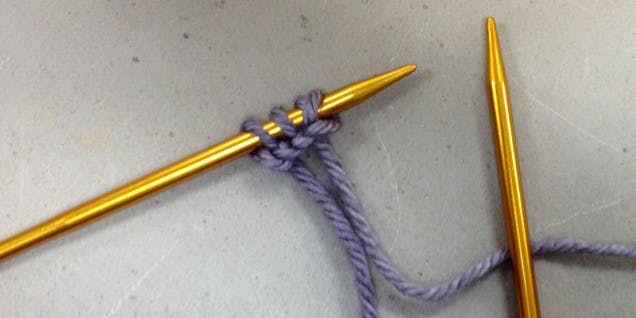
Cast on four stitches.
Some patterns vary the number of cast-on stitches between three and five, so four is certainly acceptable.
You can use pretty much any cast-on method you like, but keep in mind that the cast-on row is the exposed edge of your i-cord, like the aglet of a shoelace.
I used the knitted cast-on; the only cast-on I would not recommend is backwards-loop because it does not provide a very stable edge. If you look at the picture, you see the cast-on tail and working yarn are on opposite sides of the row.
2
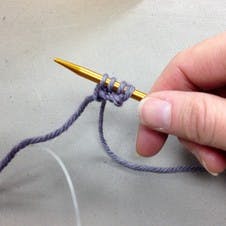
Slide the stitches: Instead of turning the needle like we would normally do, slide the stitches either across the double-pointed needle or across the cable to the other needle point.
The last worked stitch is now the 'far' stitch, instead of the 'near' stitch to the working needle. See the cast-on tail and working yarn on the same end of the work, but you are still looking at the 'right' side?
3
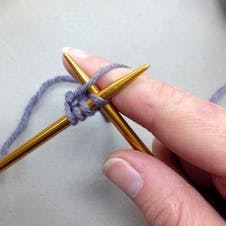
Knit the first stitch: This is where things will feel a bit odd for the next couple of rows. Prepare to knit the first stitch on the left needle. It was the first stitch knitted in the last row as well, and the reason you know this is because the working yarn is hanging from the stitch on the far left.
Insert your right needle into the first stitch presented on the left needle. Normally, the yarn would wrap clockwise around the right needle, but since the working yarn is already on the far side of the stitch, just pull it over the tip of the right needle without wrapping it.
4
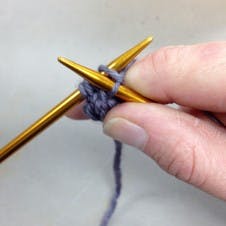
Continue to knit the rest of the stitches in the row, and when you are finished, do not turn your work. Just slide the four stitches back to that other point and start again!
You can give that first stitch a decent tug on every new row, but the stitch will be slightly loose on the needle because the yarn has so far to travel. Have no fear, however, because this works itself out as the yarn relaxes into its tube.
5
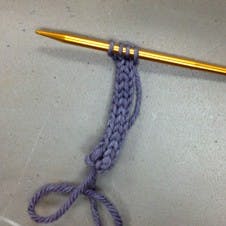
And this is the view from the back. You have just created several rows of four stitches playing 'Ring-a-ring o’ Roses' with each other, and they form this neat little tube.
You can knit your i-cord as long as you want, and just bind off when you are ready.
Keep in mind that because i-cords are generally knit at a similar gauge to the rest of your knitting, the cord will stretch if weight or resistance is applied to it. In other words, if you are using it for handles on a satchel, take into account how much the cords will stretch so you can make them shorter than their desired length once resistance (weight from items in the satchel, perhaps) is applied to it.
The super-fun part about i-cords, in my opinion, is that there are no ends to weave in. Since the first stitch is a slip-knot, and the last stitch is a true knot, you can just needle up the tail and thread it into the middle of the tube, never to be heard from again.
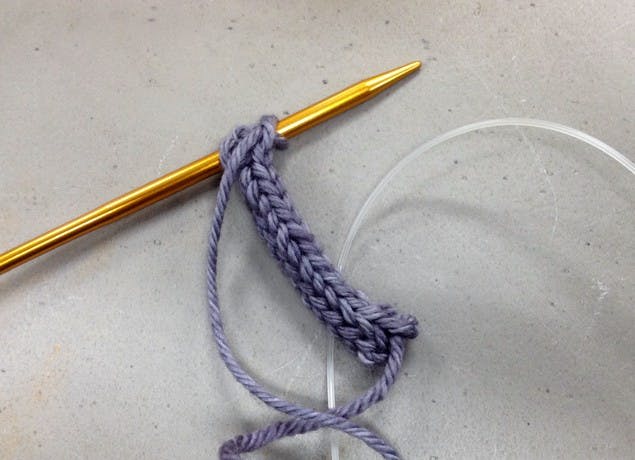
Now, what fun uses are there for i-cords? Plenty! My personal favorite is it is a great way to either start or finish a baby hat. If you decrease to four stitches at the hat crown, make two more inches of i-cord and then tie it in a knot on the top. It is also great for drawstrings and ties, so if you have a cardigan that needs to stay shut but you hate button holes, make an i-cord and tie it at whatever waist level flatters your figure the most.
When making toys, i-cords make great arms and legs, and their cast-on and cast-off edges are smooth enough for seaming. I-cords can be twisted to make pretty jewellery, tied around a birthday or special-occasion package, or are the simplest project for a good yarn-bomb. They can even be sewn onto a finished piece as embroidery, like the leash on an old-school poodle skirt. Because of this, the i-cord can be knitted anywhere at any time, and it is a great way to use up leftover yarn from previous projects.
It’s time to i-cord, knitters…cast on!


