Crochet the cutest bear cub hats for kids
Published on 2 December 2019 1 min read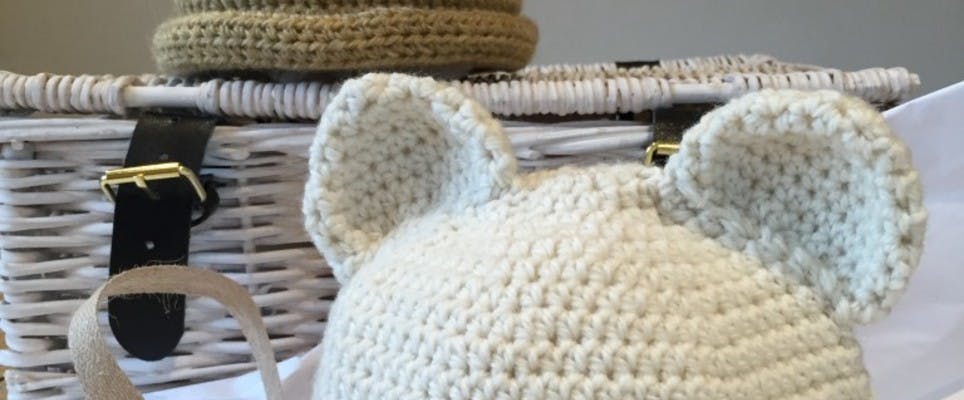
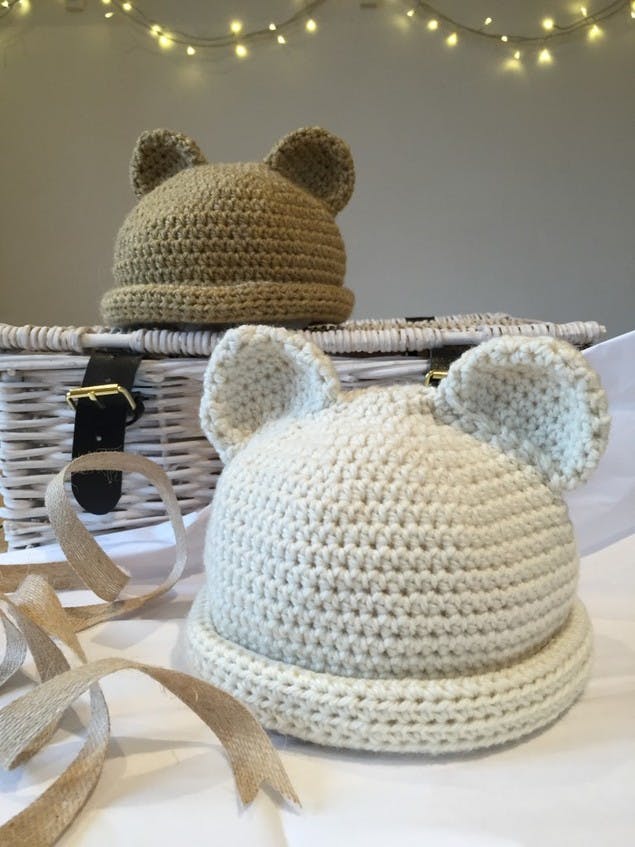
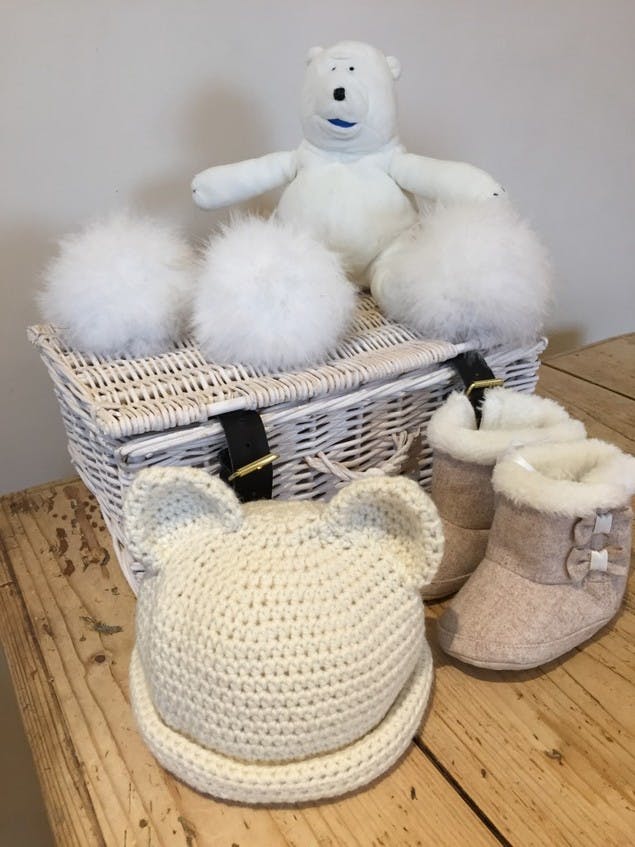
Can you think of anything cuter than a baby in a bear cub hat? We certainly can’t! Perfect for chilly weather, this gorgeous design by Kate Eastwood is sure to keep little ears warm while looking totally adorable too.
This tutorial uses UK crochet terms. Both the teddy bear and polar bear designs are made from simple half treble crochet (HTR) and worked in a round, with the cutest little ears as the finishing touch!
If you’re crocheting for a tiny tot, the teddy bear hat is sized to fit babies up to a year old with a finished circumference of around 40cm – the perfect baby shower or new baby gift. The polar bear hat is better suited to a 12-24 month old, with a finished circumference of 45cm. We recommend 2 balls of Debbie Bliss Cashmerino Aran yarn for each hat and a 3.5mm crochet hook.
Materials
- Debbie Bliss Cashmerino Aran
- KnitPro Waves Crochet Hook
- Needle and thread
- Clover Locking Stitch Markers
The only stitch you will need for the entire hat is a HTR and I found that the following worked well for the start and end of each row.
How to make the hat step-by-step:
1
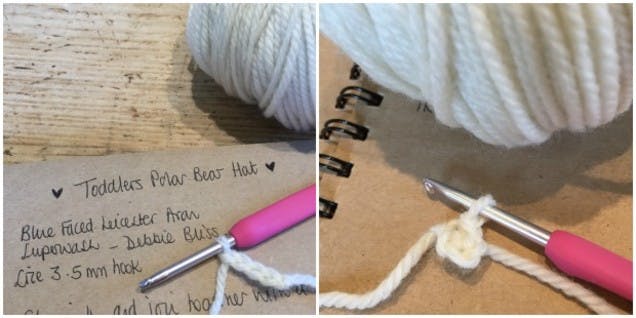
Start by making a chain of 4 and then join the first and last chain together with a sl st to form a ring.
Pro Tip
Start each round with a chain of 2 in place of a HTR, then at the end of each round finish off by working a sl st in to the top of the chain 2 from the start of the round.
2
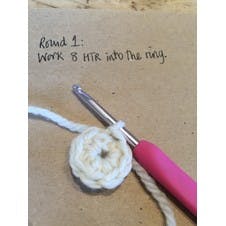
Round 1: Beginning with a ch of 2 as your first HTR, work 8 HTR in to the ring, and then join with a sl st into the top of the ch 2 from the first st.
3
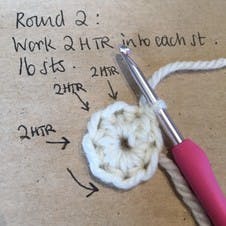
Round 2: Work 8 HTR in to the ring (working the first and last stitch as in the TIP above). You are now going to start increasing, which will give you the shaping for the top of the hat.
4
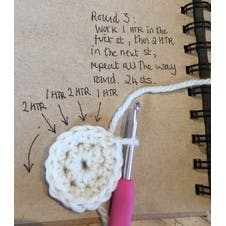
Round 3: Work a ch of 2 in to your first st ( your first HTR ), then work 2 HTR in to the next st, 1 HTR in to the next st, 2 HTR in to the next and so on, repeating this pattern all the way around. 24 sts.
5
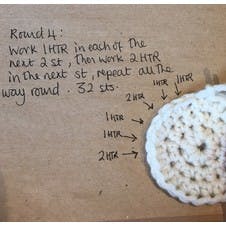
Round 4: Work 1 HTR in to each of the first two st and then work 2 HTR in to the next st. Continue this pattern all the way around. 32sts.
6
Round 5: Work 1 HTR in to each of the next three st and then work 2 HTR in to the next st. Continue this pattern all the way around. 40 sts.
7
Round 6: Work 1 HTR in to the next four st and then work 2 HTR in to the next st. Continue this pattern all the way around. 48sts.
8
Round 7: Work 1 HTR in to the next 5 st and then work 2 HTR in to the next st. Continue this pattern all the way around. 56 sts.
9
Round 8: Work 1 HTR in to the next 6 st and then work 2 HTR in to the next st. Continue this pattern all the way around. 64 sts.
Pro Tip
If you’re making the teddy bear hat, round 9 will be the final round of shaping. Attach a stitch marker in to the last stitch of round 9 and then continue straight rounds of HTR until your work measures 9 cm from the stitch marker to the rim of the hat. Finish off and sew ends in.
10
Round 9: Work 1 HTR in to the next 7 st and then work 2 HTR in to the next st. Continue this pattern all the way around. 72 sts.
11

Round 10: This is your final round of increasing and needs to be worked as follows: Work HTR all the way around, increasing by working 2 HTR in to one stitch on every 11th st. Work the final 6 sts to the end of the round. 78 sts.
12
That now completes the shaping and you will be working in straight rounds from now on. You might find it useful to mark the final st of round 10 with a stitch marker, as this enables you to measure the finished length of your work accurately.
13
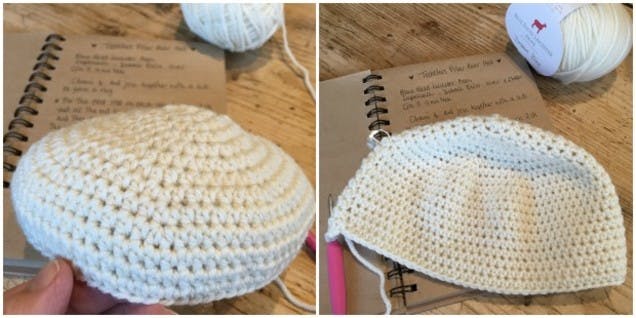
Continue to work a further 17 complete rounds of HTR. You will now really see the hat shape beginning to form.
14
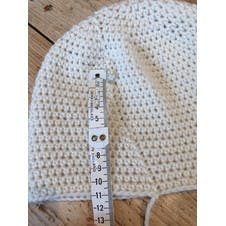
Your work should measure approx. 11cm from your stitch marker to the rim of the hat. This allows for there to be a roll up trim to the hat. Finish off and sew ends in.
How to make the polar bear ears step-by-step
1
Make a chain of 3 and join with a sl st to form a ring.
2
Round 1: Work 6 HTR in to the ring (following the first and last stitch TIP).
3
Round 2: Work 2 HTR in each st. 12 sts.
4
Round 3: Work 1 HTR in to the first st, then 2 HTR in to the next st, continue this pattern all the way round. 18 st.
5
Round 4: Work 1 HTR in to the next two st and then 2 HTR in to the next st, continue this pattern all the way round. 24 sts.
6
Round 5: Work 1 HTR in to the next two st and then 2 HTR in to the next st, continue this pattern all the way round. 30 sts.
7
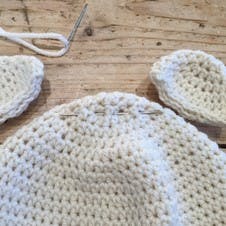
Rounds 6 and 7: Work two straight rounds of HTR. Finish off and sew in ends.
How to make the teddy bear ears step-by-step
1
Follow steps 1-5 of the polar bear pattern but make Round 4 your final shaping round. 24 sts.
2
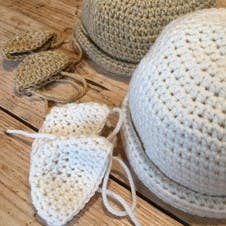
Rounds 5 and 6: Work two straight rounds of HTR. Finish off and sew in ends.
How to finish the hat step-by-step
1
Use a needle and thread to sew your ears in place. You may find it easiest to fold the hat in half flat whilst doing this.
2
Once the ears are sewn in place simply roll up the bottom of the hat to make a soft brim and your hat is ready to go!
