Three ways to create awesome rainbow elements with cardstock
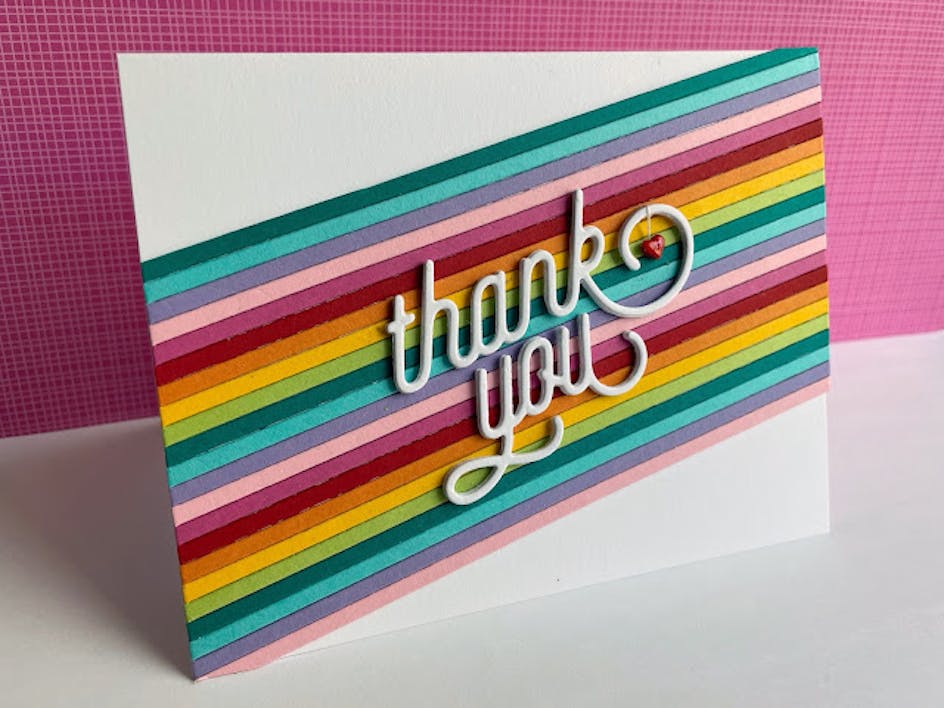
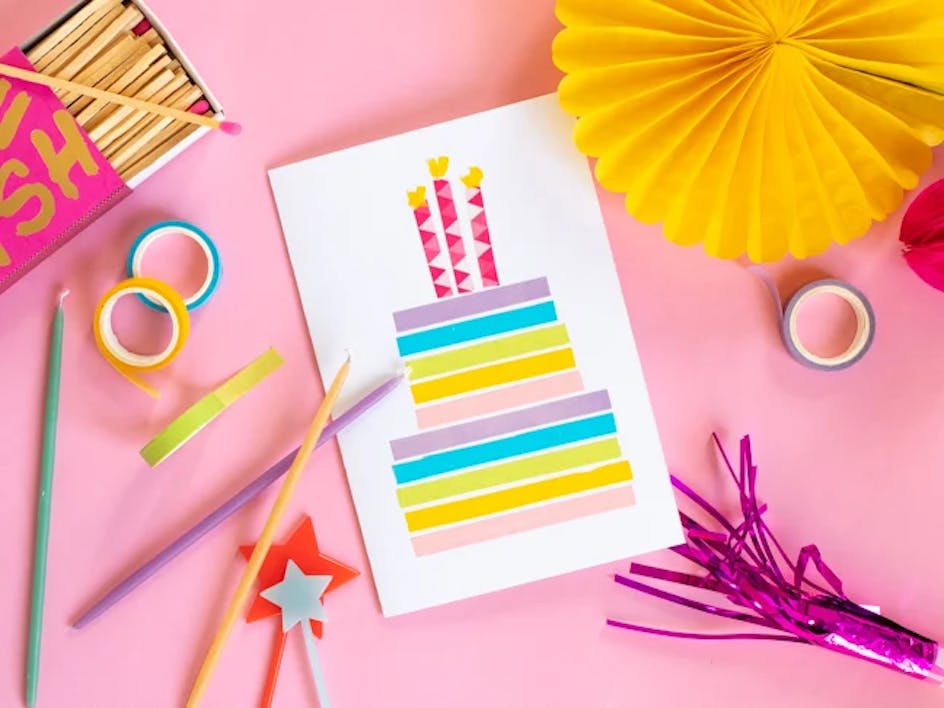
Published on 10 March 2021 2 min readRainbow elements are one of the biggest trends in paper crafting! Scroll down your Instagram feed or browse Pinterest and you'll find beautiful rainbows as far as the eye can see! These rainbow elements may look complicated and often intimidating to try and recreate. I am excited to tell you, it isn’t as hard as it looks! In this tutorial, I'll break down the steps to create rainbow paper, share suggestions for how to create rainbow elements and explain how to create inlaid die cuts in rainbow colors. So what are you waiting for? There's a pot of gold waiting to be discovered!
Materials
- Your choice of rainbow coloured cardstock!
1. How to create classic paper rainbow stripes 🌈
a
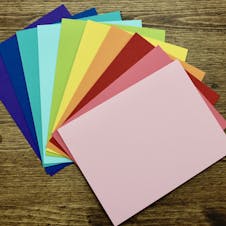
Pick your colors. Select one of each of the rainbow colored cardstock to cut your strips.
b
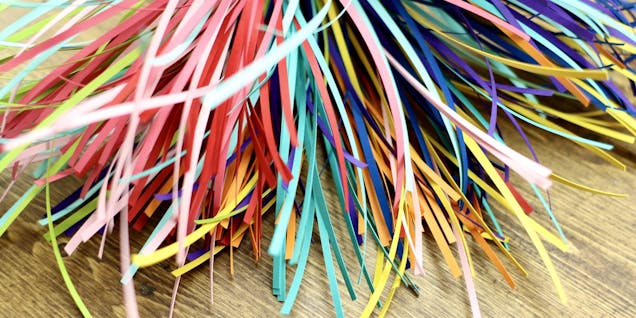
Cut an assortment of strips in ⅛”, ¼” and ½” from each of the colors.
c
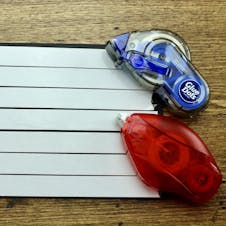
Choose a card base cut to 4 ¼” x 5 ½” and add adhesive to one side. Be sure to cover the complete surface of the cardstock, including the edges, with adhesive. You can use your favorite tape runner or tissue tape to secure the paper strips to the card base.
d
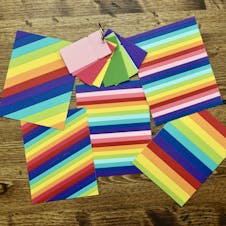
Stick your strips. Let the fun begin! Add one strip of paper at a time, either straight, starting from the bottom and working your way up, or at an angle, starting from the middle and working in both directions. Be sure to cover the entire card base from edge to edge. Repeat your rainbow colors until you fill the whole card base.
e
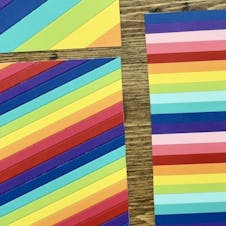
Secure and trim! Use your bone folder to rub all of the strips of paper down into the adhesive so they won’t move when you die cut the background later. Trim any excess paper strips with scissors or a paper trimmer to get a clean edge on your card base.
2. How to create EXTRA awesome rainbow stripes with monochrome accents 🌈
a
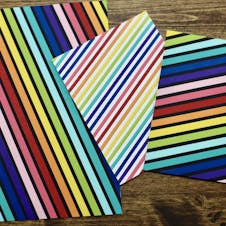
Cut out some strips of black card ⅛”. Follow the same instructions above, with a black strip of paper in between each rainbow color, like in the picture. You can do the same design using white strips instead of black, as well. Have fun experimenting by varying the sizes of strips to create your own unique pattern paper!
Pro Tip
I also recommend experimenting with monocromatic papers by using different shades of the same color for matching elements on layouts, cards, Traveler’s Notebooks, pocket page layouts and so much more.
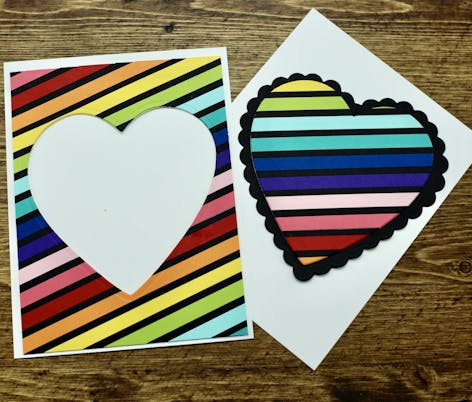
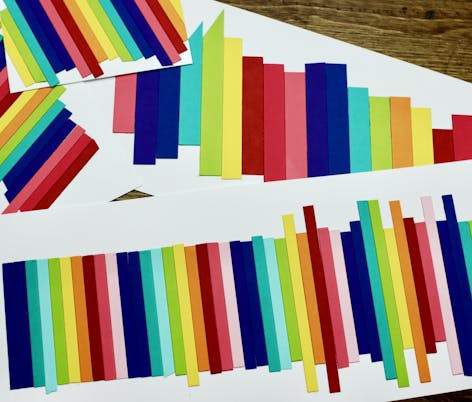
Designing rainbow paper is fun and can be very therapeutic!"
You may be asking yourself, now what? I have this beautiful selection of rainbow papers but I don’t know how to incorporate them into my paper crafting projects. May I suggest using them as backgrounds for cards, die cut hearts, circles, or other shapes to use as accents on your paper crafting projects.
Add a black background to make your image pop off the page, like in the heart element shown above. Use the other piece to create a shaker element, add a greeting, title, journaling or use as a frame for a photo.
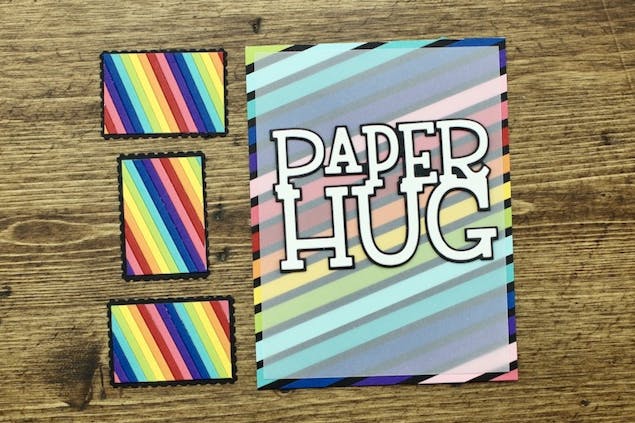
I encourage you to look through your stash of metal dies for fun words, create rainbow alphabet letters to use on layouts, cut a thin rainbow stripe to use as an element on the edge of a thank you card, or try me as part of your scrapbooking layout. The possibilities are endless!
Pro Tip
Before you clean up your work space, be sure to save all the larger strips of scrap paper and adhere them to a sheet of paper like I did in the above photo. These are great to use for slim line cards, die cut words, and other smaller elements.
3. How to create rainbow inlaid die cut elements 🌈
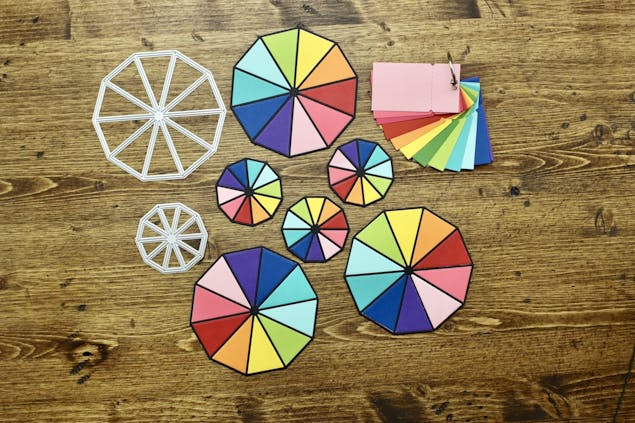
The last thing I want to share is how to create stunning rainbow inlaid die cut elements. I will be using the Hex Colorwheel Dies from The Stamp Market to create these beautiful rainbow hexagon elements. This technique is also stunning when using background dies as well as beautiful floral dies. Once you see how easy it is to create inlaid elements, you will look at your metal dies in a whole new way.
Choose one piece of paper for each color in your rainbow, you will need 10 colors in all to fill in the hexagon.
The colors I chose are Petal Pink, Rose Chintz, Watermelon Pink, Classic Cherry, Candied Yam, Yellow Sorbet, Crisp Green, Tropical Teal Pale Aqua, Deep Blue, Cyber Grape, Black Suede and White Smoke for the base of my inlaid element.
a
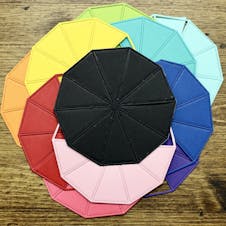
Cut a hexagon in every color. Using the large hexagon die, cut one hexagon from each of the 10 colors and one black for the frame of the hexagon. I added tissue tape to the back of each of the papers before I cut the hexagons. This will turn each die cut piece into a sticker. You can also add adhesive after the pieces are cut, if you prefer.
Pro Tip
If you want to make extra elements to have on hand, cut 10 black hexagons while your supplies are handy. This will allow you to use all of the extra rainbow triangles, plus have 10 stunning rainbow hexagons to use on future projects!
b
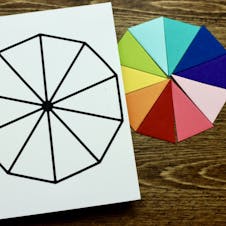
Punch out all of the black triangles and set them aside. Now remove out one triangle from each of the 10 colors and arrange them in the order you want to add them to the black hexagon.
c
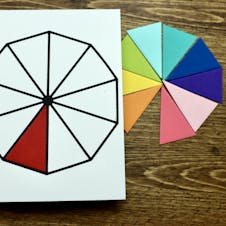
Take your black hexagon outline and adhere it to a white or black card base, then adhere each of the triangles inside the black hexagon in rainbow order. When you are finished, use a bone folder to rub the pieces firmly into the adhesive. When you are finished, trim the excess paper away from your die cut element and you will have a beautiful rainbow hexagon element to add to your paper crafting projects.
Pro Tip
Be sure to save all the extra parts and pieces from your die cut shapes to use on layouts, as a background for a card, in a Traveler’s Notebook or on a journaling card for pocket page scrapbooking.
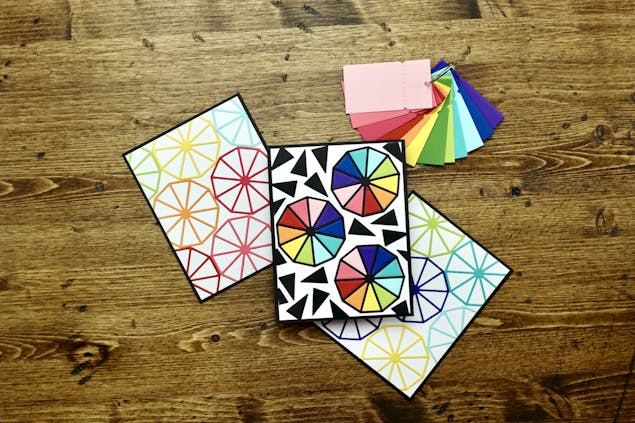
I hope you have been inspired to create your own rainbow embellishments. We would love to see what you create, so be sure to tag us at on @lovecraftscom #LoveCrafts. Thanks for stopping by the blog today for a rainbow of fun, happy crafting!
