Crochet i-cord necklace tutorial!
Published on 28 August 2020 1 min read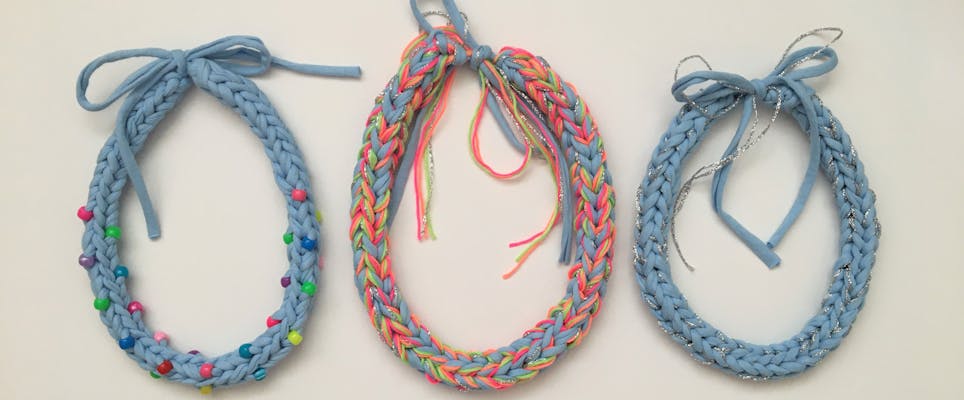
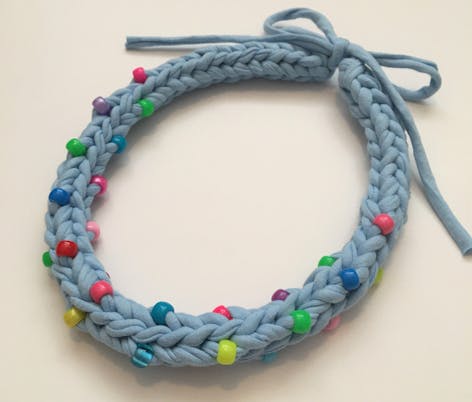
Jazz up any old outfit with this funky crochet cord necklace by Chloe Bailey! These great little stash busters are super easy to customise with beads and different coloured yarn for an extra special personal touch.
This chunky i-cord necklace is a super fun, super quick make, and whether you’re a knitter or a crocheter there’s a tutorial version for everyone!
The finished necklace measures approximately 50cm long (but can easily be adapted to any length you like!)
Materials
Pro Tip
To add beads to your necklace, thread all of the beads on to the t-shirt yarn before you start the i-cord. When you reach a stitch where you want to place a bead, simply pull a bead into place and work the stitch as normal.
1
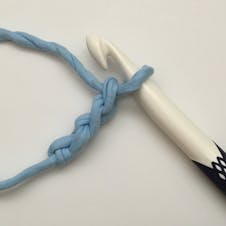
With a 10mm crochet hook, leave a long starting tail (10-12 inches) and chain 3.
Pro Tip
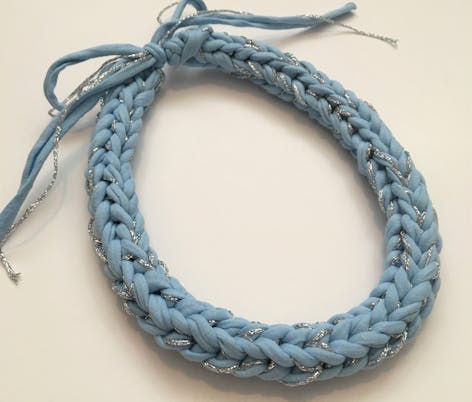
To add a touch of glam to your necklace, you could hold the t-shirt yarn double with a glitter thread! I have used Ricorumi Lame in Silver. Just be careful with your tension as the t-shirt yarn will be stretchier than the glitter yarn, so make sure you keep your tension relaxed and the yarns held evenly whilst being worked together.
Or why not go all out with a super summery festival vibe, using glitter thread AND Ricorumi Neon DK!
2
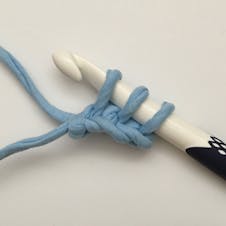
Working back along the chain, insert hook into the 2nd chain from the hook and pull up a loop, then repeat in the final chain so that you have 3 loops on your hook.
3
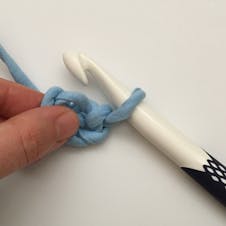
Carefully remove the first 2 loops from the hook. I find it helpful to hold the loops with my non-hook hand so that the yarn doesn’t unravel.
4
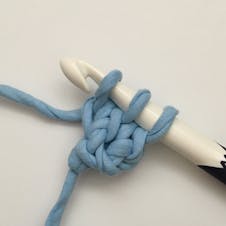
Yarn over and pull yarn through the loop on the hook. Pop the next loop (that you’re holding) back on to the hook, yarn over and pull through. Repeat with the final loop that you’re holding so that you once again have 3 loops on your hook.
5
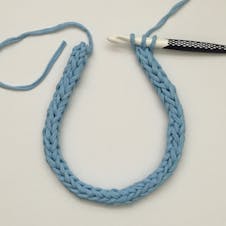
Repeat steps 2 and 3. After the first few rounds, the i-cord will begin to look like a round cord. Repeat until you have a total of 45 i-cord rounds, or until the necklace measures the desired length.
6
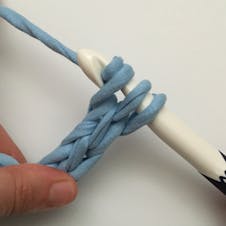
When you have completed step 3 for the final time, do not slip any loops off the hook. Simply yarn over and pull yarn through all 3 loops, and fasten off! Cut the yarn ends to your desired length for tying your necklace in a knot or bow.
