Perfect pooch embroidered earring tutorial
Published on 23 April 2020 By Holly Butteriss 1 min readRia is an extraordinary Indonesian embroidery artist, living in Tokyo. Her gorgeous stitched masterpieces are too dreamy for words. In this free tutorial Ria shows us how to stitch a portrait of your pooch, tiny enough to wear as earrings!
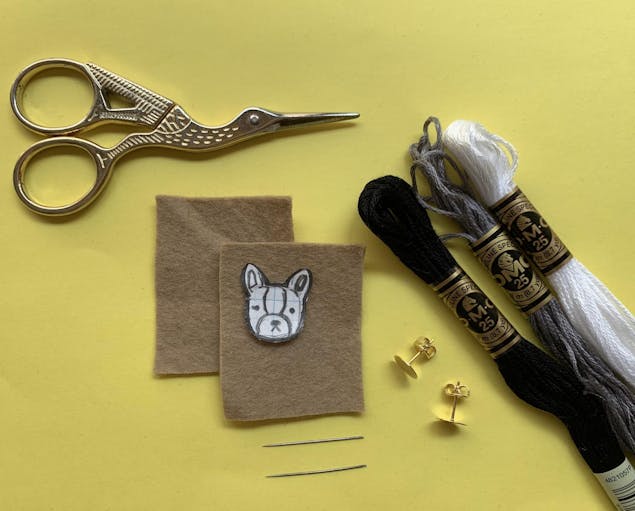
Materials
- 1mm felt
- Post earrings
- Scissors
- Needle
- Embroidery thread
- Black (310)
- Grey (04)
- White (Blanc)
In this tutorial you'll be using three super easy stitches!
- Long and short stitch
- Straight stitch
- French knot
If you need a refresh on these stitches, check out our embroidery stitch library for tutorial on how to do them.

1
Start your stitch without any knot, try to avoid any bumps on the back. Fill the dog's forehead and mouth area with white embroidery thread. Use two ply and stitch it with long and short for a neat finish.
2
Next fill the side parts of the dogs face to the ears with black thread. Use two ply of thread, and stitch it with long and short.
Stitch the dog’s nose and mouth with a small straight stitch. For the mouth, use only a single thread!
3
To add highlights to the dog's ear use the grey colour. Take two ply of thread then stitch 5-6 times with a straight stitch.
Last, add french knots for both eyes. Use two ply of white thread then wrap thread around the needle two times.
4
Cut your embroidery but don’t forget to give space about 2-3 mm from the embroidery edge. Glue post earrings to your embroidery with a bit of hot glue, then cover it with felt. After the glue has dried, cut the felt following the dog's shape!
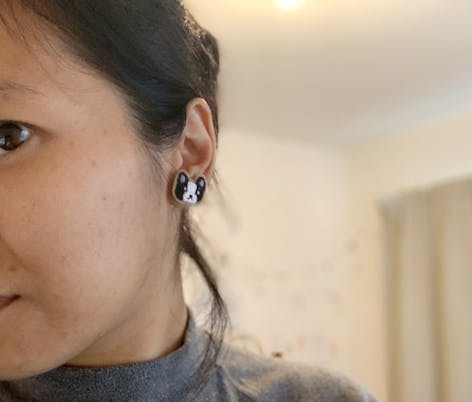
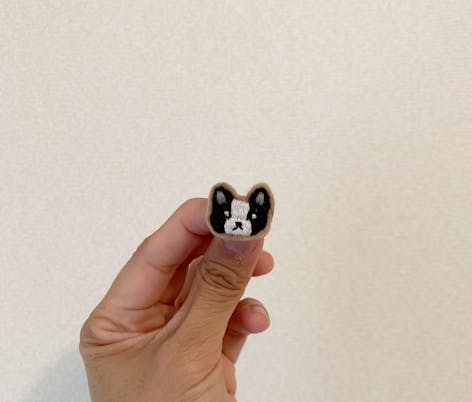
Now you have a pair of perfect pooch earrings!


