Fall head over heels for this 3D heart back drop
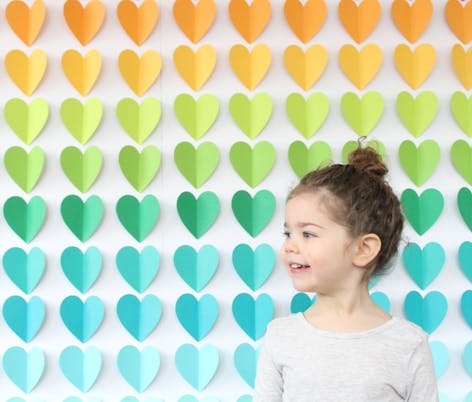
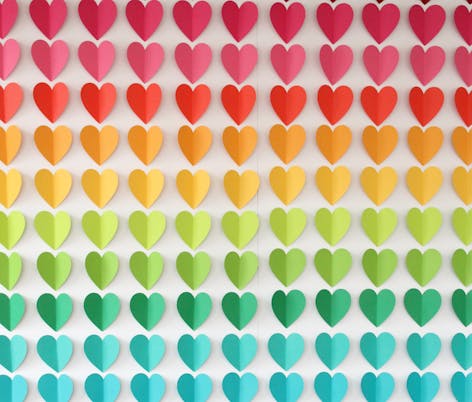
Published on March 12, 2021 1 min readBrighten up your home with this fantastic 3D heart backdrop designed by Ilyssa Minkus! Perfect for photo backgrounds to give your Instagram a pop of color, or to inject some joy into your space, these 3D hearts are super effective and so easy to make.
When you think of Valentine’s Day, a pink and red palette usually comes to mind, right? This year I decided to dream up something a little different and created a huge rainbow heart backdrop to help spread some love during these gray and gloomy winter months. Don’t be intimidated by the size and number of hearts required to make this project - you can always scale it down to make a unique piece of artwork to put up if you don’t want to make a backdrop. You’ll be surprised at how quickly it comes together and the final product is a showstopper!

Materials
- Colored cardstock
- Foam board
- Hot glue gun
- Heart template
- Scissors
- Cutting machine (optional)
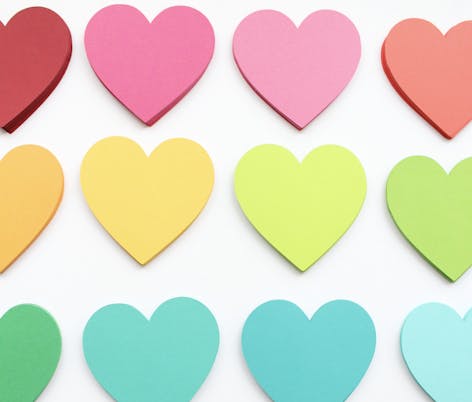
Rainbow cardstock supplies to fall in love with!
If you have a Cricut cutting machine, you can download the template straight to your design space!
1
Pick a backdrop material. For my backdrop I used two foam tri-fold boards that I opened flat and secured by taping over the seams on the back. This keeps the board from folding.
I added on a few additional foams boards to get the backdrop to the size I wanted. You can also use regular foam boards and tape them together on the backside to achieve the size you’d like. Poster boards will also work!
2
Once you decide the size of the backdrop, decide how big you want your hearts to be. My hearts are 4 inches wide by 3.8 inches tall.
3
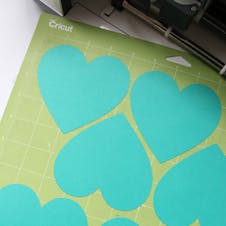
Time to cut your hearts! For this step, I used my Cricut Maker, which made the process much easier than hand-cutting. I used 306 hearts (18 hearts horizontally and 17 vertically).
4

Once all of the hearts are cut, fold each one in half. You can stack a couple on top and fold them at the same time, since the fold doesn’t need to be very crisp.
5
Get your glue gun ready!
6
The hardest part of this project is measuring the spacing of where to place the hearts. Lay down a line horizontally and vertically to get an idea of how many hearts you’ll need and where to place them before you start gluing.
Pro Tip
The Elmer’s tri-fold boards have a very lightly drawn grid on them, which makes this part of the process SO much easier.
7
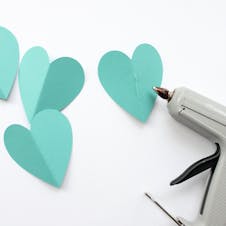
Once you have your measurements figured out (these will vary depending on size of backdrop and size of hearts), it’s time to start gluing!
8
Make a strip of hot glue along the back side of each heart on the fold and stick it to the foam board.
Pro Tip
Start with one line horizontally and one line vertically. This will help keep your hearts aligned.
9
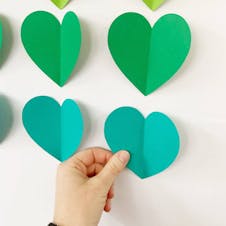
Fill in the backdrop with the rest of the hearts.
