Crochet a Christmas tea cozy
Published on December 13, 2019 2 min read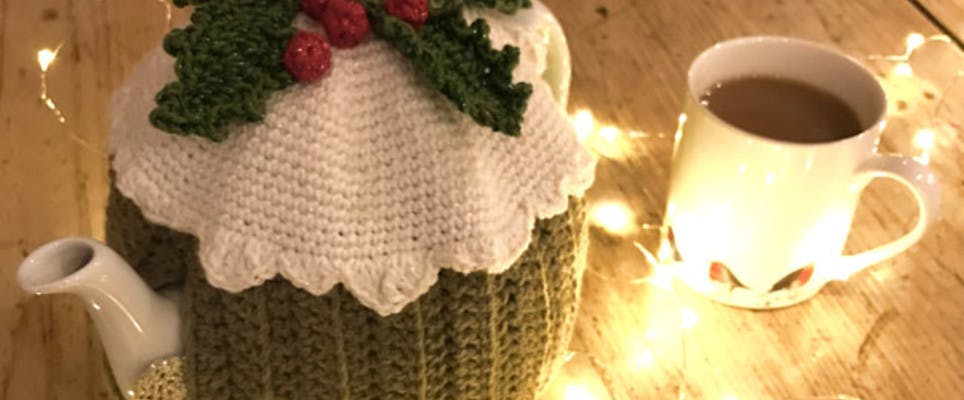
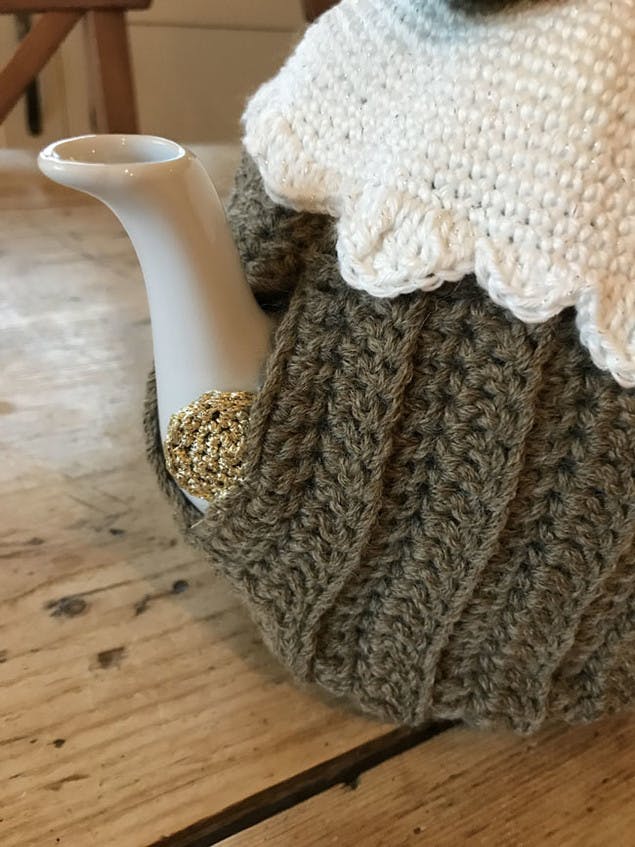
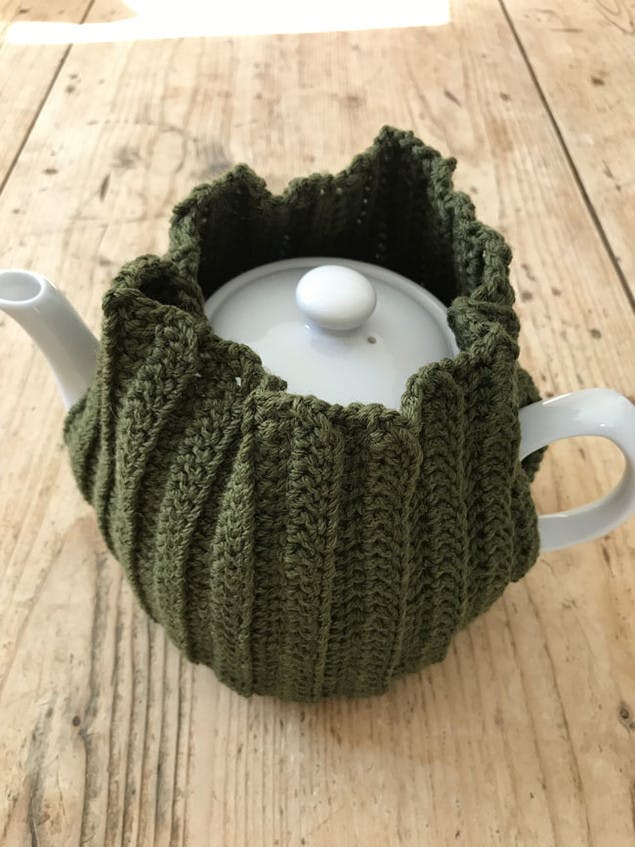
Keep your tea warm true English style this holiday season with this joyous Christmas Pudding tea cozy tutorial by Kate Eastwood! This pattern uses UK terms.
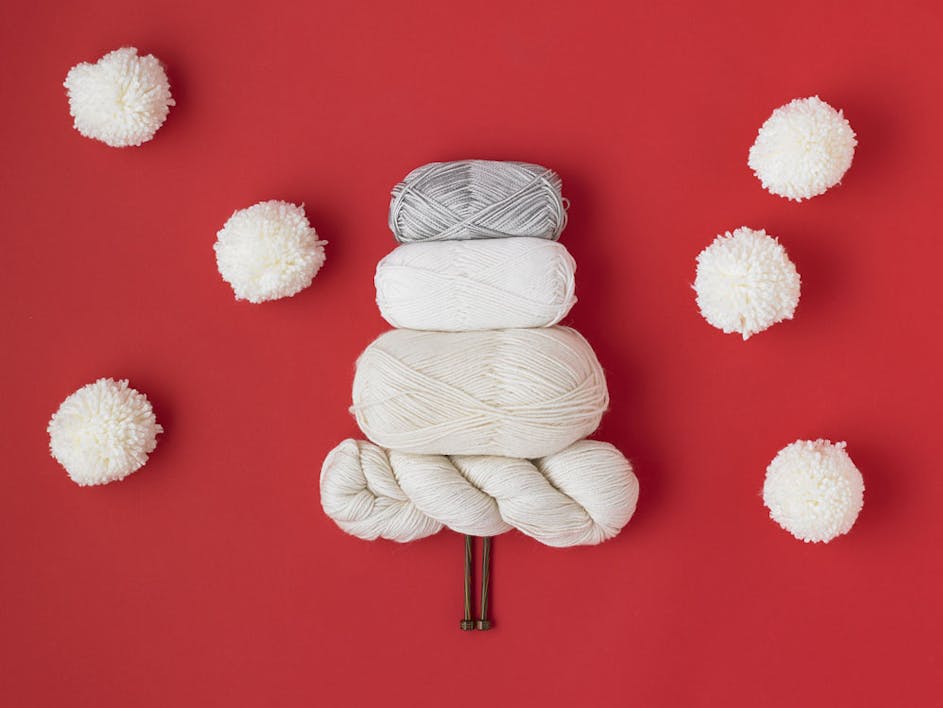
For my tea cozy I used Bergere de France Magic, 2 x balls of Criquet, 1 x ball of James C. Brett Glisten DK in White GS7, a small amount of Paintbox Cotton in Racing Green 428 and in Red Wine 416.
To add the glitter to the leaves and berries I used small amounts of Twilleys Goldfingering in Forest Green 051 and Red 038.
Materials
I worked with a 5.5mm hook for the main body of the tea cozy and a 3mm hook for the white topping and the leaves and berries.
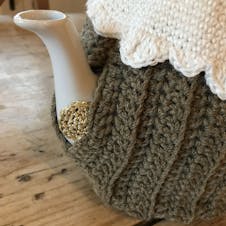
As a finishing touch I added a tiny gold coin, made with the Twilleys Goldfingering in Gold 002, and a 2mm hook, that is tucked away inside the pudding in true Christmas fashion! My tea cozy is designed to fit a 1500 ml, 10 cup teapot.
To make the sides of the cozy (make 2)
1
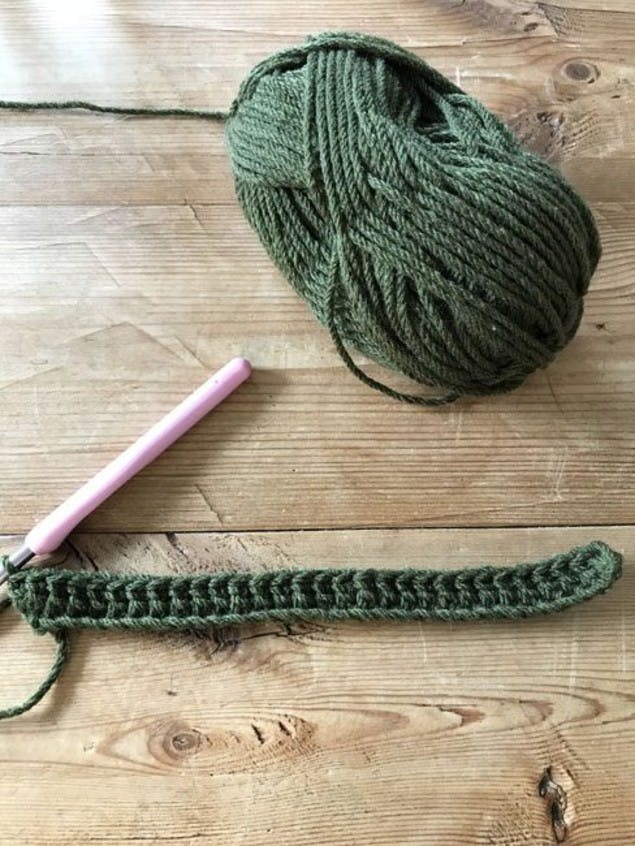
Row 1: Using the Criquet and a 5.5mm hook make a chain of 31.
Pro Tip
If you are making a cozy for a different sized pot your chain needs to be the height of your teapot from the bottom to the top of the lid.
2
Row 2: Starting in the second chain from the hook work a row of TR. 30 sts. Chain 2 and turn.
3
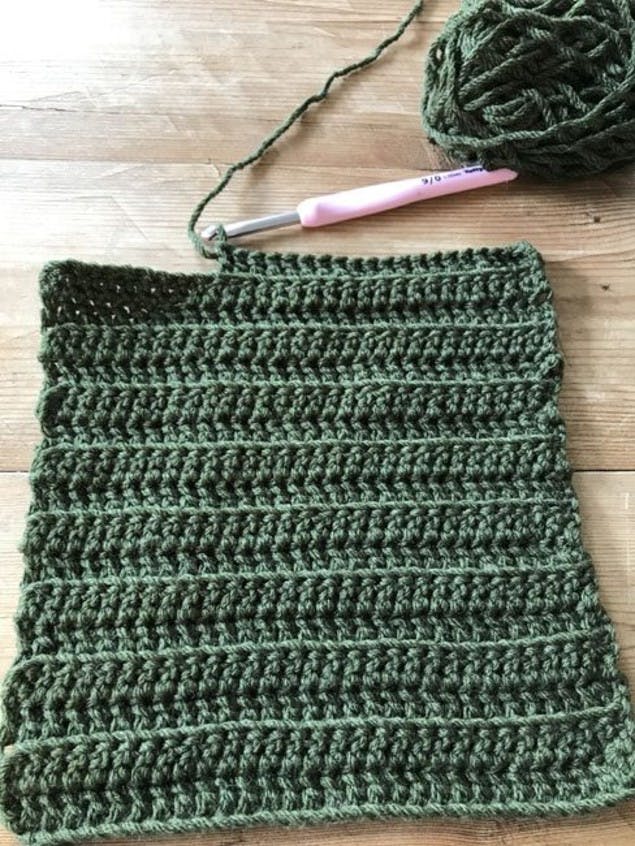
Row 3: Working in to the back loops only work a row of 30 TR, chain 2 and turn.

4
Rows 4 to 20: Continue working as for Row 3. Finish off. Your piece of crochet should now be the width of the teapot. (If you are making a cozy for a different sized pot the width of your piece of crochet can be adjusted at this point by working more or less rows.)
5
Make a second piece, using steps 1-4.
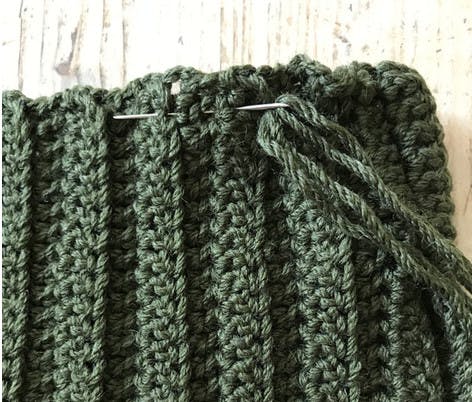
Joining the sides of the cozy together
1
Lay one piece on top of the other on a flat surface and mark on each side (using pins) the space that you need to leave open for the handle and the spout.
2
For my cozy I left a gap of 10cm for the handle, with a seam of 4cm below the handle and 5cm above the handle.
For the spout I left a gap of 7cm, with a seam of 5cm below the spout and 7cm above the spout.
3
I used a needle and yarn to sew the seams. Finish off and sew in the ends.
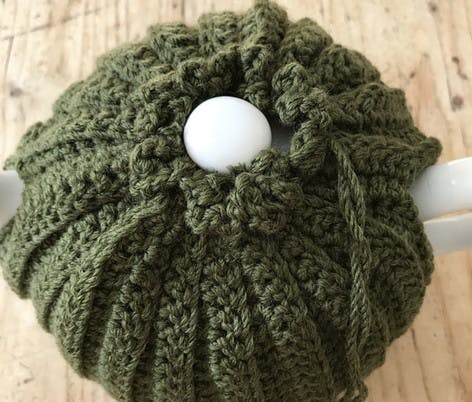
Fitting the cozy to the teapot
1
Turn the cozy so that the seams are on the inside and slide it on to your teapot.
2
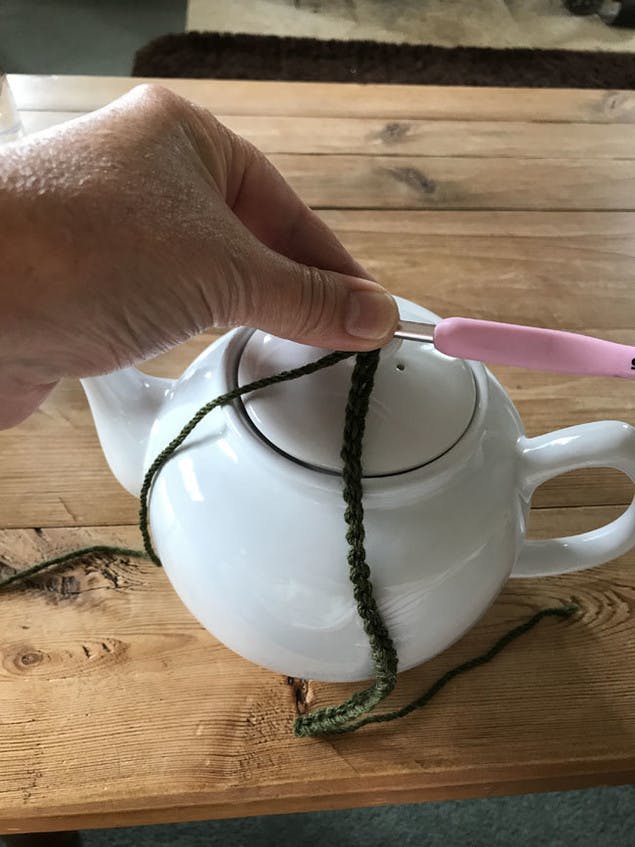
Using double thickness yarn run a gathering thread all around the top of the cozy and then carefully pull it up so that it closes around the top of the lid. Stitch firmly in place.
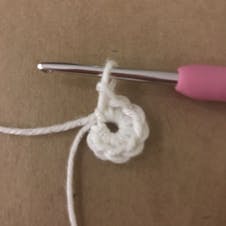
To make the white topping for the pudding (worked in a continuous round)
1
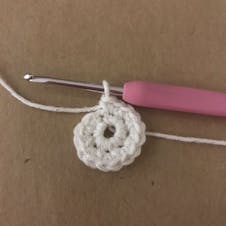
Round 1: Using the James C. Brett Glisten DK in White and a 3mm hook make a Magic Ring and work 8 DC in to the ring.

2
Round 2: Work 2 DC in to each stitch from Round 1, 16sts.
3
Round 3: *Work 1 DC in to the first stitch and then two DC in to the next stitch*. Repeat from * to *all the way around. 24 sts.
4
Round 4: *Work 1 DC in to the each of the next 2 stitches and then two DC in to the next stitch*. Repeat from * to * all the way around. 32 sts.
5
Round 5: *Work 1 DC in to the each of the next 3 stitches and then two DC in to the next stitch*. Repeat from * to * all the way around. 40 sts.
6
Round 6: *Work 1 DC in to the each of the next 4 stitches and then two DC in to the next stitch*. Repeat from * to * all the way around. 48 sts.
7
Round 7: *Work 1 DC in to the each of the next 5 stitches and then two DC in to the next stitch*. Repeat from * to * all the way around. 56 sts.
8
Round 8: *Work 1 DC in to the each of the next 6 stitches and then two DC in to the next stitch*. Repeat from * to * all the way around. 64 sts.
9
Round 9: *Work 1 DC in to the each of the next 7 stitches and then two DC in to the next stitch*. Repeat from * to * all the way around. 72 sts.
10
Round 10: DC 72.
11
Round 11: *Work 1 DC in to the each of the next 8 stitches and then two DC in to the next stitch*. Repeat from * to * all the way around. 80 sts.
12
Round 12: DC 80
13
Round 13: *Work 1 DC in to the each of the next 9 stitches and then two DC in to the next stitch*. Repeat from * to * all the way around. 88 sts.
14
Rounds 14 and 15: DC 88
15
Round 16: *Work 1 DC in to the each of the next 10 stitches and then two DC in to the next stitch*. Repeat from * to * all the way around. 96 sts.
16
Round 17 and 18: DC 96.
17
Round 19: *Work 1 DC in to the each of the next 11 stitches and then two DC in to the next stitch*. Repeat from * to * all the way around. 104 sts.
18
Round 20: DC 104.
19
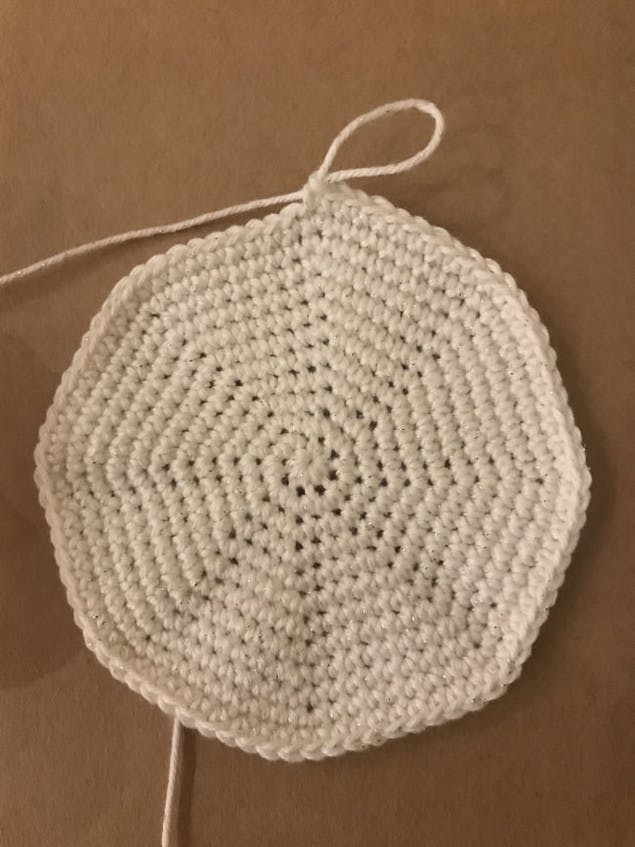
Round 21: You are now going to add the wavy edging to create the dripped effect of the topping. I chose to work a random shape for mine so used a combination of the stitch patterns in step 20.
20
Begin with a Sl ST and then work a combination of the following:
Pattern 1: Work 2 stitches in to each stitch as follows: HTR + TR, TR + DTR , TTR + TTR, DTR + TR, TR + HTR, Sl ST.
Pattern 2: Work 2 stitches in to each stitch as follows: DC + DC, DC + HTR, HTR + HTR, HTR + TR, TR + TR , TR + HTR, HTR + HTR, HTR + DC , DC + DC, Sl ST.
Pattern 3: DC + HTR, TR + DTR, HTR + DC, Sl ST.
To make the Holly Leaves
The leaves are made with 1 x strand of the Paintbox Cotton DK and 1 x strand of the Twilleys Goldfingering in Green. I used a 3mm hook.
To make the large leaves (make 4)
1
Start your chain. Using 1 strand of Paintbox and 1 x strand of Twilleys Goldfingering, chain 12.
2
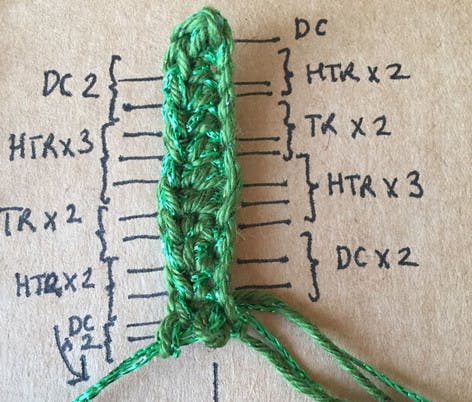
Starting in the 2nd chain from the hook work the following stitches along the chain: 2 x DC, 3 x HTR, 2 x TR, 2 x HTR and 2 x DC. You should now be at the top of the chain.
3
Work a Sl ST across the top of the chain and then work the following stitch pattern back down the other side of the chain: 2 x DC, 3 x HTR, 2 x TR, 2 x HTR, 1 x DC.
4
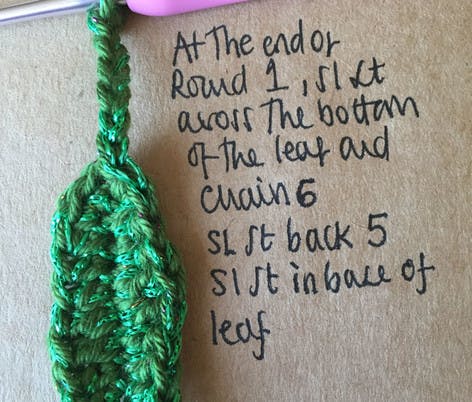
Work a Sl ST in to the bottom of the chain and then work a chain of 6 for the stalk. Work 5 x Sl ST back along the chain and Sl ST back in to the base of the leaf.
5
Work a Sl ST across the top of the chain and then work the following stitch pattern back down the other side of the chain: 2 x DC, 3 x HTR, 2 x TR, 2 x HTR, 1 x DC.
6
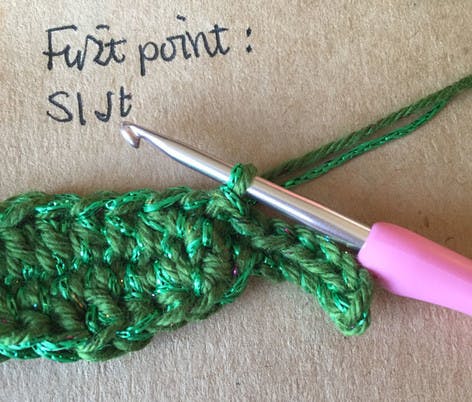
In the next round you will be making the points of the holly leaf:
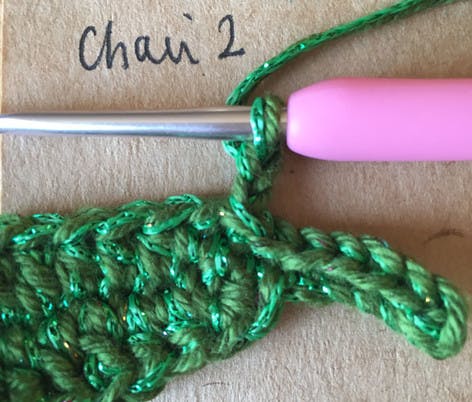
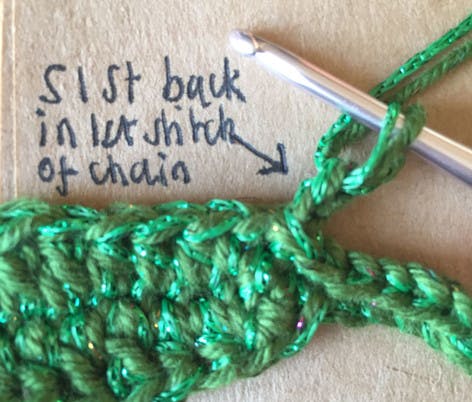
Point 1: Sl ST in to the first stitch, CH2, Sl ST back in to the first stitch of the chain and then Sl ST back in to the leaf.
7
Continuing working along the side of the leaf as follows:
Point 2: DC, CH 2, Sl ST back in to 1st Chain, Sl ST.
8
Point 3: DC, CH3, Sl ST back in to the 1st chain, Sl ST.
9
Point 4: DC, CH2, Sl ST back in to the 1st chain, Sl ST.
10
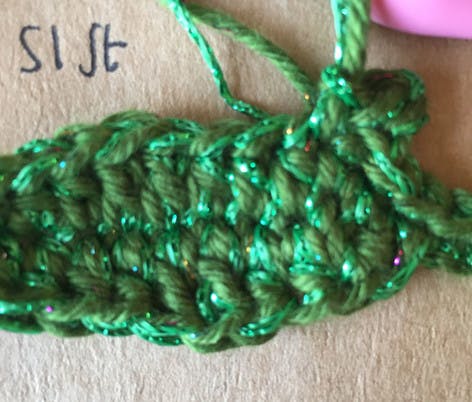
Point 5: Sl ST, CH 2 Sl ST back in to the 1st chain, Sl ST.
11
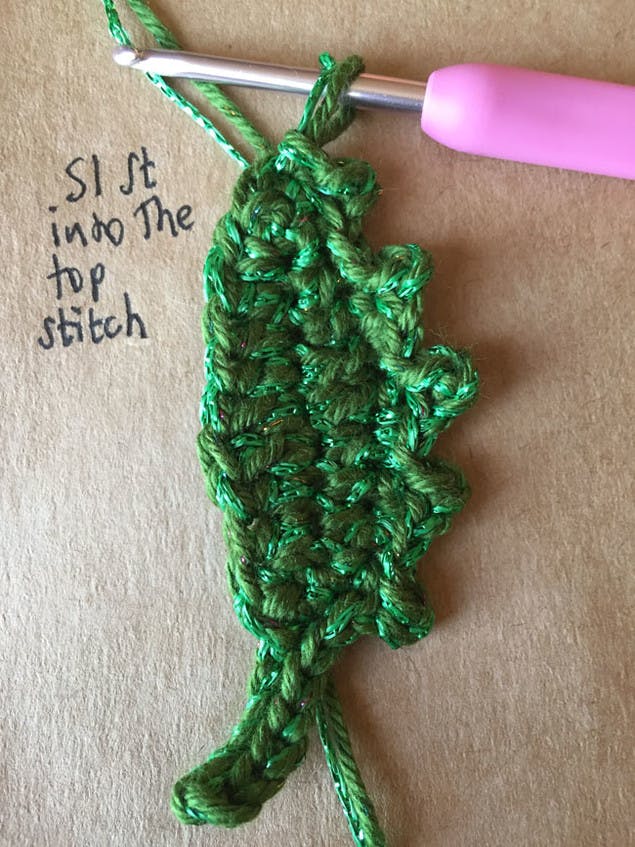
Point 6: Sl ST in to the top stitch, CH 3, Sl ST back in to the 1st chain, Sl ST back in to the top of the leaf.
12
Now work back down the other side side of the leaf as follows:
Point 7: Sl ST, CH 2 Sl ST back in to the 1st chain, Sl ST.
13
Point 8: DC, CH2, Sl ST back in to the 1st chain, Sl ST.
14
Point 9: DC, CH3, Sl ST back in to the 1st chain, Sl ST.
15
Point 10: DC, CH 2, Sl ST back in to 1st Chain, Sl ST.
16
Point 11: Sl ST, CH 2, Sl ST back in to 1st Chain, Sl ST.
17
Finish off! Sew in the ends.
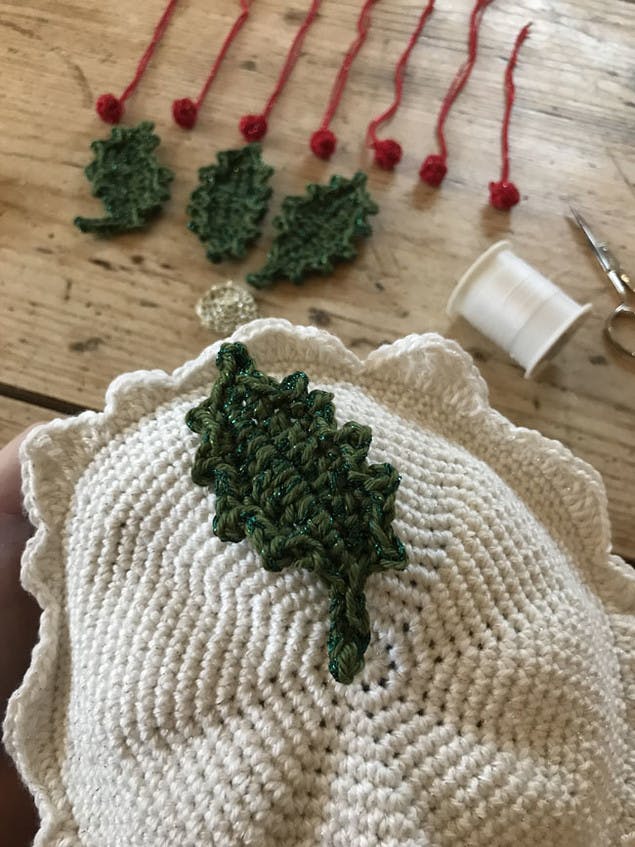
To make the Holly Berries (make 7)
The berries are made with 1 x strand of the Paintbox Cotton DK and 1 x strand of Twilleys Goldfingering in red.
1
Make a Magic Ring. Using 1 x strand of Paintbox and 1 strand of Twilleys in RED, make a Magic Ring.
2
Work 5 DC in to the ring.
3
Work a round of DC, 5 sts.
4
Finish off. Use the yarn tail to sew around the bottom of the berry, gather up into a ball shape, finish off and leave a long tail so that you can attach the berries to the tea cozy.
To make the Gold Coin (make 2 and stitch together)
1
Round 1: Using the Twilleys Fingering in Gold and a 2mm hook make a Magic Ring and work 4 DC in to the ring.
2
Round 2: Work 2 DC in to each stitch.
3
Round 3: *Work 1 DC in to the first stitch and then two DC in to the next stitch*. Repeat from * to *all the way around. 12 sts.
4
Round 4: *Work 1 DC in to each of the first 2 stitches and then two DC in to the next stitch*. Repeat from * to *all the way around. 16 sts.
5
Round 5: *Work 1 DC in to each of the first 3 stitches and then two DC in to the next stitch*.
6
Repeat from * to * all the way around. 20 sts. Sl St to join and finish off.
7
Make a second circle and stitch the two circles together.
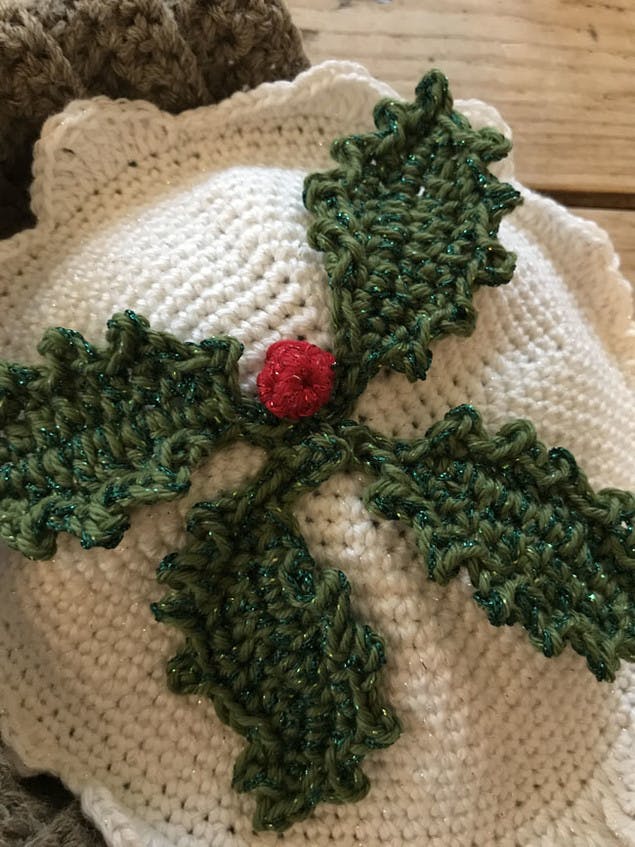
To complete your tea cozy
1
Stitch your topping. Using a needle and thread stitch the topping to the pudding in the centre top.
2
Sew on your gold coin. Finish off by sewing the gold coin in place so that it is just poking out either by the spout or the handle.
3
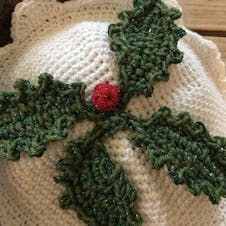
Add your berries. Then sew on the berries.
4
Finish off. Sew the gold coin in place so that it is just poking out either by the spout or the handle.