How to crochet an easy baby blanket with stars
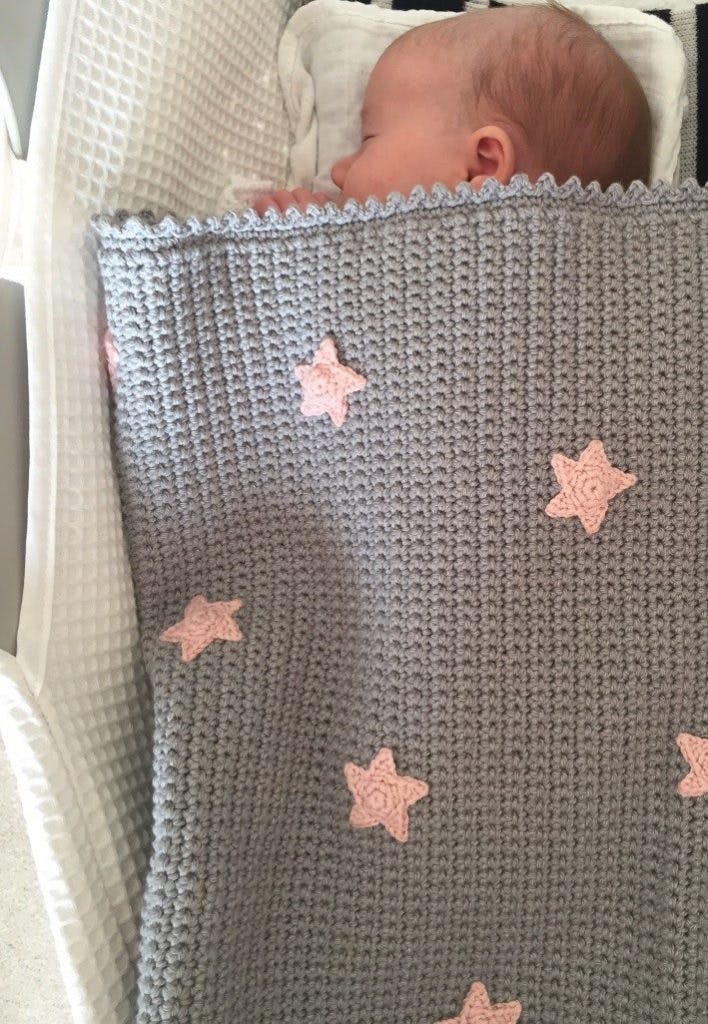
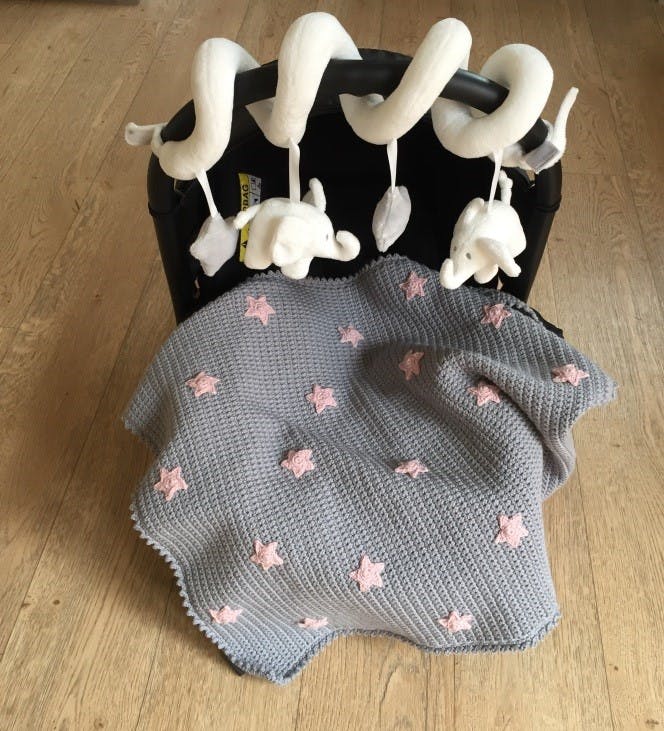
Published on January 31, 2019 By Kate EastwoodKeeping our tiny tots warm and toasty with this beautiful beginner crochet baby blanket. Designed by the brilliant Kate Eastwood, this easy crochet baby blanket is dreamy project that will put the stars in their eyes! It's the perfect size to throw over the top of a baby car seat or pushchair. It can also be made slightly bigger for a cot or crib. The perfect handmade baby shower gift! Follow along with our tutorial to learn how to crochet a baby blanket.
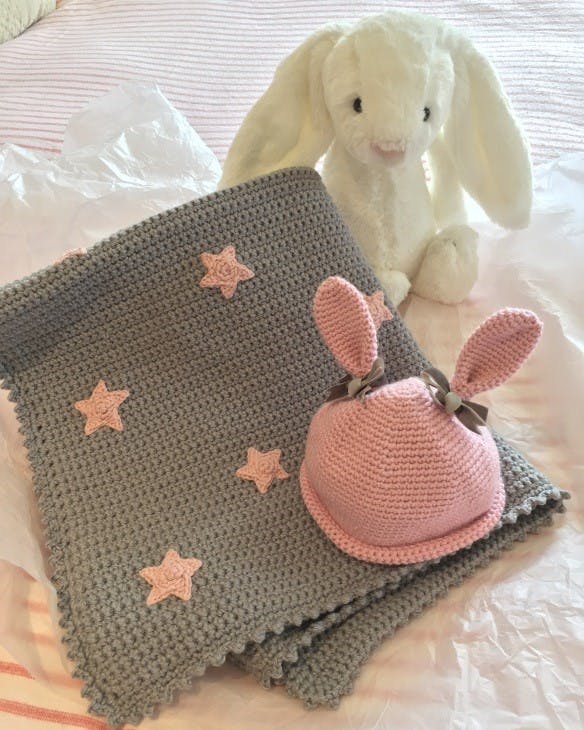
The blanket is worked in simple Double Crochet (DC) and the stars are hooked up separately and stitched on to the finished blanket, making this a beautiful and totally unique handmade accessory!
The finished blanket measures approximately 62cm x 52cm.
What do I need to crochet a baby blanket?
Baby blankets are a great beginner project and requires just a few basic crochet supplies for this sweet creation. This pattern uses 4.5mm and 3.5mm crochet hooks for the blanket and you will need 7 balls of DK weight yarn. Pick up an extra ball of yarn and 2.5mm hook to add the stars to your blanket! It's also always good to have stitch markers and a tapestry needle on hand!
Materials
- Sublime Isabella
- 7 balls in Shadow (645)
- 1 ball in Bloom (644)
- KnitPro Aluminum Soft-Grip Silver Crochet Hook
- Sizes 4.5mm AND 3.5mm for the blanket
- Size 2.5mm for the stars
Find the perfect DK baby soft yarn for this project
This pattern uses UK terminology
Abbreviations (UK Terminology)
DC - Double crochet (US single crochet)
RS - Right side
STS - Stitches
SL ST - Slip stitch
Instructions to make the blanket
Body
Chain 91
Starting in the second chain from the hook work a row of DC, 90 sts
At the end of the row chain 1 and turn. Keep working rows of DC until your work measures approximately 60cm, finishing on a RS row.
Remember to chain 1 and turn at the end of each row.
Do not finish off at the end of your final row.
Edging
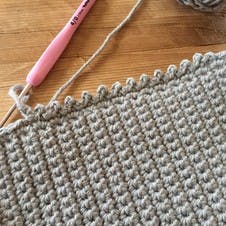
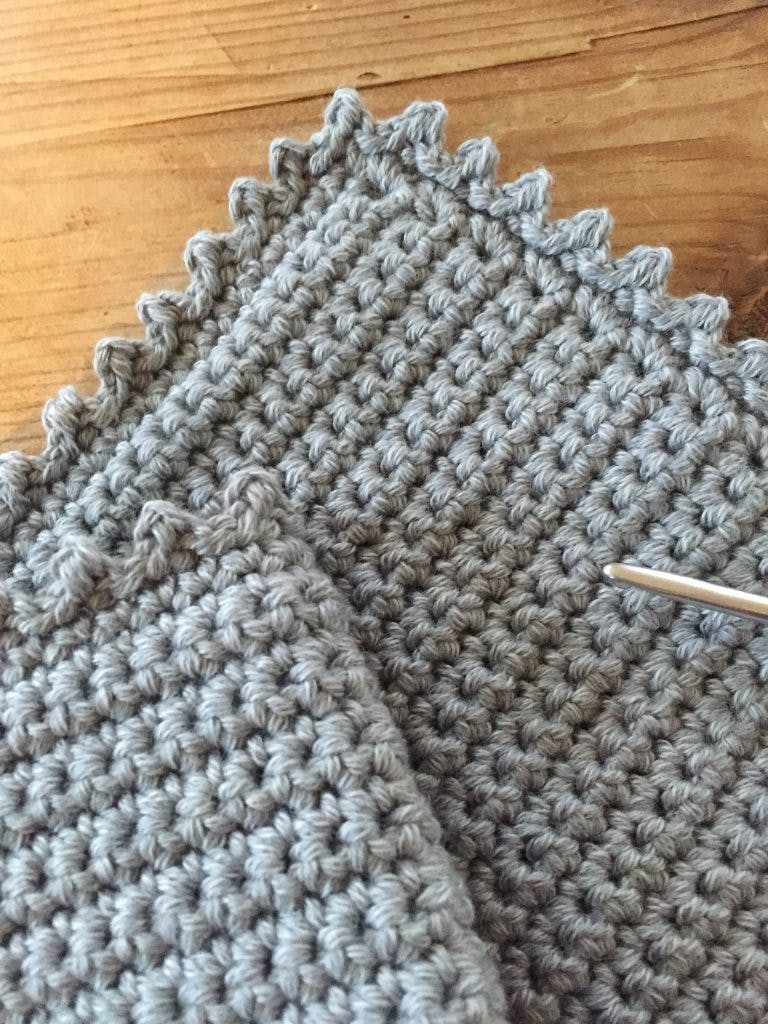
Round 1: Switch to using a 3.5mm hook and work a round of DC all the way around all four edges of the blanket, working 2 or 3 stitches into each corner stitch to stop the blanket from becoming out of shape.
(I found it helped to keep the edges flat by working 1 DC in each stitch on the top and bottom edge and two stitches in every alternate stitch down each side.)
Round 2: Work a second round of DC, working 1 DC into each stitch all the way around, and two or three stitches into each corner stitch if needed.
Round 3: You are now going to work the Picot border as follows;
* Sl St, chain 2, Sl St back in to the first stitch of the chain you have just worked, Sl St in to the next stitch.* Now repeat from * to * all the way around the edge of your blanket. Sl St to join at the end, finish off and sew in the ends.
Instructions to make the crochet stars
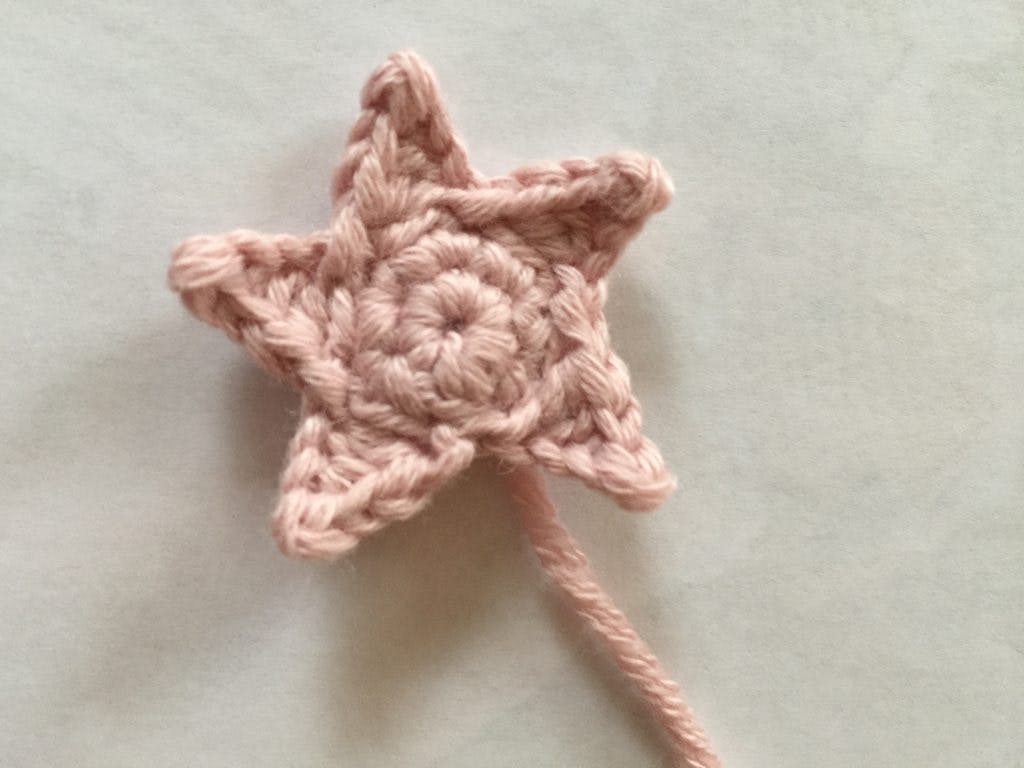
I made a total of 23 stars for my blanket.
Using the Bloom and 2.5mm hook makes the stars as follows.
Foundation
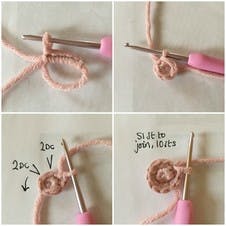
DC 5sts into a Magic Ring, join with Sl St.
2 DC into each stitch, join with Sl St.
10sts
Set up
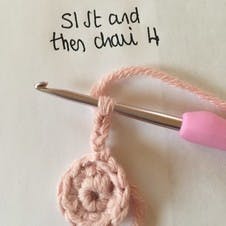
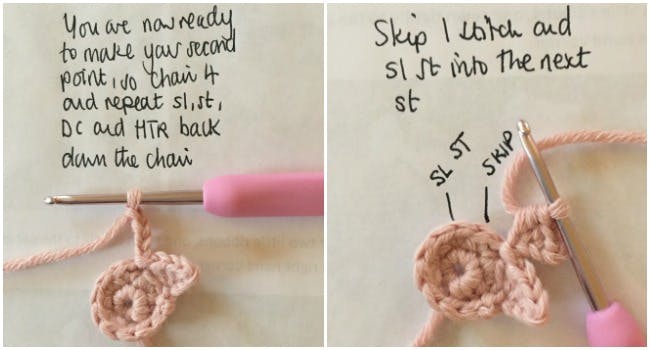
Sl St, chain 4.
First star point: Beginning in the *second chain from the hook work a Sl St, followed by a DC, followed by a HTR. Skip a stitch and Sl St the point back to the central circle*.
Star points
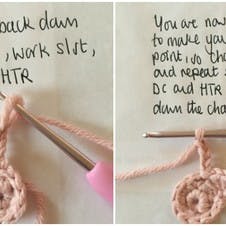
*Skip a stitch, Sl St, followed by a DC, followed by a HTR. Skip a stitch and Sl St the point back to the central circle*.
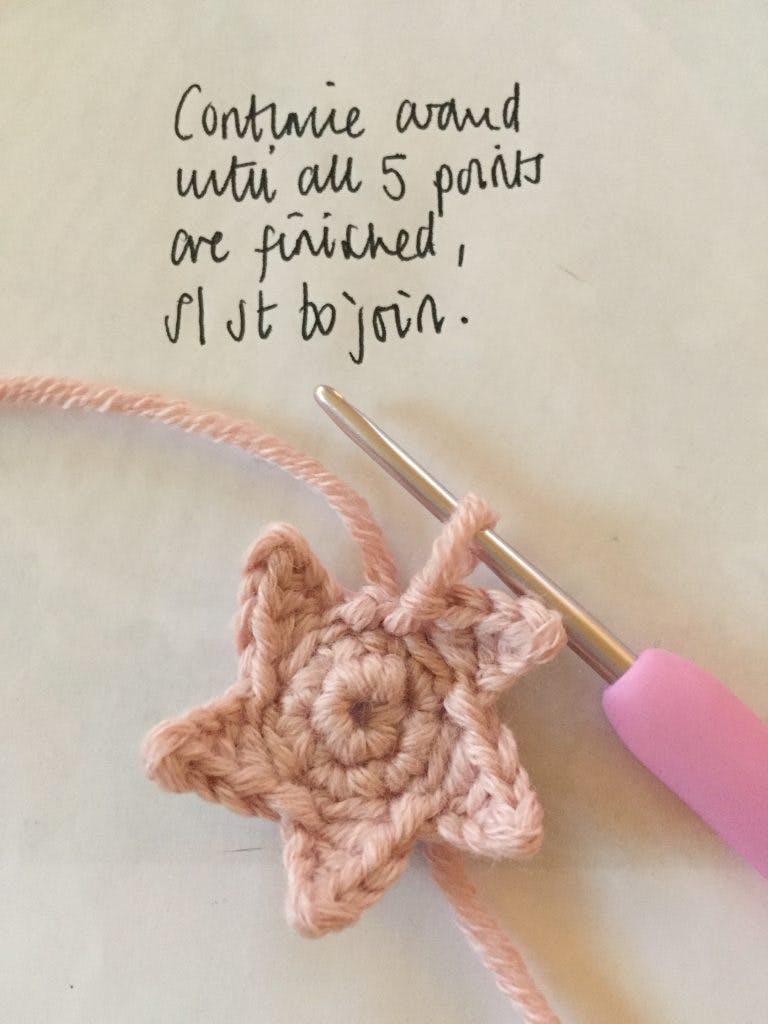
Repeat from * to * until you have 5 points.
Sl St to join, finish off and sew in the ends.
Once you have made the required number of stars, lay out your blanket and position the stars as you want them. I pinned mine with safety pins to hold them in place whilst sewing each star in to its final position with a needle and thread.
Pro Tip
When sewing each star, work all the way around the edge with small stitches to ensure that each one is held firmly in place.
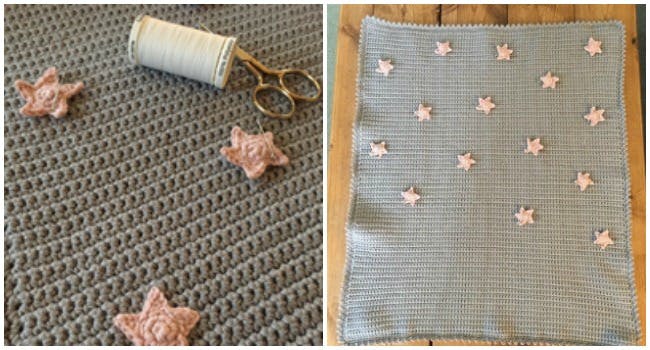
What a beautiful blanket!
