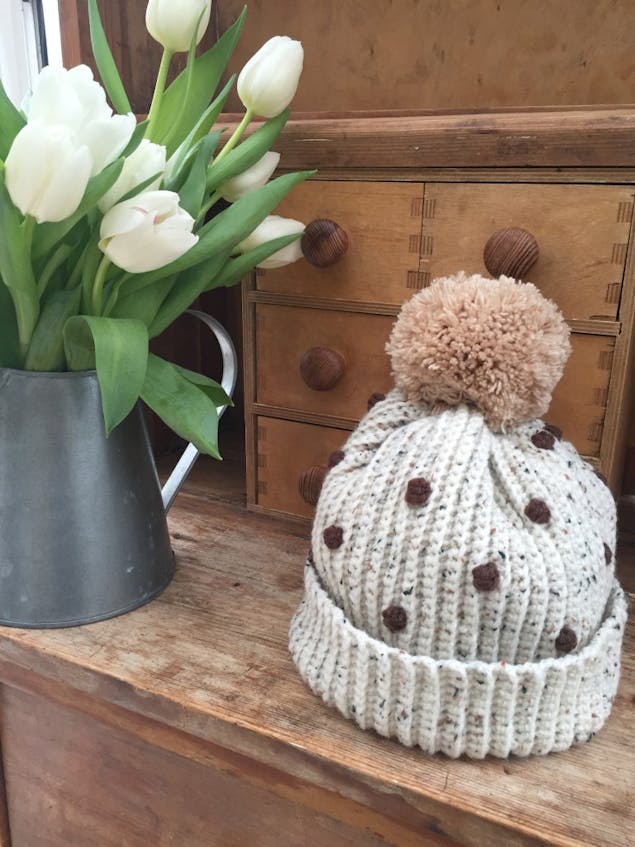
Crochet Club: Ladies bobbly bobble hat
Published on December 3, 2019 By Holly Butteriss 1 min read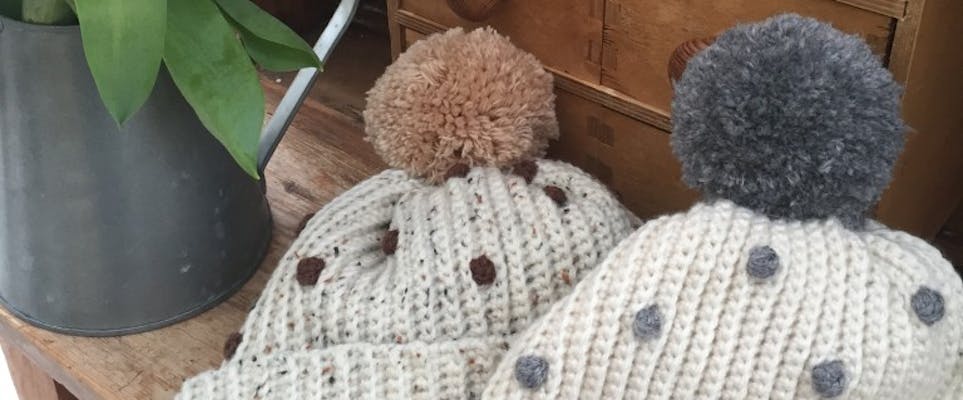
With the festive season right around the corner, this step-by-step tutorial for a gorgeous Kate Eastwood ladies bobbly bobble hat is the perfect addition to your winter closet. Keep your friends warm too and hook up a few in different colors to give as gifts!
Made in a super warm bulky yarn it works up nice and quickly and has a beautiful soft feel when finished. This pattern uses UK crochet terminology - but you can check our handy conversion chart to switch to US terms!
I used a 4.5mm hook and a 2.5” pom-pom maker for the top bobble. The hat is basically a rectangle of DC with the DC being worked in to the back loop of each stitch only to create the rib effect.
Materials
- 2 x balls
- King Cole Chunky Tweed
- 1 x ball
- Paintbox Yarns Simply DK
1
Begin by making a starting chain of 51. For your first row start in the 2nd chain from the hook and work a row of DC. 50sts. At the end of the row CH 1 and turn.
2
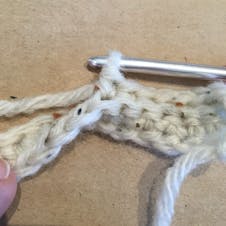
Row 2: You are now going to continue to work in rows of DC but each DC will be worked in to the back loop of each stitch, to create the ribbed effect. End each row with a CH 1 and turn.
If you look at the photo, starting at the left hand side you will see the line of stitches and in the middle of the photo you will how the DC has been worked in to the back loop only.
3
Rows 3 and 4: Work exactly as Row 2, remembering to CH 1 and turn at the end of each row.
4
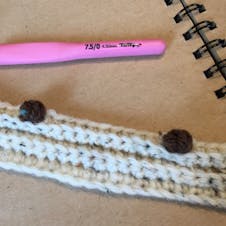
Row 5 – Bobble Row 1: This is going to be your first Bobble Row.
Work 11 DC, in the back loop only as before, and then make a bobble (see below), work 11 DC and make a second bobble, work 11 DC and make a third bobble, work the remaining 14 DC to the end of the row, CH1 and turn.
5
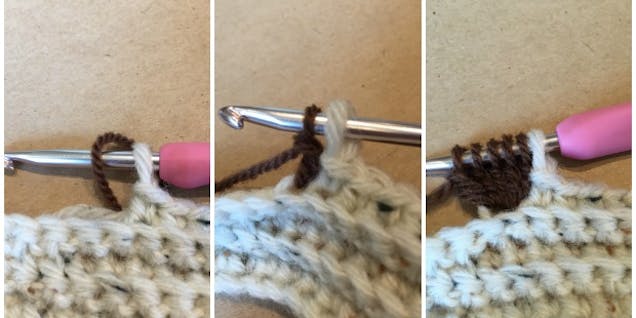
To make a bobble: Join your DK yarn in by looping it over the hook and work 5 TR all in to the same stitch, leaving the last loop of each TR on the hook. You will end up having 5 brown loops and 1 cream loop. Bring your cream yarn over the hook and pull through all 6 loops.
6
Rows 6 to 12: Work rows of DC, in to the back loop only, remembering to CH 1 and turn at the end of each row.
7
Row 13 – Bobble Row 2: Work 17 DC, make a bobble in to the 18th ST, work 11 DC and make a second bobble, work 11 DC and make a third bobble, work the remaining 8 ST, CH 1 and turn.
8
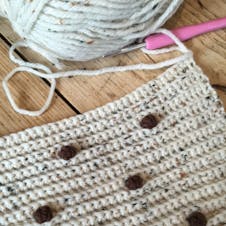
Continue by working 7 rows of DC between your bobble rows, and alternate Bobble Row 1 and Bobble Row 2.
9
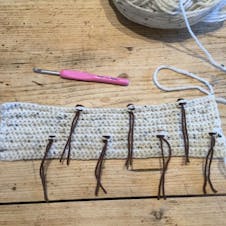
I found it easiest to make each bobble with a separate piece of yarn as this avoids your work becoming tight. Keep following this pattern until you have worked 12 bobble rows, finishing with a bobble row 2 and then work 4 final rows of DC.
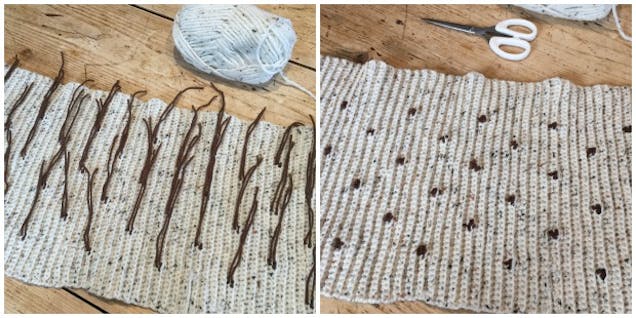
Finish off and sew in all your ends. For the bobbles I tied the two yarn ends in to a knot and sewed the ends in to the back of each bobble.
10
Once your ends are all sewn in, fold your work in half, short edge to short edge, right sides together.
11
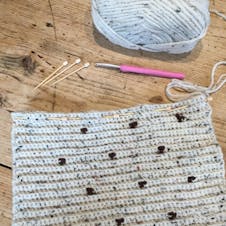
Pin the two edges together and join, either by DC the two edges together or using a needle and thread.
12
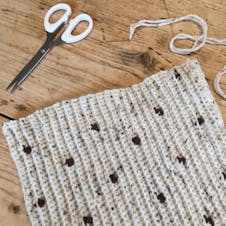
The next stage is to gather around the top of the hat to form the hat shape. If you place your work in front of you, with the joined seam on your right hand side, you will see that there is a band of just cream, without bobbles, at both the top and the bottom.
The deeper cream band should be at the bottom and will be the turn up around the bottom edge of the hat. The narrower band of cream will be at the top and this is where you will be sewing your gathering thread.
13
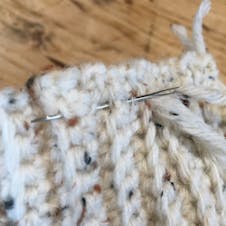
Using a double piece of yarn and a needle, run a gathering thread about 1 cm down from the top edge of the hat, making sure that you secure the end firmly as you will be pulling on this thread to make your gathers.
14
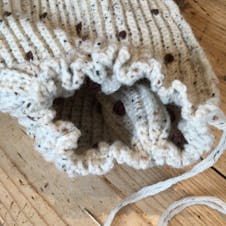
Once you have sewn your thread all the way around the top of your hat carefully pull the thread and ease the gathers to close the top of the hat.
15
Once you have pulled the thread as much as you can continue to sew a few further stitches in to the top of the hat to secure it all in place. The top of your hat will now look like this on the inside.
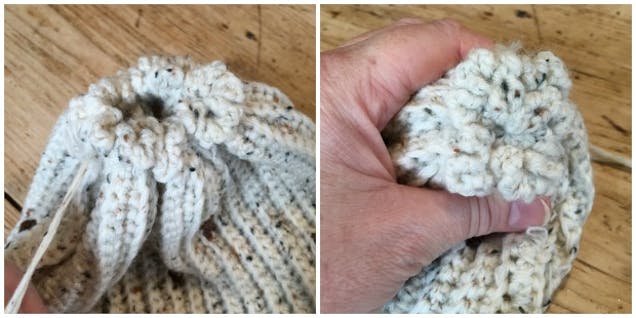
16
...and like this on the outside.
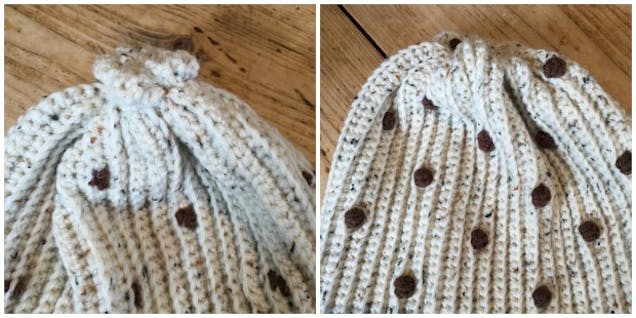
17
Using your pom-pom maker make a bobble for the top of your hat, leaving a good long thread around the middle for joining the bobble to the hat.
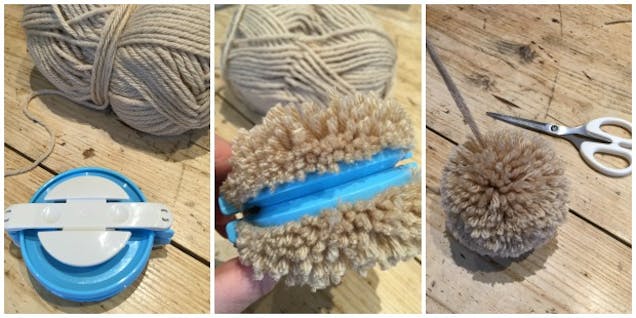
18
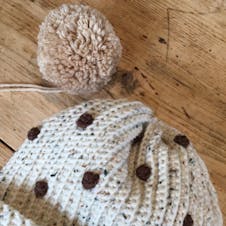
When you have trimmed the bobble and you are happy with its shape, use the yarn tails to sew through the center top of the hat and join securely on the inside.
And there you have one beautifully bobbly, bobble hat! The colors and yarn combinations are endless! It's never too soon to start making this year's Christmas presents.
