How to crochet a hat
Published on August 2, 2021 By Sarah J 1 min readLearn how to crochet a hat in no time at all! Crochet a speedy, basic beanie with Jess Coppom from Make & Do Crew. This crochet project is super beginner friendly and uses a chunky weight yarn to make this quick and easy crochet pattern, wonderful for the winter weather! Follow along with the video or the step-by-step instructions to give this project a go.
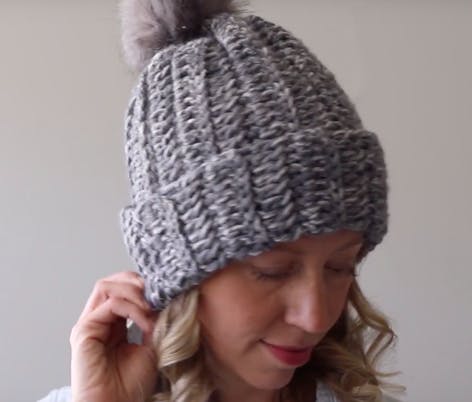
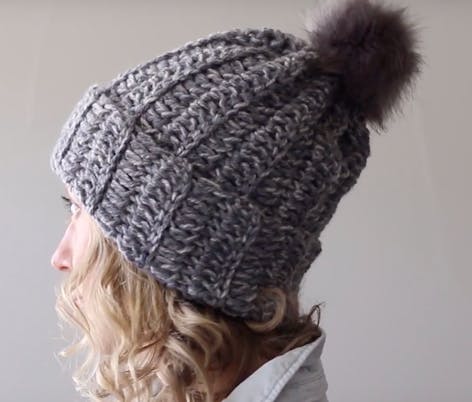
Materials
- Chunky weight yarn
- Faux fur pom pom
- KnitPro Waves Crochet Hook
- 8.00mm crochet hook (size H)
You can make this pattern in 3 sizes: A small (teen), medium (most adults), large (for larger heads) but it can be easily adapted to any size you would like!
How to crochet a hat step-by-step
1
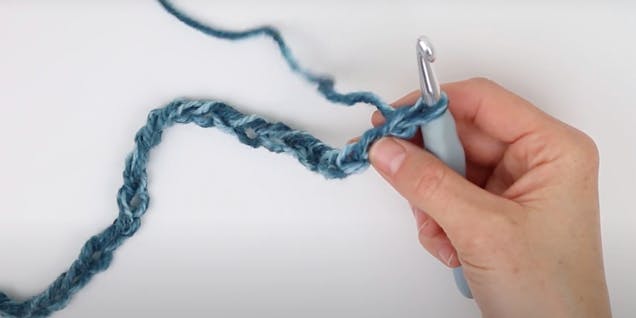
Tie a slip knot and insert your hook into this loop. Chain 37 stitches.
2
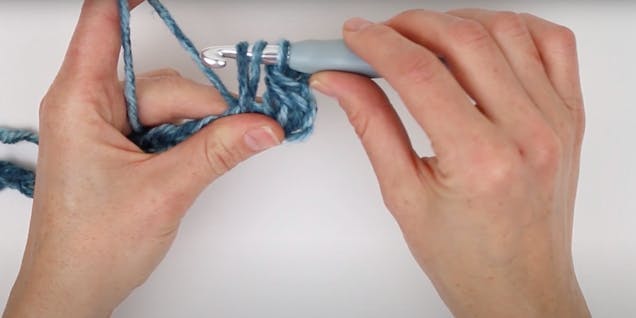
Row 1: Work a double crochet into each of the chains. Chain 3 and turn your work.
3
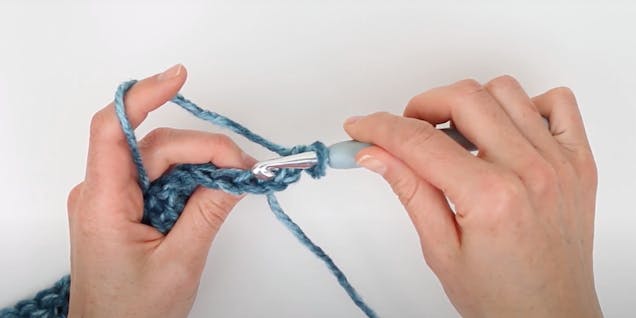
Row 2: Double crochet into the back loop of each of your stitches to create the ribbed look
4
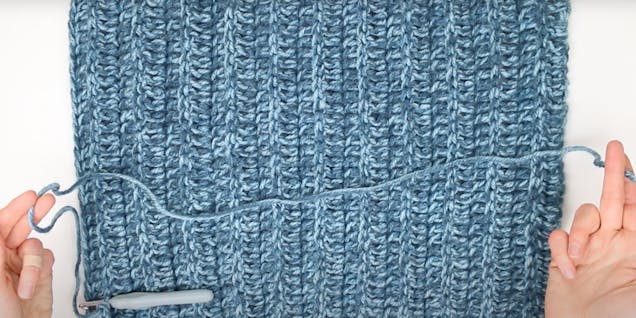
Repeat these 2 rows until you’ve worked a total of 18(20,22) rows (depending on the size of your head!)
Pro Tip
Work in multiples of two so that you finish on an even number of rows. You can also reduce the number of chains you crochet the start so it’s shorter or less rows to make it more snug.
5
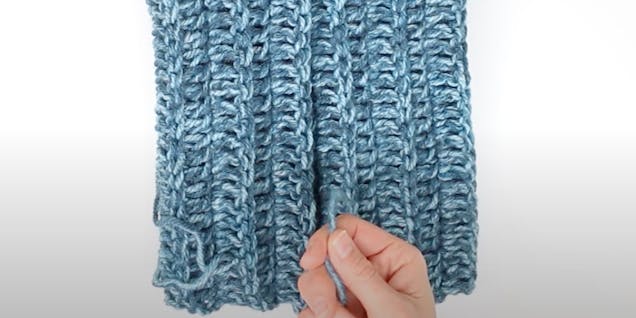
Fasten off your working yarn and leave a tail that is long enough to seam the hat together. Fold your crocheted fabric inwards so that your first and last rows are meeting in the middle. Turn the fabric so the yarn tail is on the side of your dominant hand.
6
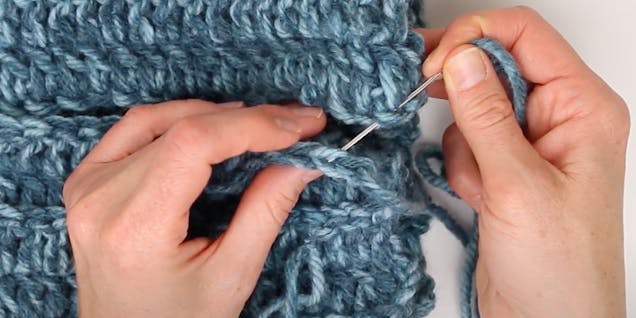
Stitch the sides together working across the seam, weaving through opposite stitches for a neat edge.
7
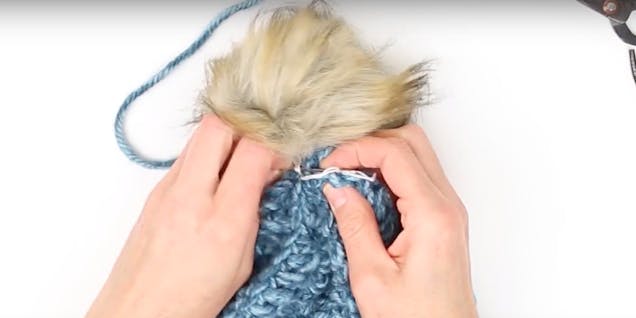
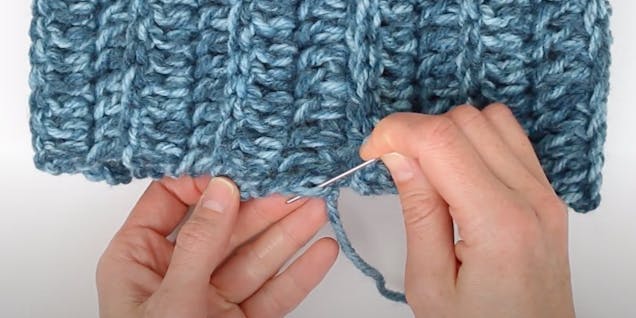
To cinch the top of the hat together, work a running stitch all the way around the circumference of the hat until you’re back where you started.
8
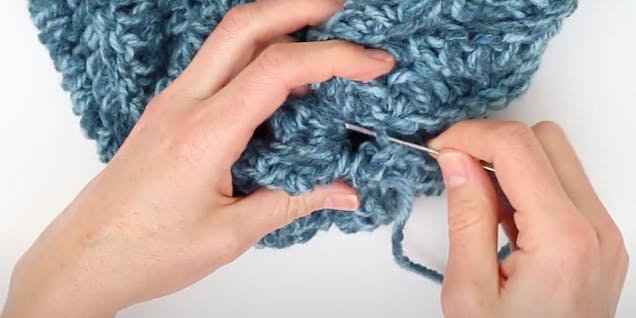
Now, pull your yarn like a drawstring to close this hole. Use the last of the tail on your needle to close up any gaps left at the top of the hat.
9
Finally, attach the pom-pom to your hat and you’re good to go!
