Tips and tricks for improving your pattern photography
Published on August 2, 2024 3 min readCriteria and intro to pattern photography
Criteria and tech specs
Clear, high quality photos of the finished object your pattern describes will greatly increase your chances of making good sales. Your potential customers will have a better idea of what they are making, plus a more delightful online shopping experience; and we are also more likely to promote your pattern on our email and social channels, thus giving it more visibility to a wider customer audience.
Generally, garments look best on models, while plain or light backgrounds allow your design to be seen clearly. Where possible, include photos that show the detail of a particular feature of your design, such as close-ups of colour work or intricate stitch work panels.
We require at least one photograph when you post a pattern with us, and the technical specifications are:
- Under 10MB
- One of the following formats: .jpg, .png, .jpeg
- At least 1000x1000px
- Well-lit and in focus
- No text, unless it is a watermark
- No artwork or borders for the main display image
- A single photograph for the main display image. Photo collages can be used in additional photographs
- No mature content
Photography guides
You don’t need an expensive camera, but there are a few things to keep in mind when taking the pictures; such as having clean, uncluttered backgrounds, good natural lighting, and in-focus well-composed images. Here is a 2-part guide with lots of really useful tips to make your photography beautiful:
More info on backdrops and styling
The background can either help enhance the design or distract from it. Avoid clutter and too many objects in the background, and make sure that the backdrop you chose is on theme with the garment / accessory that you are photographing.
It’s a good idea to have at least one of your shots depicting the full item, as well as a close-up of the stitching or colour-work details.
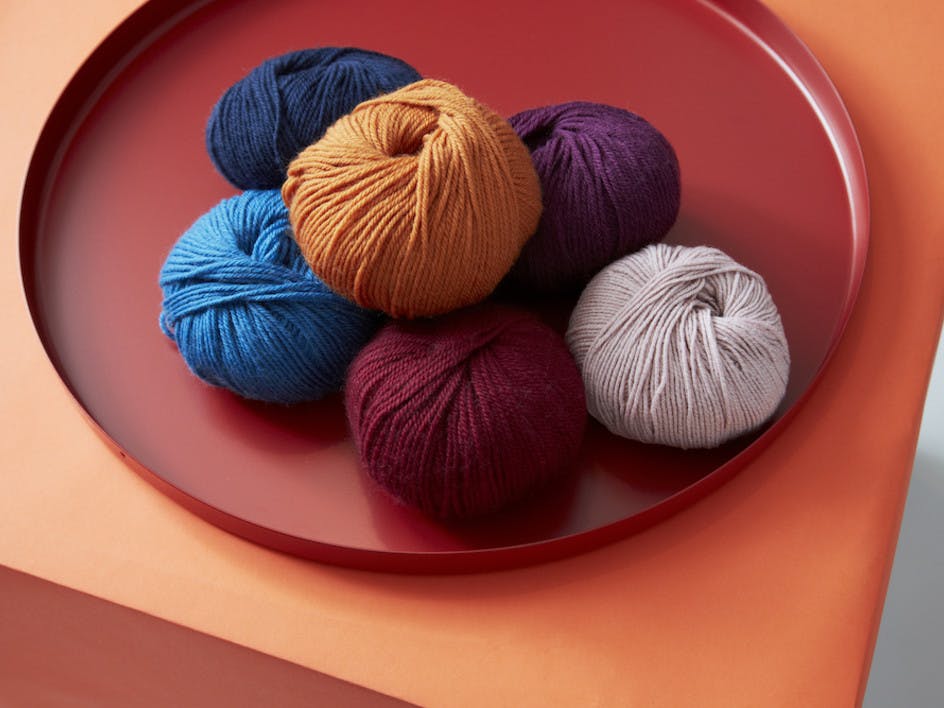
A bird’s eye view / flat lay angle (shooting directly from above) is another great way to show off an item.
Styling your models
When displaying a garment on a model (be it a family member or a professional!), try to stick to the rule of displaying just one garment per photo. Wearing more than one hand crafted garment or accessory can divert the customer’s attention to the wrong thing. Try to wear simple and neutral-coloured clothing along with it, so the item in question shows up better and is really enhanced.
Additionally its a good idea for your models to not look directly into the camera – and instead focus at something off screen or into the middle distance to one side. This helps bring the focus of the photo to the garment or accessory, instead of being drawn straight to the model’s face.
Sense of scale
It can be hard to get a sense of how big a garment or accessory is without a reference point.
For example, placing a blanket on a sofa, can give your customers an idea of whether it’s suitable for laps or as a throw-cover.
Sometimes you might not have the right models for your garments, but it’s worth being resourceful with what you have available, in order to give your customers the best representation of your pattern.
For example, if you’ve designed a baby blanket, but don’t have a baby in the household! Having any person available to hold up the blanket up can still give a good sense of scale.