Stitching Mimosa: Perfect your French knots!
Published on June 24, 2021 2 min read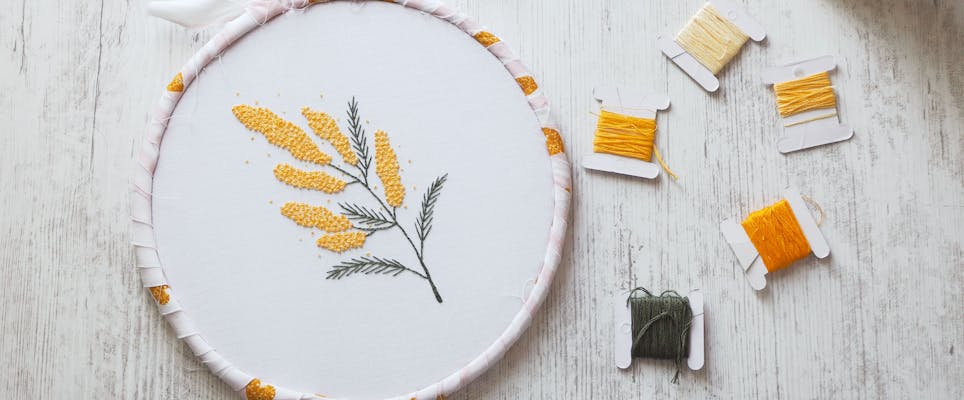
In this beginner tutorial you'll learn how to embroider the French knot step-by-step, discover (and overcome) common mistakes and practice your new skills on this beautiful free Mimosa embroidery project by Amina from Stitch Floral!
French knot is probably one of the most commonly used techniques in hand embroidery: a simple dot can become a star, a snowflake, a pistil, and when you gather lots of them together, this unique texture can be used to reflect anything from carpets to animal fur to flower clusters.
Let’s take a closer look at this stitch and learn how to make it right, and then practice it by stitching a bright and lovely Mimosa pattern by Amina!
How to make French knots
1
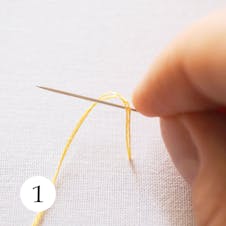
First, bring the needle up at the point where you want the French knot to be, and then cover the needle with the working end of thread, pulling the end back to yourself.
2
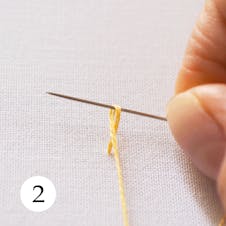
As you pull the working end of thread towards you, a single wrap is forming around the needle shaft. You can repeat these two steps to make 2-3 wraps in total but not more than that (if you make 4 wraps, your “knot” will look more like a tower than a round dot).
3
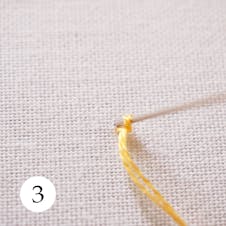
Insert the needle near the starting point.
4
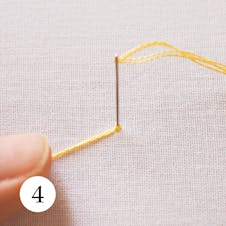
Keep holding the working end of thread with your thumb (very important!) and pull the needle down right through the wraps.
5
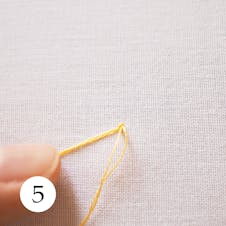
As the thread goes down through the fabric after the needle, keep holding this end of thread until the very end. Remember to pull the thread gently, without forceful tugging.
6
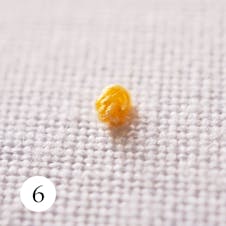
And your knot is complete!
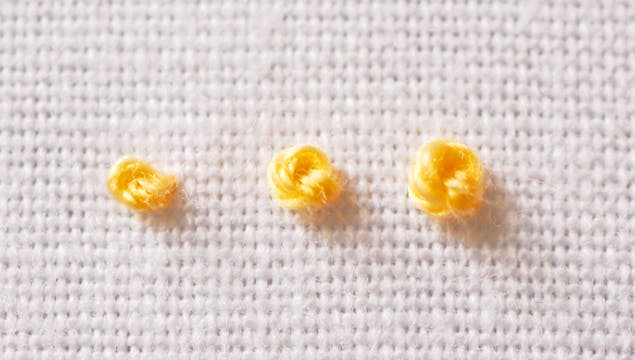
Depending on the number of strands in your needle and the number of wraps you make, the size of the French knots will be different. In this image, there are 3 French knots, all made with 2 strands of thread and 1, 2, and 3 wraps around the needle.
Still need a helping hand? Check out our french knot beginner video tutorial.
Common Mistakes
1
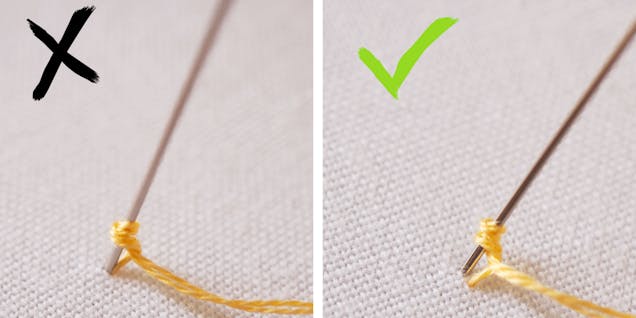
There are some factors which will either make your French knots great, or spoil it. One of them is where you insert the needle. In the pictures, it may often seem like the needle goes into the same hole where it first emerged, but that’s not the case! The needle must be inserted in close distance to, but NOT the same hole. If you insert the needle in the same hole, when you pull the needle down, the French knot may simply sink down together with the thread. So always leave at least one-two fibers between the starting and the ending points.
2
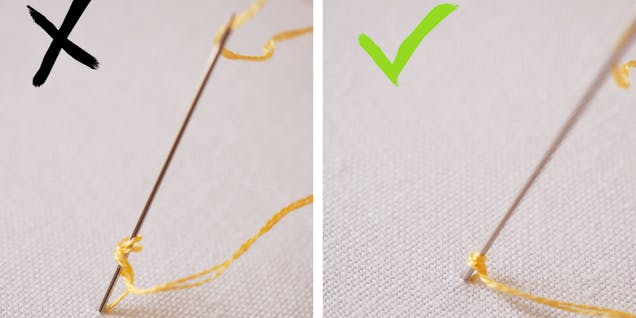
Another important thing to remember is to keep the wraps nicely tight around the shaft of your needle. If you let them loose, the French knot will not work out, it will look loopy and messy. So, don’t hurry and before pulling the needle down through the wraps, pull the end of the thread a little, to tighten them. Don’t overdo it, though, because if they are too tight, it may be difficult for the needle to go through them. Which will result in tugging and spoiling the knot again.
Practice on Mimosa Project
Materials
- Embroidery needles size 9
- DMC 16 Embroidery Needles (5-10)
- Embroidery scissors
- Hemline Stork scissors
- Hoop (20cm/8”)
- Elbesee 8 inch (20.32 cm) Wooden Embroidery Hoop
- Stranded Cotton Thread (I used DMC #744, #520)
- Pattern
Instructions
1
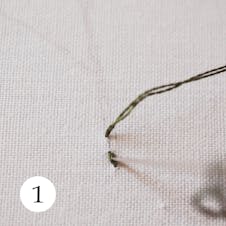
After transferring the pattern, let’s work all the green areas first. Take 3 strands of thread and work all the lines in split back stitch: make the first stitch, then bring the needle up in some distance from it, and split the previous stitch from above.
2
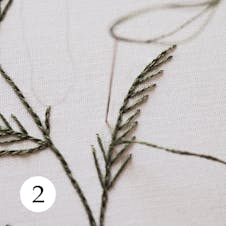
Then, with the same 2 strands of green thread, work the leaf branches with straight stitches.
3
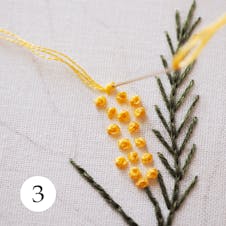
Now, let’s work the flower clusters. To create variety in texture, we will use two different sizes of French knots. First, take 3 strands of yellow thread and scatter around the area 2-wrapped French knots.
4
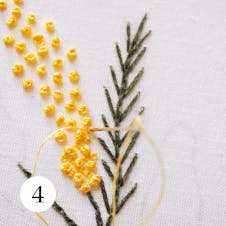
Then, take 1 strand of the same thread and fill the gaps with smaller French knots, making 1-2 wraps around the needle.
5
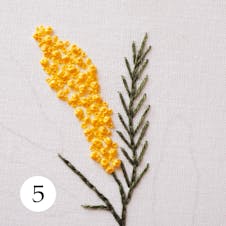
You can leave some air in between the stitches, or you can continue to fill the cluster with more French knots, possibly throwing in some extra colors of lighter or darker value. Lastly, scatter more small French knots around the whole pattern to create the feeling of flowers shedding a little.
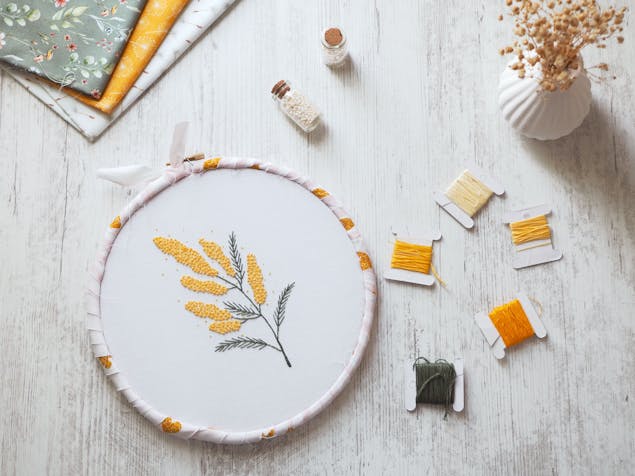
And your Mimosa pattern is ready! Keep it to bring your mood up every time you look at this bright yellow, or give it to your dear one as a present to cheer them up. Hope you enjoyed today’s lesson and practice project, and acquired some confidence in your French knots!


