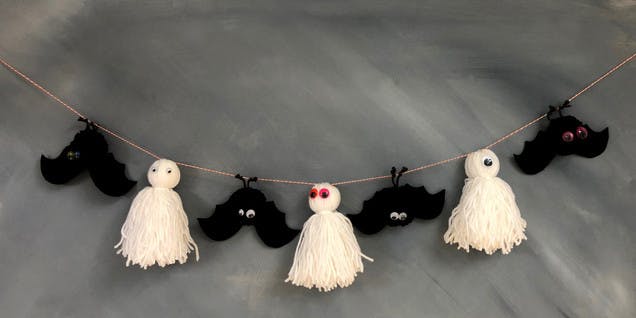
Ghostly pompom garland
Published on September 5, 2018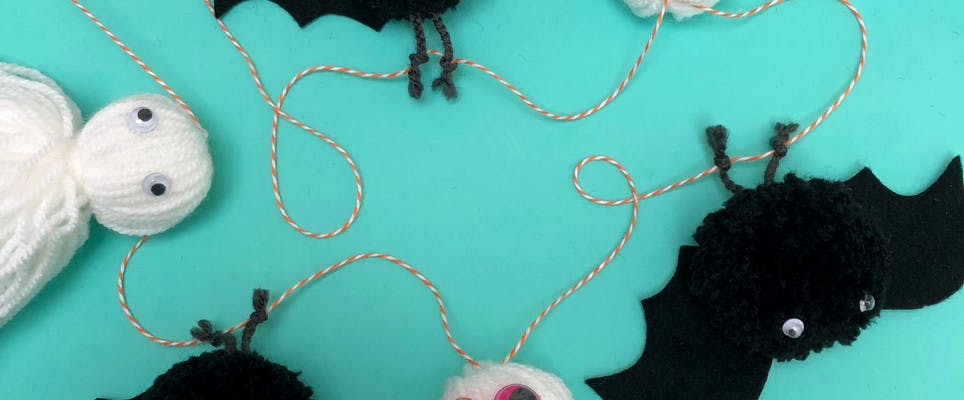
Though the days are still warm, the chill in the morning air tells us one thing: fall is here! And fall brings with it our favourite spooky holiday, Halloween.
Halloween fanatics rejoice, when we present you with Christine Leech of Sewyeah’s positively spooky pompom ghost and bat garland.
Pompoms lend themselves to the Halloween theme amazingly well and here you’ll be making pompom bats and ghostly tassels. But don’t fret if you scare easily, this garland is completely adorable.
Materials
- Paintbox Yarns Simply DK
- Paintbox Yarn DK in Paper White
- Paintbox Yarn DK in Pure Black
- Paintbox Yarn DK in Granite Grey
- Googly eyes
- Craft glue
- Scissors
- A piece of A6 card
- Black felt
- Wool needle
- Ribbon or baker's twine to make the garland
- 5cm pompom maker
- Bat wing template
1
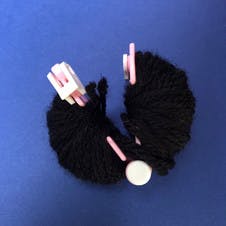
To start the bat pom-poms. Fill both halves of the pompom maker with black yarn.
2
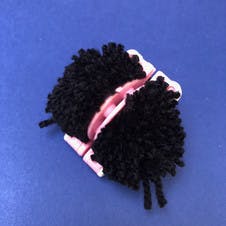
Clip the maker together. Then cut through the yarn to expose the maker.
3
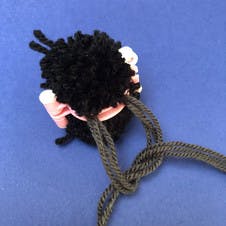
Tie it off. Take three strands of gray yarn and wrap it around the middle of the maker. Tie one knot then wrap the yarn back around the maker and tie a tight double knot.
4
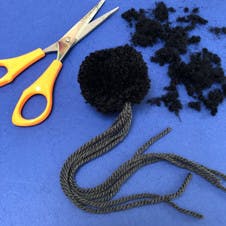
Trimming time! Release the pompom and trim to a neat sphere.
5
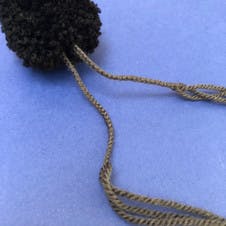
Plait it. Take three strands of the gray yarn and make a 6cm plait. Repeat with the other three strands.
6
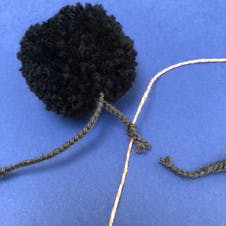
Tie it on. Take one of the brown plaits and tie around the piece of twine or ribbon you are using for the garland. Try and leave about 5mm of plait showing so it looks like a little foot. Repeat with the second plait.
7
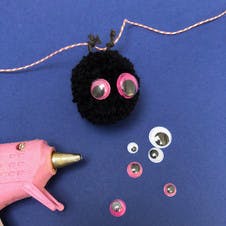
Get googly. Glue on some googly eyes.
8
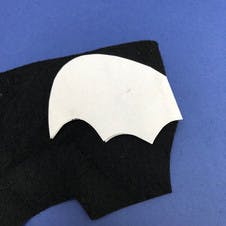
Use the template. Cut a pair of bat wings from the black felt.
9
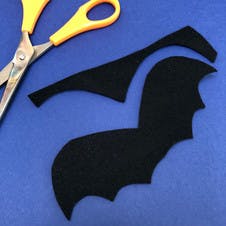
Cut the wings out. First fold the felt in half then place the template against the fold. Pin in place and cutout.
10
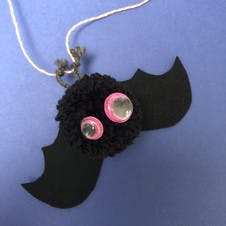
Gluing time! Carefully glue the wings to the back of the bat.
11
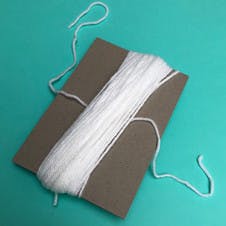
To make the ghost tassels. Cut a piece of A6 card (about the size of a postcard). Then wrap the white yarn around the card lengthways approximately 100 times.
Pro Tip
Be careful not to wrap the yarn too tightly as it will be hard to remove from the card later on.
12
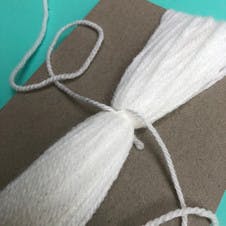
Secure it. Take a 15cm piece of white yarn and thread it through the bundle. Tie this yarn in a tight knot. Wrap it around the bundle again and tie a tight double knot.
13
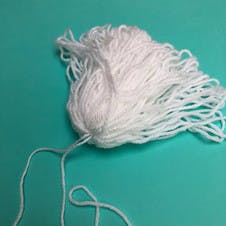
Remove the card. Slip the bundle from the card.
14

Gather and tie. Gather the bundle together and wrap a further 20cm piece of yarn around the bundle. This should be about 2cm down from the top of the bundle.
15
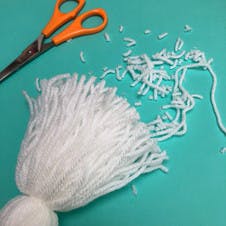
Cut and trim! Cut across the bottom of the bundle releasing the yarn. Neatly trim.
16
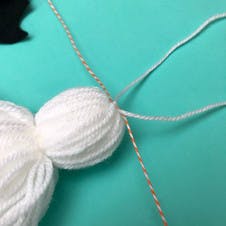
Garland time. Using the two pieces of yarn you tied the bundle together with, tie the ghost to the garland.
17
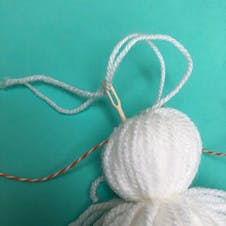
Finish off the threading. Thread the two ends of the yarn onto your wool needle and ‘sew’ into the tassel to loose the ends.
18

Almost complete! Now to add googly eyes.
19
Alternate! All you need to do now is alternate your ghosts and bats along your garland.
