Upcycle old knitwear with hand embroidery and create a comfy cushion for your home
Published on January 25, 2021 By Teresa Bettelley 1 min readUpcycle your your old knitwear and create a chic contemporary cushion featuring simple embroidery in tapestry yarn, perfect for snuggling up on the sofa with.
If you are like me you’ll be unfortunate enough to have shrunk some of your knitwear in the wash, or have found an inconvenient hole on the front of a favourite cardi. This is pretty annoying at the time, but don't worry, all is not lost! Turn your forlorn knitwear into some home accessories that show off your craft skills! We will be using basic machine and hand sewing skills to create an embroidered cushion that will be truly one of a kind.
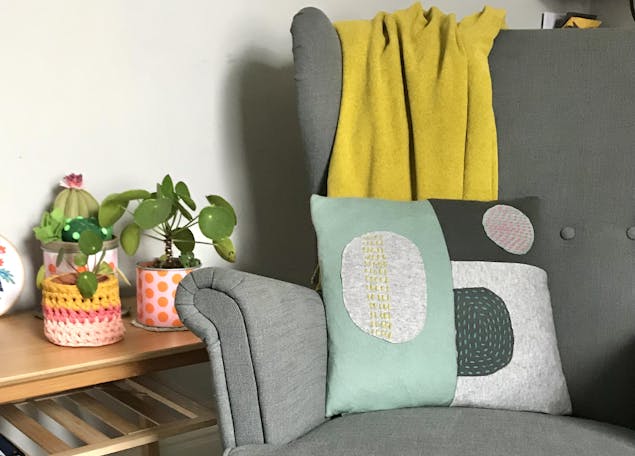
Materials
- Some shrunken / old knitwear, all a similar weight
- Sewing machine and thread
- Anchor Tapestry Wool
- Hemline Size 18 Tapestry Needles (6)
- Cushion pad 40cm wide
- Paper and pencil for creating templates
- Iron and ironing board
Seam allowance is 1.5cm throughout.
Are you ready to make?
1
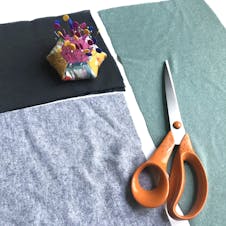
Create 3 paper templates measuring 23 x 43cm, 23 x 25.5cm and 23 x 17.5cm. These pieces will form the base of the cushion.
Plan the cushion: decide how the cushion will look, with contrasting colours and texture. Cut out the rectangles from your knitwear, try to keep the pieces straight, and not cutting diagonally.
2
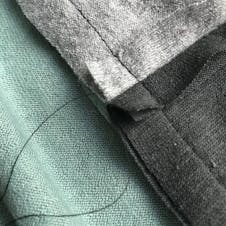
Machine sew the two smaller rectangles together along one of the long sides. Use a longer straight stitch than normal, and don’t stretch the fabric as you sew. Press the seam open and flat.
Sew the large rectangle to the joined pieces, along the long straight side.
3
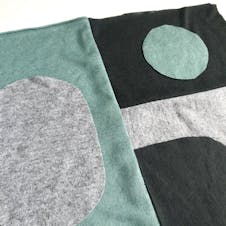
Create smaller templates for the appliqué pieces- try shapes such as a circle, a semi circle and a long oval, and pin them into place.
4
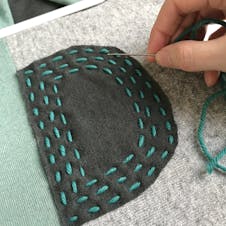
Hand stitch the appliqué pieces using contrasting coloured tapestry yarn and a simple running stitch. Take your time with this and don't worry about the odd wobbly stitch.
Pro Tip
If you want to add a statement stitched stripe through the middle of an applique shape, use sewing thread to sew the edges down from the back of the cushion front, with running stitch and just catching the appliqué shape so the stitching is invisible from the front of the cushion.
5
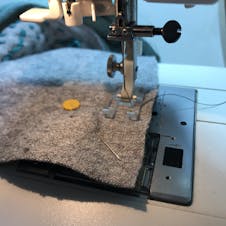
To make the back of the cushion cut out three more rectangles and machine sew together.
Pin the both covers right sides together along three sides. Sew 3cm of one side, pivot at the corner and sew along three sides, and a final 3cm on the fourth side.
6
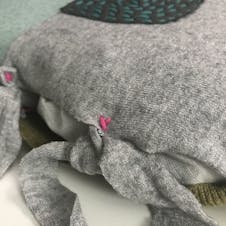
To fasten the cushion make some ties out of the felted jumper, the sleeves will be handy for this. Cut 6 strips 3cm wide and 20cm long, and hand stitch with a cross stitch into place at the opening, positioning one set of ties in the centre and the the other two sets 10cm away from the centre.
7
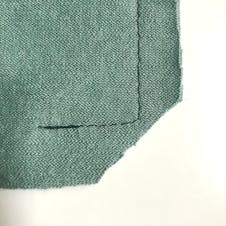
To finish- nearly there! Trim the seam allowance and the corners to reduce bulk, and turn the cushion cover the right way round and poke the corners into points with a pencil.
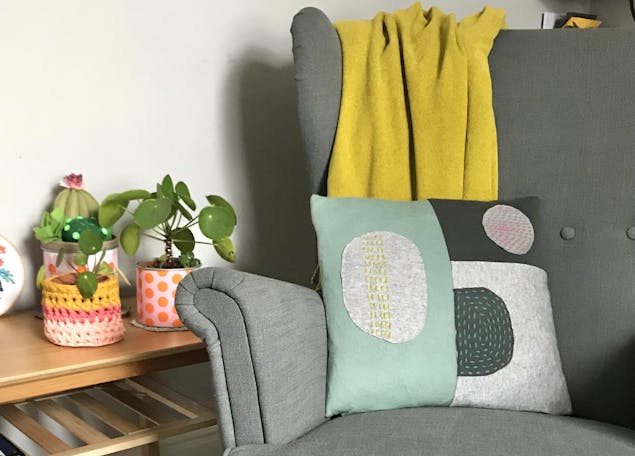
Pop the cushion pad in the cushion, add it to your favourite chair and snuggle down with a hot drink and a book!


