How to adjust a crochet pattern to your size
Published on July 6, 2020 4 min readWhat started as a small business making custom crochet items has become a successful designing business for Michelle! Priding herself on simple, yet unique designs Michelle is a crochet goddess with all the know-how on how to adjust a crochet pattern to your size, so that makes fit you like a glove!
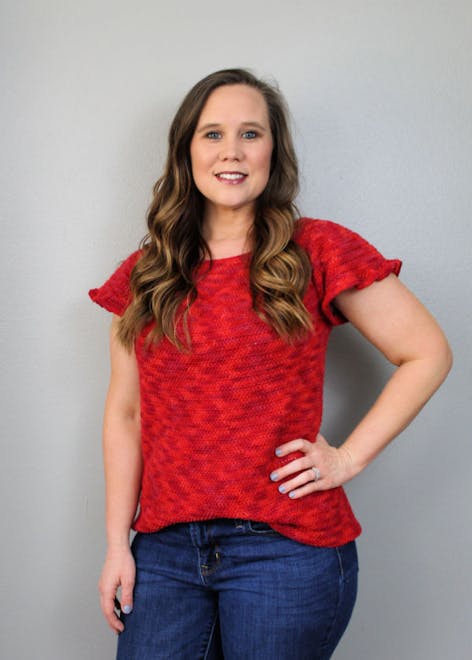
Hello! My name is Michelle Ferguson and I am a crochet pattern designer and blogger at Two Brothers Blankets! I have been designing crochet patterns for over 6 years, and I absolutely love to design, make and wear crocheted garments!
As a designer of garments of all kinds, I use a body measurements chart as the standard for sizing my patterns. But as a woman, I know that we are all different shapes and sizes and even if we fall into a specific size, there will be areas that need adjustment to get the best fit possible.
I try to keep that in mind when I am designing tops, sweaters, and cardigans. I want it to be super easy to make and easy to adjust for makers.
So, I’d like to share my best tips and tricks on how to adjust a crochet pattern to your size or even create a new size completely if you need to, so that you get a fit that you love and feel good in your handmade garments!
Making small adjustments for a better fit
Sometimes you will fall into a certain size for a garment pattern but there will be areas that need a bit more or less room. I am pear shaped myself, and so I always need a bit more room in the hips. I have small shoulders though, so sometimes I need less room in that area.
Here are some simple adjustments you can make as you are working up your project.
- Change your hook size. When I need a looser fit in the hips I go up a hook size or two once I get to that area. This loosens up the stitches just enough to give me the room I need. Then it fits my hips specifically without having to figure out any different stitch counts. The same can be done with an area that is fitting too largely. Go down a hook size for a tighter fit.
- Adjust length by the amount of rounds you do. If you need a longer sweater, simply add rounds/rows of the garment until you get the length you need. You can also work less rounds/rows if you need a shorter garment.
- Adjust neckline by using chainless foundation stitches. If you need more stretch in your neckline, use a chainless foundation stitch rather than chaining and working your stitches into the chains. If you need less stretch and a tighter neckline, use a chain instead. If you’re working a sweater from the bottom and the neckline is created by seaming the shoulders together, simply adjust the amount of stitches seamed to get the fit you want at the neckline.
- Block your garments for a better fit. If you finish your garment and it is a bit too tight or you’d like more of a drape to it, blocking will be helpful in loosening up your stitches and adding more length and width.
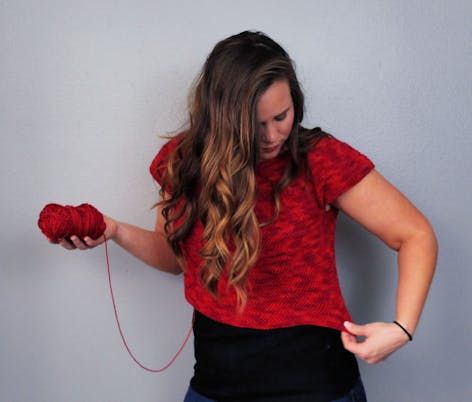
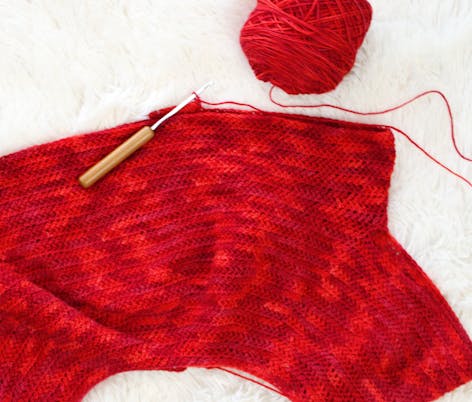
Adjusting the stitch count to create a customized size
If you are someone who is in between sizes or needs a different size altogether, making garments can get frustrating. But did you know there’s a way to change the stitch count to create your very own size?
This process definitely takes more work, and is usually left up to the designers, but it can be done even if you are not a designer. The first and most important step to this is checking your gauge. You need to know the gauge and the hook size you need to use to meet gauge to work your math for the stitch counts.
Next, I will show you how I use gauge to figure out the stitch counts for all my designs. You will be able to use this to create your own or just adjust the stitch counts for a better fit.
1
Using your gauge swatch, take the number of stitches divided by the measurement of the swatch. So if the gauge is 16 sts = 4", do 16/4 = 4.
2
Take your answer (4), and multiply it by the measurement you need your finished garment to be. So a size medium sweater, with 2" of positive ease, needs to be 40" around. 40 x 4 = 160. You will need 160 stitches to get a 40" circumference.
3
Depending on the stitch or stitch combo being used in the garment, the multiples it is worked in will also be a factor in your stitch count. If the pattern doesn’t tell you the multiples and it’s not easy to figure out by working the stitches, ask the designer.
4
Once you know your base stitch count you can create your customized garment!
I hope you find these tips to be helpful. It really is possible to create a gorgeous crocheted article of clothing that fits you perfectly! I’d love for you to check out my crochet patterns, you will find garments and accessory crochet patterns for your handmade wardrobe!


