How to knit button bands and buttonholes
Published on April 25, 2019 1 min readReady to take your knitting skills to the next level? Learn how to knit buttonholes and button bands into your garments and you’ll open up a whole new world of possibilities (and patterns!).
Whether you’re working on teeny tiny button-up booties for a baby or a cool and contemporary cable-knit cardigan – knitting buttonholes is an essential skill for any beginner learning how to knit.
What's the easiest way to knit a buttonhole?
There are lots of easy ways of making buttonholes, and the method you use depends on the size of button you'll be adding to your project. Here, we show you how to master two of the easiest methods on the knitting block: the two-row buttonholes and small eyelet buttonholes (both in knit and purl rows).
Two-row buttonholes are great for adult size garments and bigger buttons. The small eyelet buttonholes are perfect for baby knitwear and smaller buttons - we'll show you how to knit and purl in this method!
Needles and yarn at the ready.
How to knit a two row buttonhole
1
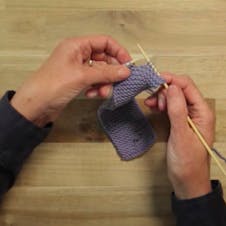
Work to the position of the buttonhole, then work the next 2 stitches.
2
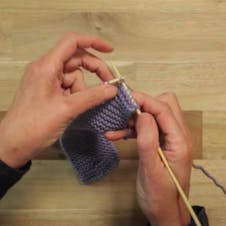
Slip over the second stitch with the tip of the left needle.
3
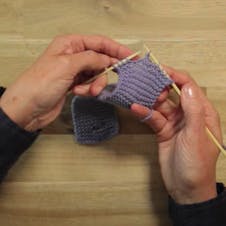
Continue casting off in this way for the required amount of stitches you need for the size of your button, then work to end of row.
4
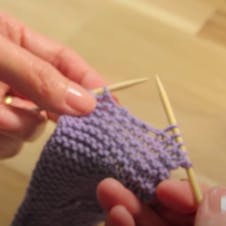
Turn and work back along the row until you reach the stitches that were cast off on the previous row.
5
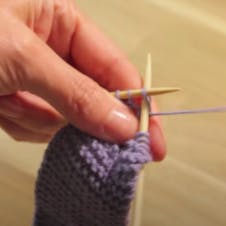
Turn the work around and insert the tip of the right needle between the first two stitches on the left needle.
6
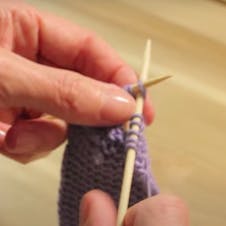
Cast on the same number of stitches that you can off on the previous row using the cable method.
7
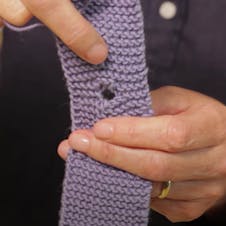
Turn the work around again and complete the row. You’ve now completed your first buttonhole!
Pro Tip
If you place the last stitch in the normal way, a loop will form creating a second buttonhole. To stop a loop from forming, before placing the last cast on stitch onto the left needle, bring the yarn between the needles to the front of the work. This will stop a second loop from forming.
Practice perfect buttonholes
How to knit a small eyelet buttonhole
1
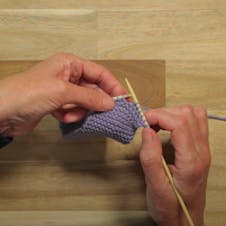
Work to the position of the buttonhole. If the next stitch is to be knitted, take your yarn forward to the front of the work between the tips of the needles and knit the next 2 stitches together, which will make a hole. By taking the yarn forward a loop is formed which will make another stitch.
2
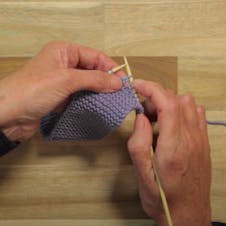
Carry on knitting to complete the row.
3
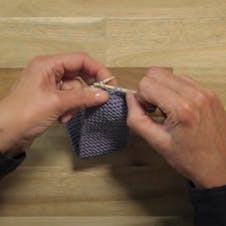
Move to the next row and knit as you normally would, knitting (or purling) the loop as you go.
4
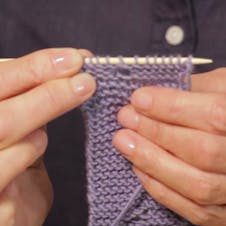
Go you! You’ve now completed your small eyelet buttonhole.
How to purl a small eyelet buttonhole
1
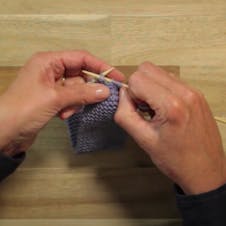
Wrap the yarn around the needle from front to back, then purl next two stitches together which will make a hole. By wrapping the yarn around the needle a loop is formed which will make another stitch.
2
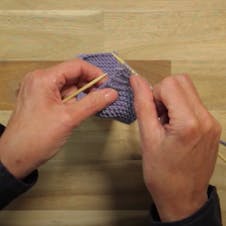
Carry on purling to complete the row.
3
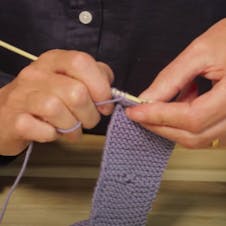
On the next row, simply work the row as normal purling the loop
4

Yesss! You’ve completed your small eyelet buttonhole


