How to knit the honeycomb stitch
Published on September 10, 2021 By Yaz 1 min readCreate a buzz with the honeycomb stitch! This type of cable knitting adds a beautiful textured honeycomb effect to your fabrics. Teamed up with other cable stitches, this is a statement stitch to knit into your sweaters, cardigans and other staple accessories. Learn how to knit the honeycomb stitch with our video tutorial and simple steps, and find some fabulous honeycomb knitting patterns in our collection to help you practice!
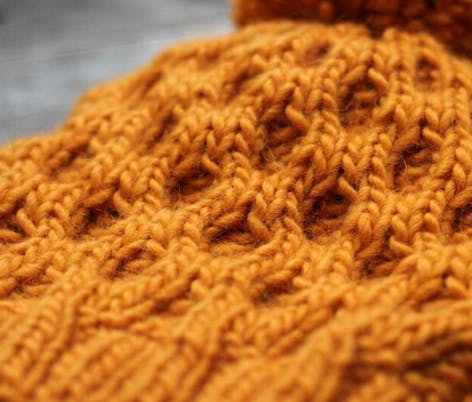
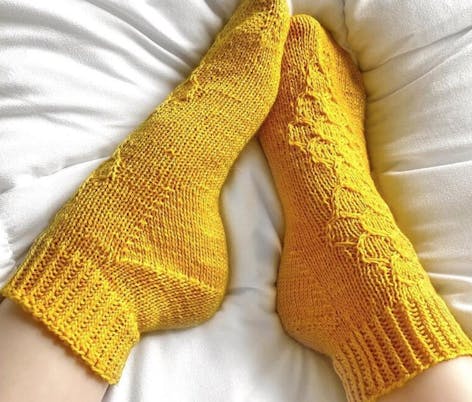
The honeycomb stitch is created with two-stitch cables, sometimes called twisted stitches, next to each other but opposite in twist direction. With honeycomb cables all cable stitches are knitted so, all stitches on the wrong side are purled. Honeycomb stitches are either formed with cables, slipped stitches, or both. In this tutorial, we use the Debbie Bliss “Lottie” Jumper pattern and a cable needle to show you how to knit a basic honeycomb stitch, so you can unlock a whole hive of fabulous new projects!
Abbreviations
C4B – cable 4 back – slip next 2 sts onto cable needle and hold at the back of work, knit 2, then knit 2 from cable needle
C4F – cable 4 front, slip next 2 sts onto cable needle and hold at the front of work, knit 2, then knit 2 from cable needle
K – knit
P – purl
RS – right side
St(s) – stitch(es)
How to honeycomb stitch
1
Cast on and knit as your pattern suggests until the row you will introduce the honeycomb stitch. If you're not working from a pattern cast on a multiple of 8 + 2.
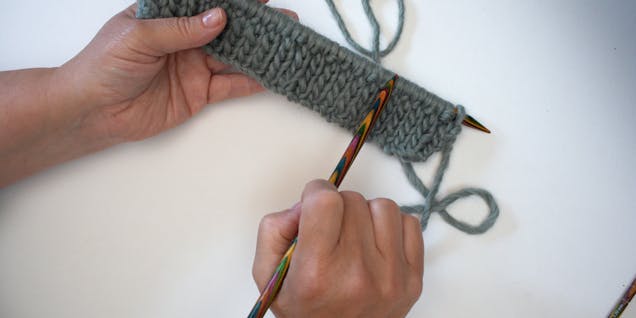
Row 1: Knit all the way along.
Row 2: Purl to the end of the row
2
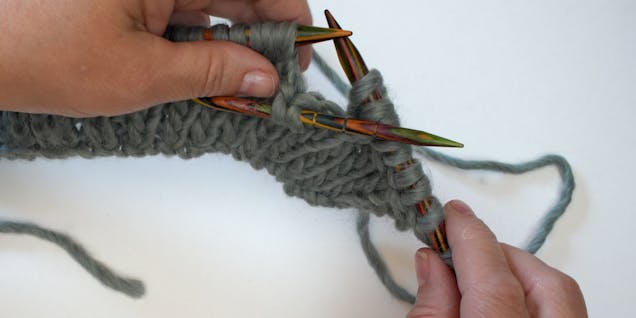
Row 3: Using a cable needle, C4B, C4F to last stitch, K1. Repeat this sequence 3 more times to create the beginning of 4 honeycomb cables.
3
Row 4: Purl to the end.
4
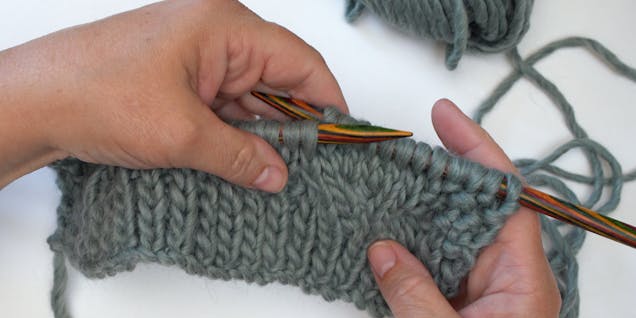
Row 5: Knit to the end.
Row 6: Purl to the end.
5
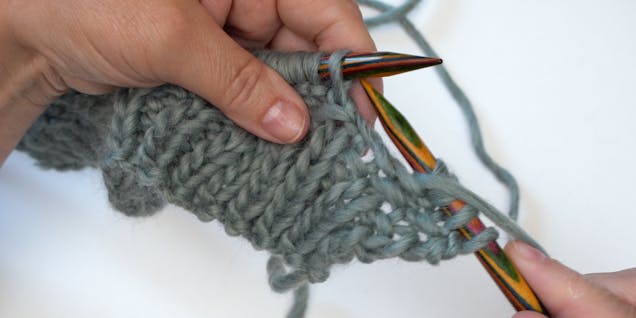
Row 7: Knit 1, C4F, C4B to the last stitch, K1. Repeat this 3 times along the row.
6
Row 8: Purl to the end.
7
Continue this 8 row sequence to build up your honeycomb stitch fabric.


