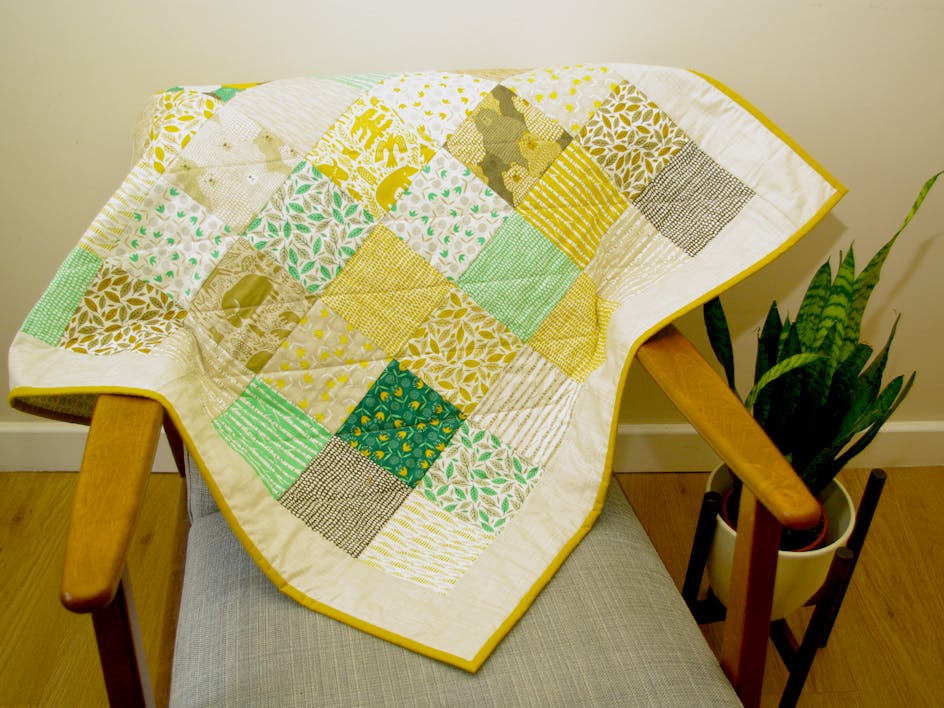
How to make a baby quilt: 11 simple steps
Published on December 4, 2020 By Sarah JonesA baby quilt is the perfect project to make when you first start quilting. Sarah Ashford makes it even simpler with the perfect pattern to show you how to sew a baby quilt using fantastically floral fabric. Follow along with Sarah’s amazing directions to sew an easy baby quilt in no time!
What is a baby quilt?
Typically, a baby quilt is small quilt that fits perfectly with the size of a baby’s cot mattress to keep the little one snug as they sleep. While a square is a great option for a baby quilt, there is really no right size for a baby quilt. Personalising it to your needs and wants is absolutely fine and easy to do! This quilt tutorial creates a finished quilt of approximately 57” x 38”.
The design I've used is known as a 'Rail Fence' Quilt and if you look online you will see that there are many variations of the Rail Fence; just by changing the layout or orientation of the blocks or adding sashing you can create very different effects. I've kept mine nice and simple to make this project great for beginners.
What is a Jelly Roll?
Jelly rolls are strips of tantalising fabric, all coordinating and wrapped around one another. The strips measure 44” x 2 ½” and they are cut with a zigzag to prevent fraying. The great thing about jelly rolls is there is often minimal cutting, and because the fabrics are all from the same collection, you know that they are going to coordinate beautifully. What's not to love!
This lovely Tilda 'Lazy Days' Jelly Roll is made up of 30 strips. To make this into a baby quilt size that is better proportioned, I have taken out 3 strips and have made up the quilt using just 27 strips.
One thing that will surprise you about a jelly roll is just how much it shrinks when it's all stitched together. Those seams really do 'eat' up a lot of fabric!
Materials
- Hobbs crib sized quilt batting
- Rotary cutter
- Sewing machine
- Thread
- Cutting mat
- One jelly roll (30 strips) Tilda Lazy Days
- 1.75m backing fabric (Tilda Lazy Days, Eleanor Teal)
- 0.5m binding (Tilda Lazy Days, Pheobe Thistle)
How to sew a baby quilt
1
Lay out the strips in a formation that you are pleased with. I've unravelled the jelly roll and laid them down in the same order as there is a lovely graduation of color. (Removing 3 strips, as I mentioned).
2
Stitch them into rows of 3. Once 3 strips are joined, press the seams in the same direction.
3
Repeat so all the jelly roll is stitched into strips of 3. You will have 9 sets of 3 in total.
The width of your strips should measure 6 ½ in but you may find that they measure slightly over this. Do not worry if that is the case. Measure the width of your strips and note it down.
4
Next, sub-cut each strip into squares. You're going to cut them at the same width as your rows. So, if your rows are 6 1/2” wide, cut the strips at 6 1/2” intervals. If they are slightly over or under, cut them to that measurement, as you want each sub-cut to be square.
You will be able to cut 6 squares in total from each strip. You will have a few inches left at the end of each strip, which you can keep as scraps, and use in another project in the future.
5
Lay out your row of 6 squares, alternating the layout of the strips within the squares between horizontal and vertical. Always keep the orientation of the fabrics the same.
6
Sew each row together so you have a total of 9 rows. Press the top row seams to the right, the next row to the left, and continue alternating the direction that you press the seams in preparation for the next step.
7
Sew the rows into pairs, nesting the seams so that they lie nice and flat.
Pro Tip
Nesting the seams creates one seam going to the left and one going to the right, to reduce bulk and help the fabric lie nice and flat. Putting a pin either side of the seam when it's lined up ensures it won’t shift when under the sewing machine.
8
Stitch the pairs together then add on the 9th row to complete the quilt top.
9
Baste your quilt using your preferred method. I use masking tape to adhere the backing fabric right sides down to a hard floor, add the batting and then the quilt top. I personally love spray baste as it negates the need for pins.
I sometimes pop a pin in the corners just to make sure the backing fabric doesn't fold back on itself. I then iron the quilt on the back and then the front, to activate the glue, which helps firmly hold the quilt sandwich together.
10
Quilt as desired. I have used a simple cross-hatch, intersecting the squares.
11
For the binding, I like to use single fold binding, so I've cut 6 strips at 1 ¾” width of fabric from the half metre. If you prefer to use double fold binding, cut 6 strips at 2 ¼”.
Machine stitch the binding to the front of the quilt then hand stitch the binding to the back for a neat finish.
And you're done!
This baby quilt tutorial is the perfect introduction to machine quilting. With a gorgeous design and amazing results, this baby rail fence quilt is sure to make a beautiful gift for the little ones in your life.
