How to sew a fabulous fabric pumpkin!
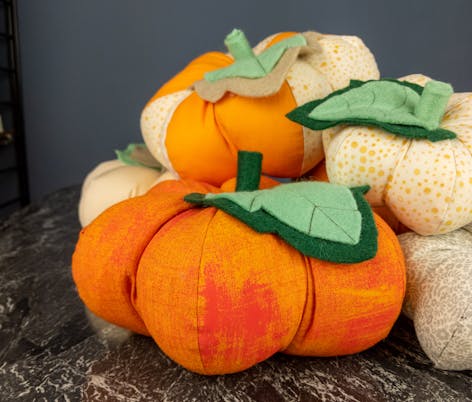
Published on October 12, 2020 1 min readForget traditional pumpkins! Making your own seasonal decor is the perfect way to spend a weekend getting crafty. These fabulous fabric pumpkins are super stylish and easy to make, follow our step-by-step and you'll be in pumpkin heaven.
Pumpkin size options
Larger pumpkin
Height of landscape A4 and 7.5cm wide for segment. Larger leaf 11.5cm length, 5cm width at widest part
Smaller pumpkin
15cm height and 6cm width for segment. Larger leaf 7.5cm length, 8cm width at widest part.
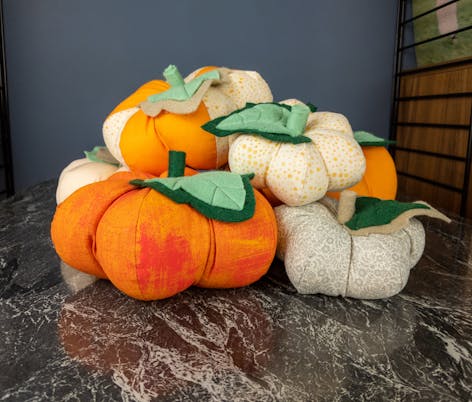
Katie has listed the colors she used to make her pumpkins, but why not try pastel pumpkins? Or a whole rainbow?! Who said pumpkins have to be orange anyway? Break the mold and get creative.
Materials
- Fabrics of your choice!
- Sewing machine
- Paper, pencil and ruler
- Scissors
- Glue gun
- Plyers
- Long embroidery needles
- Toy stuffing
How to make your pumpkin!
1
Make the pumpkin segments by drawing a straight line for the length of your piece, and then marking the width of your piece.
Use a cylindrical object to draw around, lining it up with the ends of your line and the width mark you made.
2
Draw your two leaf pieces, start with your larger piece then use this to make your smaller inner leaf.
3
Cut 12 of your segments from your cotton.
4
Right sides together, sew your segments into pairs along the straight edge. Use a seam allowance of 3/8 inch or 1cm. Once done, trim your seam allowance down and press open.
5
Take one of your pairs and right sides together sew a pair to the left and then the right side of the curved edge (so you end up with half a pumpkin).
Try to catch the seams so they all meet together in a neat point. Repeat for the remaining three pieces. Trim your seam allowances and press to the side.
6
With the right sides together, sew your two pumpkin halves together. Leave a gap on one edge to allow you to turn your pumpkin right side out and stuff it. You can trim the seam allowances but be sure to leave the full allowance at the gap.
7
Stuff your pumpkin and seal the hole with a ladder stitch.
Using a long needle and either embroidery thread or standard thread doubled up, pass your needle from the top of the pumpkin, through the middle and out of the bottom to create a dimple – use your plyers to pull the needle through safely.
8
Cut out your leaves in two contrasting colours. Stitch them together down the middle and then stitch from the edge into the middle, so your stitches look like the veins of a leaf.
9
Cut a circle and rectangle from the felt and warm up your glue gun.
10
Once your glue gun is warm, glue your circle to the bottom of your pumpkin, covering the join. Glue your leaf to the top. Roll the rectangle up and glue the edge down, then glue to the top to form your stalk.
11
Admire your amazing pumpkin, you did a great job!!
