How to purl stitch - 7 step tutorial
Published on May 30, 2019 By Sarah Jones 1 min readMost knitting is made up from knit and purl stitches, so on your journey as you learn to knit, it’s important to master these two easy yet foundational techniques. Here, we'll be learning the purl stitch (p) and soon you'll be able to purl a row!
What is the purl stitch?
The purl stitch is the opposite of a knit stitch. Instead of feeding your needle through the loop behind the needle in your left hand, you feed in-front. Where a knit stitch produces a flat stitch, a purl stitch will produce a ‘bump’ in your fabric, making it easy to identify one from the other!
What does a purl stitch look like?
Where a knit stitch produces a flat stitch, a purl stitch in knitting will produce a ‘bump’ in your fabric, making it easy to identify one from the other!
How to purl stitch step-by-step
1
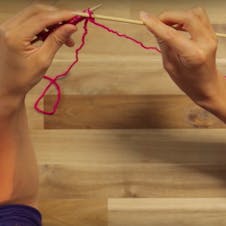
Insert the tip of the right needle down and through the loop, then pull it up so it crosses in front of the left needle, from back to front.
2
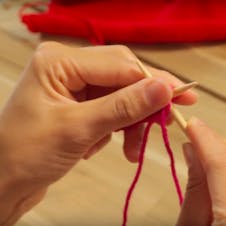
Hold onto the needles where they cross with the left hand needle.
3
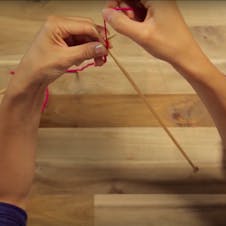
Take the yarn forward in front of your work and wrap it behind the front right needle.
4
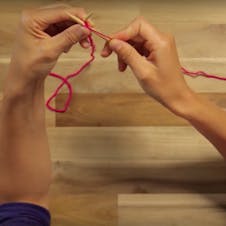
Draw the tip of the right needle back through the stitch on the left needle, together with the looped yarn.
5
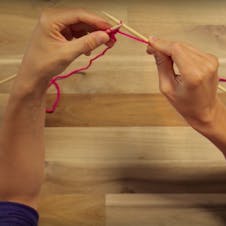
Slip the original stitch loop off the left needle. You have now completed a purl stitch - yay!
6
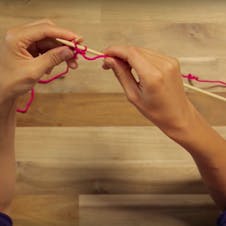
Repeat, in and up, round, down and off.
7
Complete the row by purling each stitch.
What to learn next?
Now you know how to knit a row and purl a row, why not put them together to create a stockinette stitch or maybe even try your hand at moss stitch.
As you try out different styles of knitting, you will see how by changing the sequencing of knits and purls you can create rich and more diverse textured fabric, from rib and moss stitches (great for garments and jumpers), to more complex patterns!


