How to Tunisian crochet
Published on November 17, 2020 By Emma Guess 1 min readEver wanted to try Tunisian crochet but didn't know where to start? Crochet superstar and author Emma Guess shows us how to Tunisian crochet with three free fabulous step-by-step tutorials from her new book!
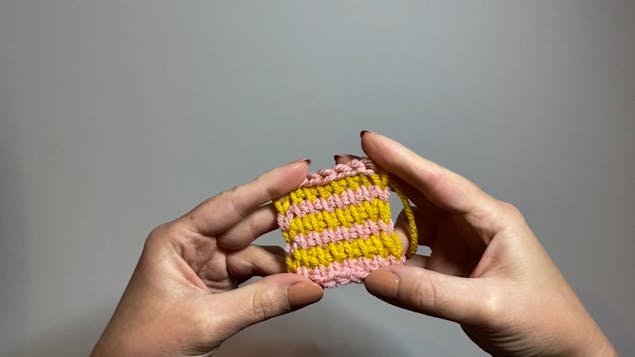
In this tutorial you'll learn how to work the Tunisian simple stitch. From there Emma will introduce two fabulous colorwork techniques: how to make beautiful block stripes and how to stitch two tone stripes. Once you've got these under your hook, you'll be on your way to making the coziest accessories, snuggly home decor and garments in all your fave colors!
Materials
How to crochet Tunisian simple stitch
1
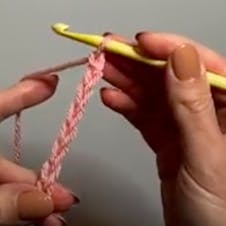
Attach yarn to hook with slip knot and make a chain of desired length.
2
Rotate chain towards you and work the following stitches into the back ‘bumps’.
3
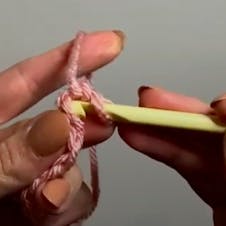
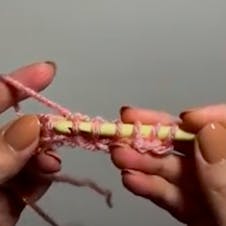
Insert hook through second ‘bump’ from hook, yarn over, pull through ‘bump’ to create a loop on your hook.
4
Continue in each ‘bump’ till end – you should now have as many loops on your hook as chains you made.
5

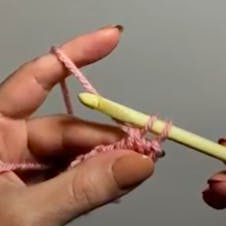
Yarn over and pull through ONE loop (the last loop on the hook).
6

Yarn over and pull through two loops.
7
Continue to yarn over and pull through two loops at a time till one loop remains on hook – foundation row completed (Note: the foundation row is always worked in this method unless instructed).
8

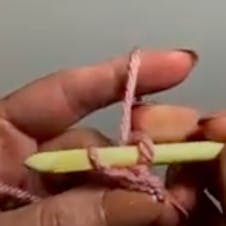
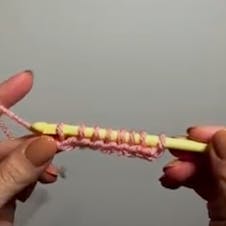
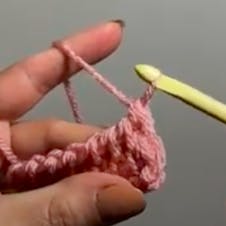
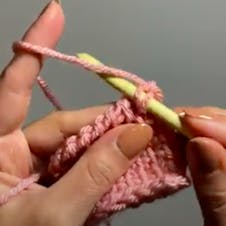
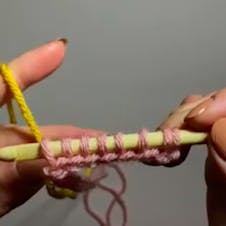
Working from right to left, insert hook under the vertical stitch bar keeping your hook on the front of the work i.e. not going through the back.
9
Yarn over and pull back under the vertical bar to create a new loop on your hook.
10
Repeat in each vertical bar across until one remains.
11
In the final stitch insert your hook between the three strands of the stitch from front to back – this creates a more robust ‘edge’ stitch.
12
Yarn over and pull back through to create your final loop on your hook.
13

Yarn over and pull through ONE loop.
14
Yarn over and pull through two loops.
15
Continue to yarn over and pull through two loops at a time till one loop remains on hook.
16
Repeat steps 8-15.
17
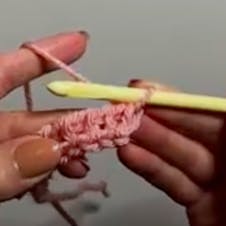
To bind off the top edge insert hook as per TSS, yarn over and pull through, pull the loop just made through the loop on the hook working it off the hook.
18
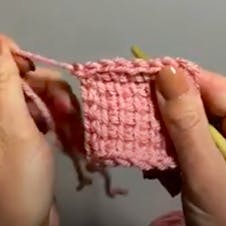
Repeat in each stitch across to complete your bind off.
How to Tunisian simple stitch – block stripes
1
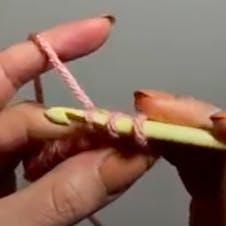
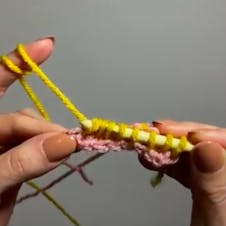
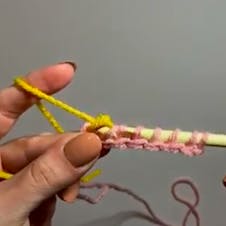
Work foundation in yarn A (pink) but omit last step of the return pass leaving TWO loops on the hook.
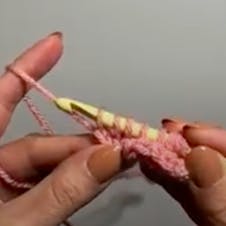
2
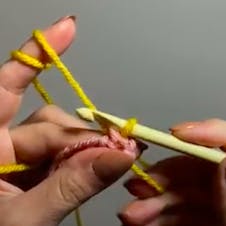
Pick up yarn B (yellow) behind the work and yarn over with this yarn, then pull through the two loops to complete the return pass – one loop on hook in new yarn.
3
Work each stitch on the forward pass.
4
Make the return pass, but omit the final step leaving two loops on the hook.
5
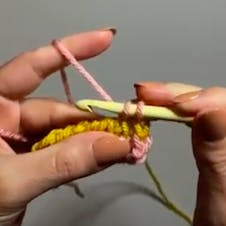
Pick up yarn A behind the work, yarn over and pull through two loops – one loop in yarn A now on hook.
6
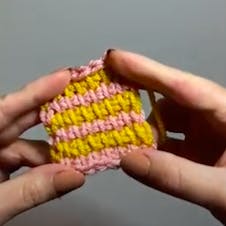
Repeat for each row only changing colour on the right hand side to finish each return pass before starting a new forward pass in the new colour.
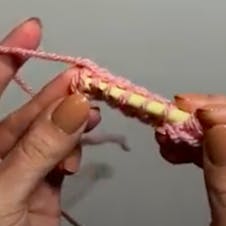
How to crochet Tunisian simple stitch – two tone stripes
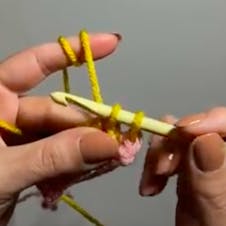
1
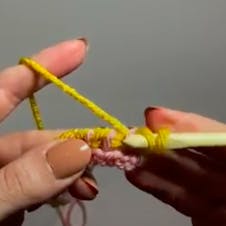
Work the forward pass of the foundation row in yarn A (pink).
2
Yarn over with Yarn B and complete the return pass.
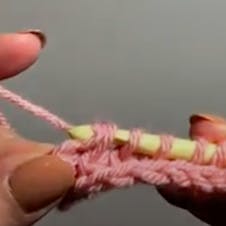
3
Work the forward pass with the same yarn.
4
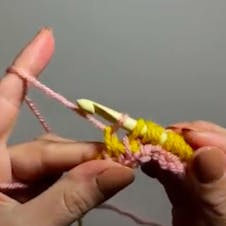
Yarn over with yarn A to complete the return.
5
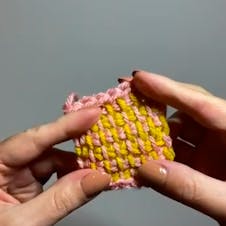
Repeat for each row only changing color on the left hand side to begin the return pass.