Knit with Alice: The Juno Jumper
Published on December 27, 2018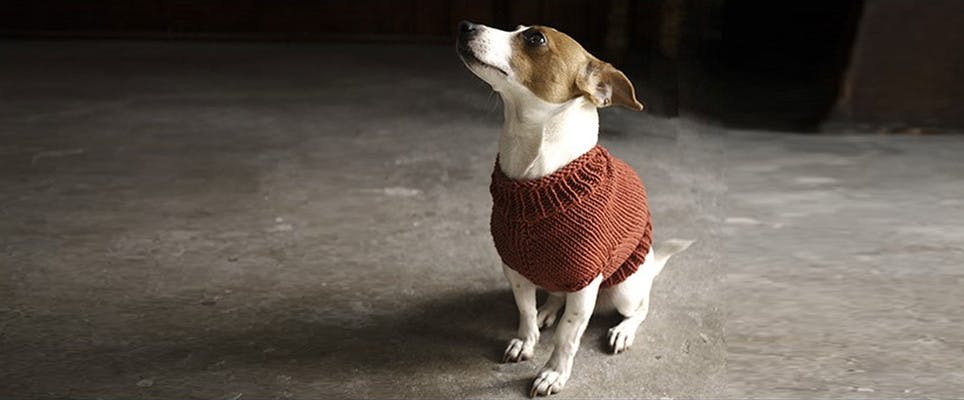
Who can resist a Jack Russell in a jumper? Meet Juno, canine fashionista, modelling the latest look for small dogs everywhere!
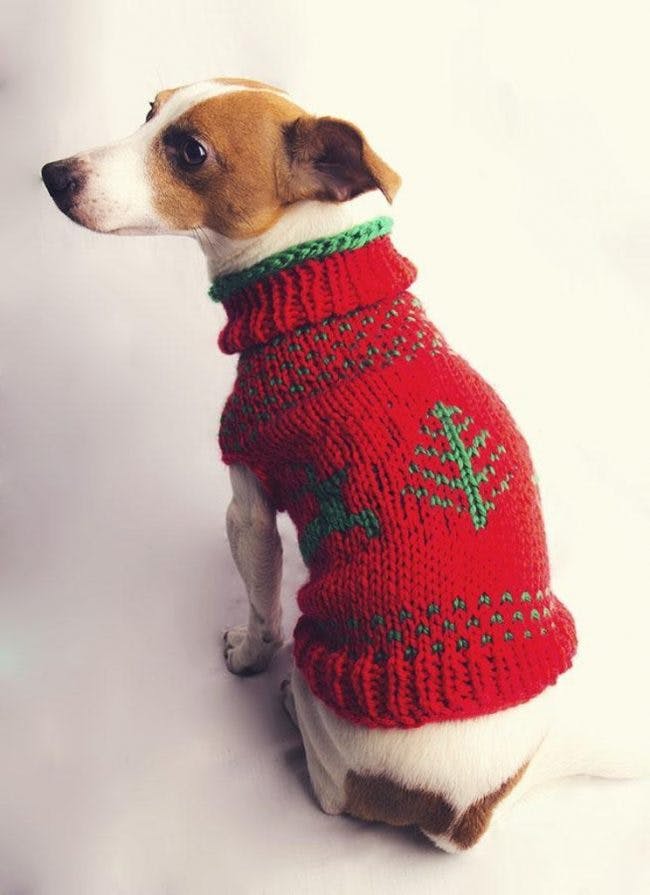
This is Juno, the cutest Jack Russell in the world, wearing a jumper knitted by her mum, Alice Neal, who blogs as Alice in Knittingland. We’ve long admired Alice’s style, so we were thrilled when she agreed to create some fabulous patterns for us! The first of these is the Juno Jumper, a classy little jumper for the four legged friend in your life.
This jumper is perfect for most small dogs – but for a size guide, Juno’s measurements are:
- 26cm around the neck
- 41cm around the chest
The jumper measures:
- 18 cm from the top of jumper to leg holes
- 40cm from top to bottom
Measuring your dog will give you an idea of whether you need to add rows to the neck/body, or stitches to the circumference, but this jumper will fit most small dogs. Debbie Bliss Rialto Chunky gives a guideline tension of 15 stitches for 10cm, which gives a good guide for working up or down, depending on the size of your canine companion.
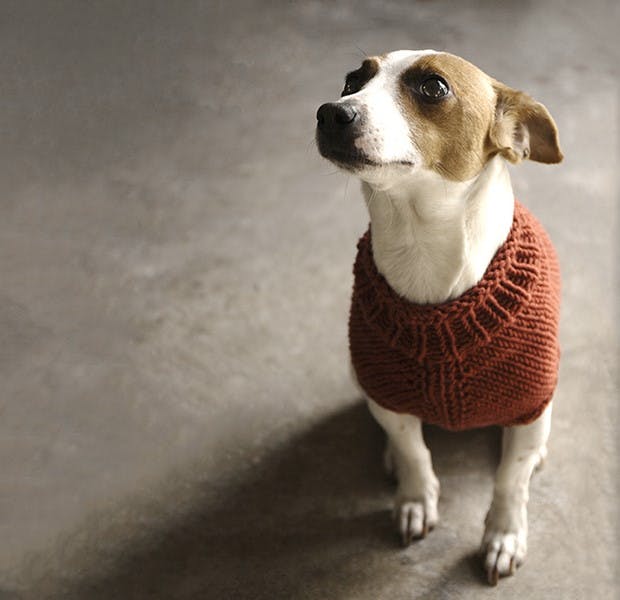
And here she is, Juno, in her gorgeous jumper! Don’t forget you can substitute with chunky weight yarn of your choice – take a look at our chunky yarn here!
Discover more Alice Neal dog knitting patterns
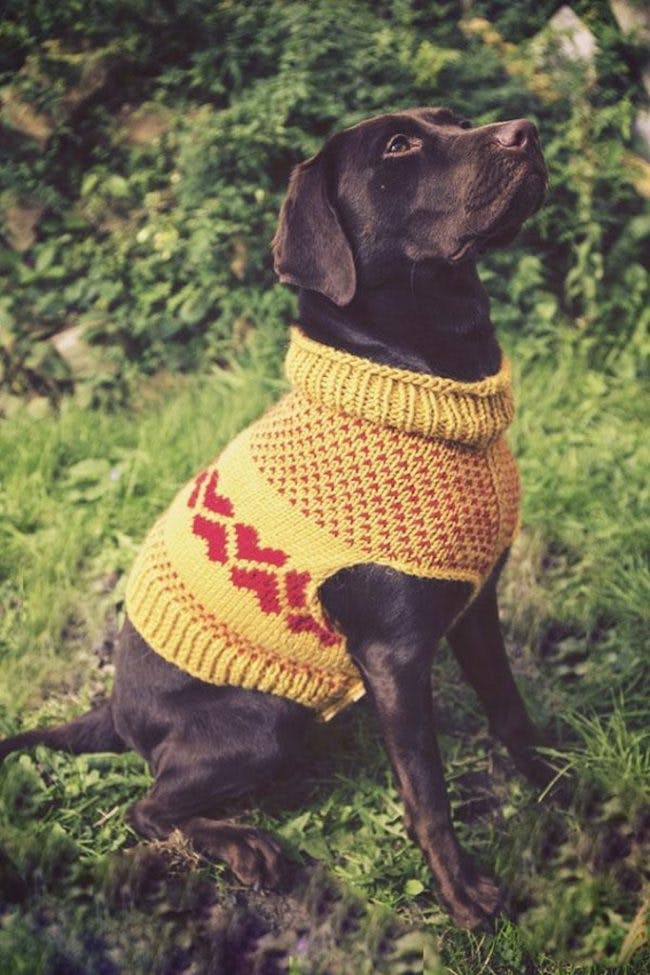
Alice has designed some other fabulous jumpers for Juno, and her labrador Aphrodite! The Lab Coat!
And not to be outdone, Juno had a new jumper designed – And Juno Too!
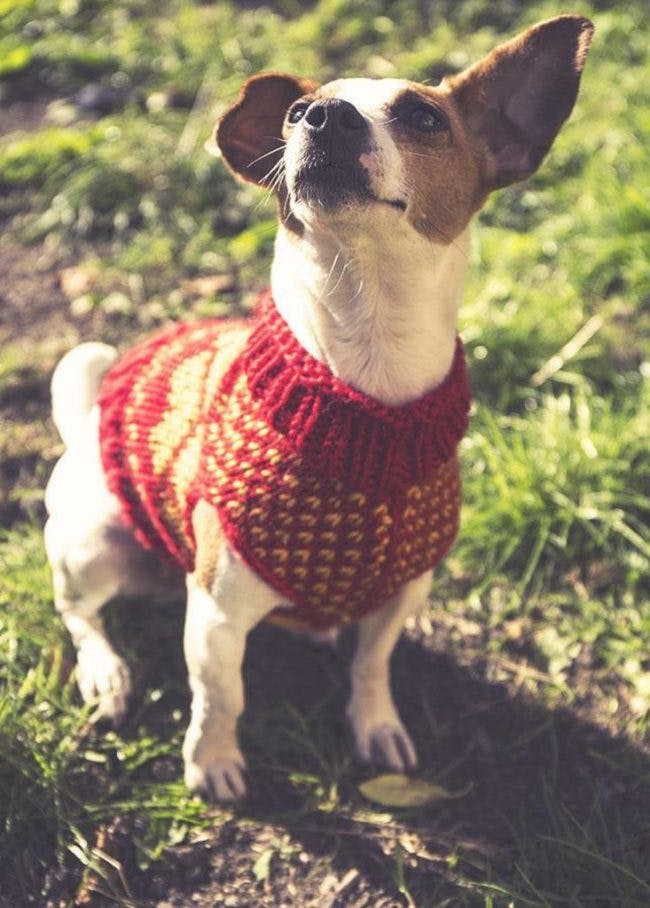
And the most stylish dog in the world also has a rather lovely Christmas jumper!
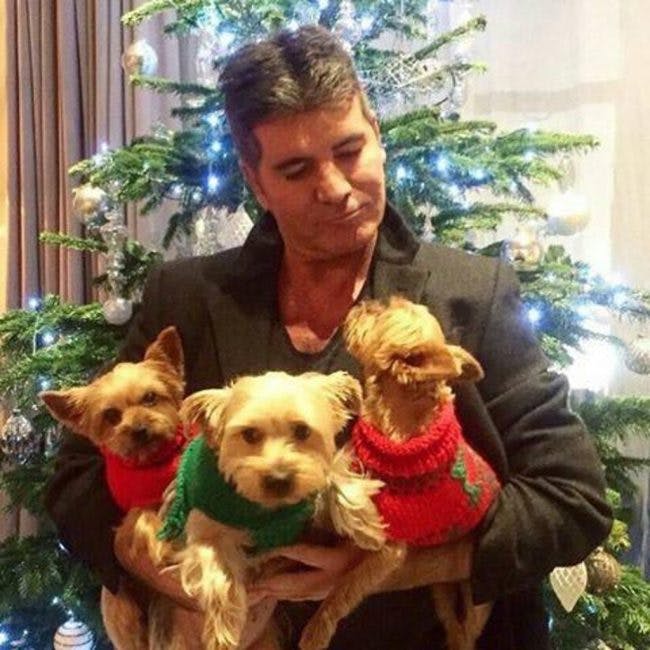
Juno’s jumper fame spread, and soon Alice was designing for celebrity Simon Cowell’s yorkshire terriers – The Yorkie Christmas Jumper!
1
Cast on. Cast on 40 stitches and knit 3 rows, being careful not to twist the stitches. This gives a nice little curl at the top of the neck ribbing.
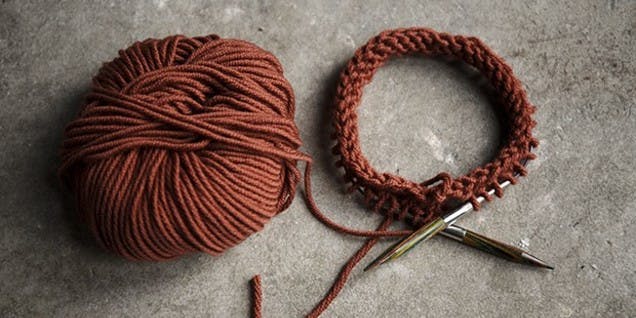
2
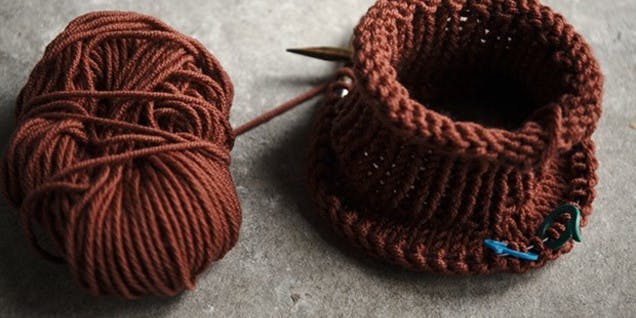
The rib. Knit 10 rows of knit 1 purl 1 (K1 P1) ribbing. Since this is in the round and there is no work turning, just knit the knit stitches and purl the purls.
Then place a marker (PM) either side of the second stitch in the row. There will always be only one stitch between these two markers for this next stage.
3
Make the increases. For the increases, use the following two-row repeat:
Row 1: make 1 stitch (M1) through the front and back loop of the stitch before the first marker and the stitch after the second marker. (You are therefore increasing two stitches per increase round.)
Row 2: knit around.
Repeat these rows 10 more times (11 in total) until you have increased to 62 stitches – 18cm from the start of the piece.
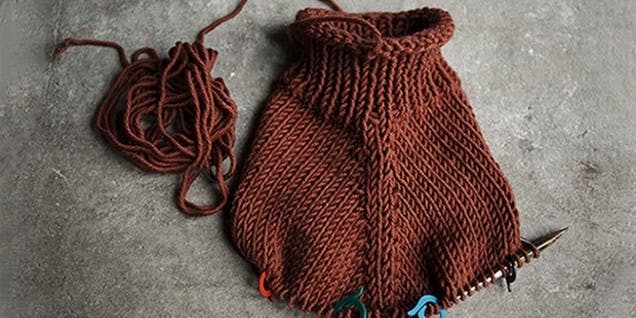
Now, remove the markers and PMs 5 stitches either side of the beginning of the row. Place another marker 10 stitches out either side of those. You will now have three 10-stitch groupings. The middle 10 stitches are for the chest, and the outer two are for each leg-hole.
4
Make the leg holes. From the beginning of the round, knit to the first marker from the centre (blue in this picture) and bind off the next 10 stitches (up to the black marker). Knit around the back of the jumper until you reach the third (red) marker and bind off the next 10 stitches until you reach the fourth (green) marker.
Knit to the first (blue) marker and remove all the markers.
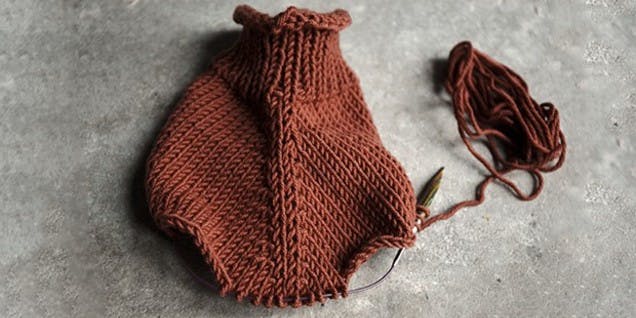
Using your preferred cast on method, cast on 10 stitches and then pick up and continue knitting around the back of the jumper until the next bind-off hole begins. Cast on 10 stitches and then continue to knit around.
5
The body. Knit 10 rows for the body – you can add or subtract a few rows here, depending on the length of your dog.
6
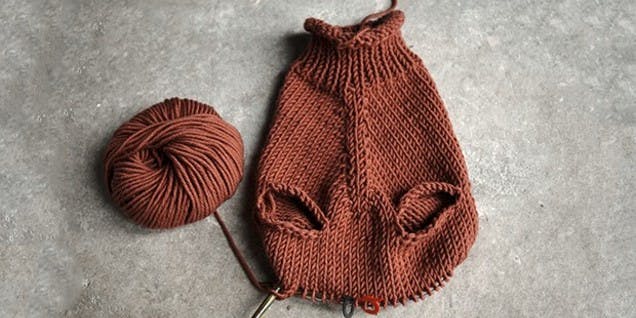
Begin decreases. PM either side of the first stitch in the row (as above). You now have a two-row repeat for the decreases:
Row 1: k2tog either side of the markers.
Row 2: knit.
Repeat 4 times (5 in total) until you have 52 stitches left on the needles.
7
Ribbing. K1P1 rib for 10 rows and bind off all stitches.
Materials
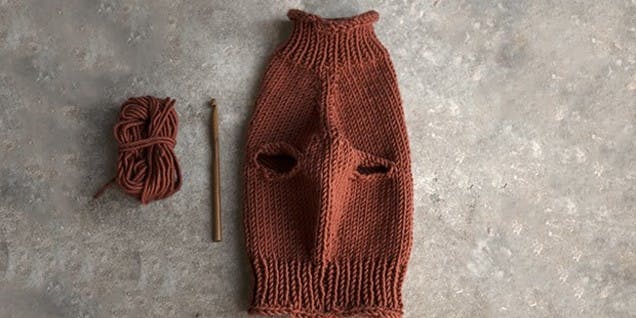
- 100g Debbie Bliss Rialto Chunky in your chosen hue. These pictures show it in Rust.
- 6.5mm circular needle
- 4 stitch markers
- 6mm or 7mm crochet hook (optional).
- Tapestry needle for weaving in ends.