Hanging heart decorations - free tutorial!
Published on January 24, 2020 By Holly Butteriss 1 min read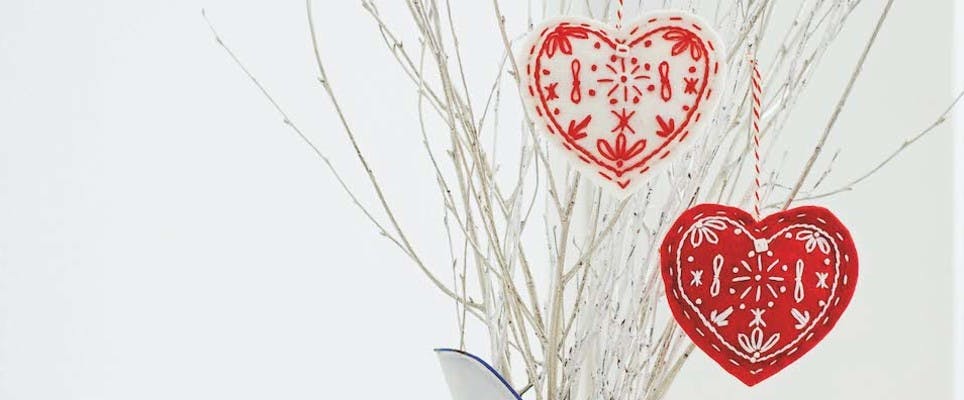
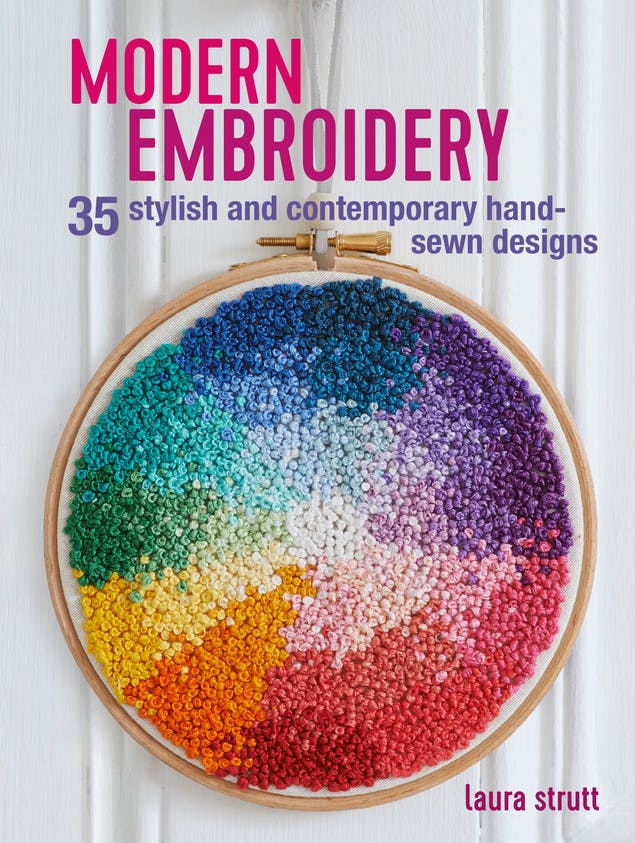
We absolutely love these sweet little hanging heart decorations from Laura Strutt's Modern Embroidery. This handy step-by-step tutorial will have your heart jumping for joy! So, grab a needle and some thread, and ready, set, sew!
Inspired by traditional folk-style embroidery, these hanging heart decorations make use of the bold contrast of red and white. Create your own to add a handmade touch to holiday celebrations or even wedding parties.
Materials
- Red felt, two 10-in. (25-cm) squares
- White felt, two 10-in. (25-cm) squares
- Anchor 6 Strand Embroidery Floss
- Embroidery flosses (thread)—one skein of each, all six strands used—in the following shades: Anchor 2 (White) Anchor 46 (Bright Red)
- Toy stuffing
- Cord for hanging loops, 20 in. (50 cm), (makes two loops)
- White button, 2 in. (25 mm) in diameter
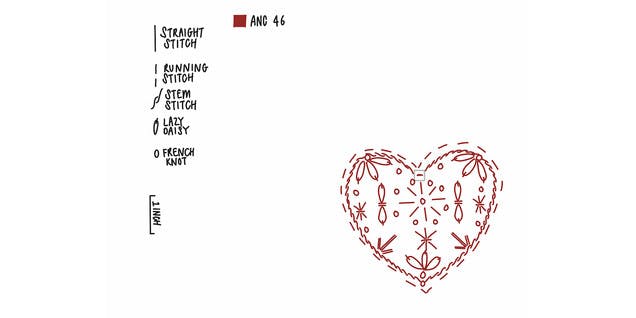
- Motif and stitch guide
- Fabric and embroidery scissors
- Embroidery hoop, 6 in. (15 cm)
- Embroidery needle
- Thread conditioner (optional)
- Pins
Finished Measurements: Each decoration is approx. 4½ x 4 in. (12 x 10 cm)
Embroidery Stitches Used
French knots
Lazy daisy stitch
Running stitch
Stem stitch
Straight stitch
1
Set aside one piece of felt in each color. Secure one of the remaining pieces of felt in turn in the embroidery hoop to create a neat, taut stitching surface. Transfer the heart motif centrally onto the felt. Following the stitch guide, work the design in the corresponding color and stitches—white floss (thread) on red felt or vice versa. Do not sew the running stitch outline yet.
2

Remove the work from the hoop. Place the stitching right side up on the remaining piece of felt in the same color and pin the layers together.
Pro Tip
You can work the embroidered panel twice for each decoration to make them double sided—be sure to align them neatly before you sew them up.
3
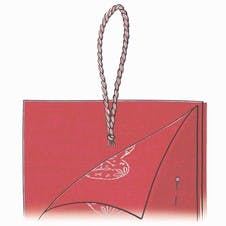
Cut the cord in half, then fold one length in half to make a loop. Tie the loose ends in a small knot, then slip the knotted ends between the two layers of felt at the center top of the heart, so that the cord is sandwiched inside.
4
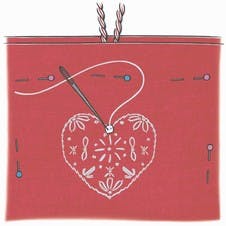
Place the decorative button on top and secure in place with a few stitches, stitching through both layers of felt and the cord.
Pro Tip
Add the stuffing slowly and evenly to ensure the finished decoration has a smooth, even surface. You can add in some dried lavender if you want to give the decorations added fragrance.
5
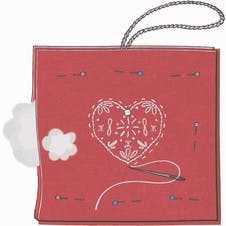
Work a line of running stitch around the outer edge of the stitched heart motif to secure the embroidered front to the plain back of the decoration. Once two-thirds of the seam is complete, begin to fill the heart with toy stuffing, continuing until the decoration is lightly padded. Complete the seam and knot discretely to finish.
6
Using fabric scissors, carefully cut around the outline of the heart, about ¼ in. (6mm) beyond the running stitches.
7
Make the second heart decoration in the same way, using the opposite colorway.
Sew now what? Buy Modern Embroidery from MAKEetc.com for $16.77 + postage.
Photography by James Gardiner CICO Books.
