Easy paper flowers tutorial for kids
Published on March 12, 2021 By Sophie BrownWe love any project that involves a bit of randomness and surprise, and making paper flowers is one of those projects! This lovely painted collage project gives you and the kids the opportunity to relax and enjoy the process of making, rather than focussing on being neat and tidy. Here, we show you how to make paper flowers for kids easy.
You will need:
- A selection of paints. Watercolor, poster or acrylic work well
- Paint palette (an piece of thick cardboard will do!)
- Jar of water
- Variety of paintbrushes
- Colored pencils
- White paper
- Scissors
- Glue
- Wooden stirrers (the kind you get from a coffee shop)
- Cardboard from a packing box
- Paper and aprons to protect surfaces
Kids DIY papercraft supplies
How to make paper flowers step-by-step
1
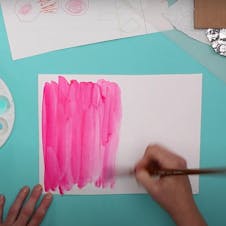
Paint A4 sheets of paper in various colors. Don’t worry about covering the paper in a solid color, just use a medium to large brush and go for it! Make the paint slightly runny by adding a little water so it covers the paper nicely. Experiment with adding water to the paper before you add the paint and vice versa. Leave to dry.
2
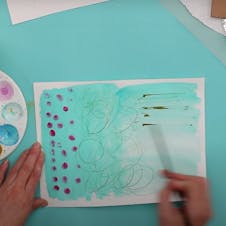
When the paint is dry, create patterns over the papers in different colored paints and colored pencils. Draw lines, spots and squiggles, grids, scribbles and zigzags. Splatter paint, use different paintbrushes and your fingers – get messy! Allow to dry.
3
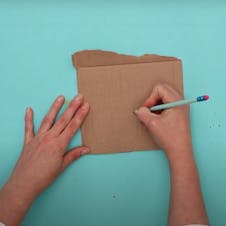
Decide what you want to make from the papers. Flowers are a good place to start. You could draw some sketches of the types of blooms you want or just get cutting. If you are not confident to begin with you can always draw the flower shapes on the back of the paper first.
4
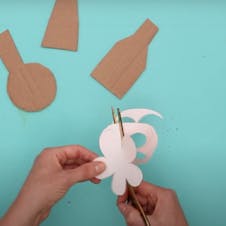
Cut out the shapes. When cutting more intricate shapes it is often easier to hold your scissors in one place and move the paper around between the blades.
5
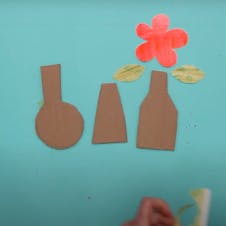
When you have cut out your blooms, stalks and leaves, cut out some vases from the cardboard.
6
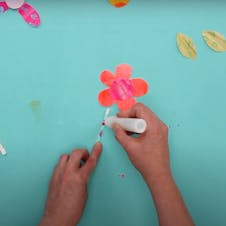
Construct your flowers by gluing the stems to the wooden stirrers to give them strength. Add the leaves. Insert the stalk of the flowers in between the corrugated segments of the cardboard vase (or just glue to the back). If you don’t want free-standing ornaments, then glue directly to thin card or papers.


