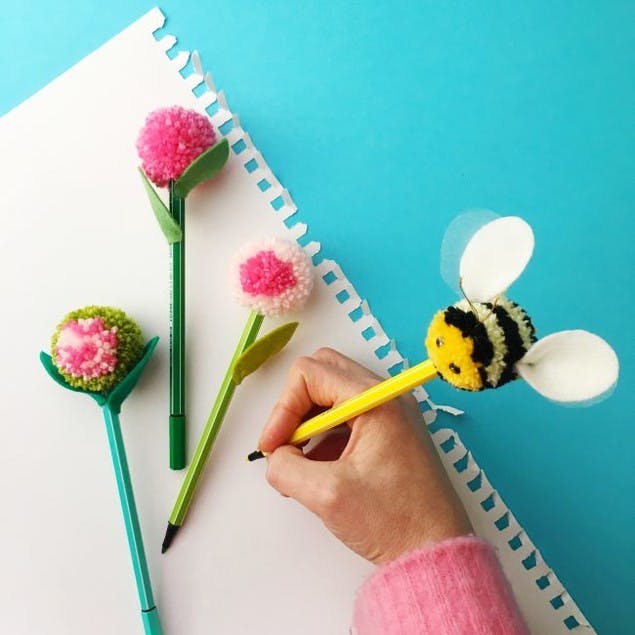
How to make pomble bees
Published on April 24, 2019 By Christine Leech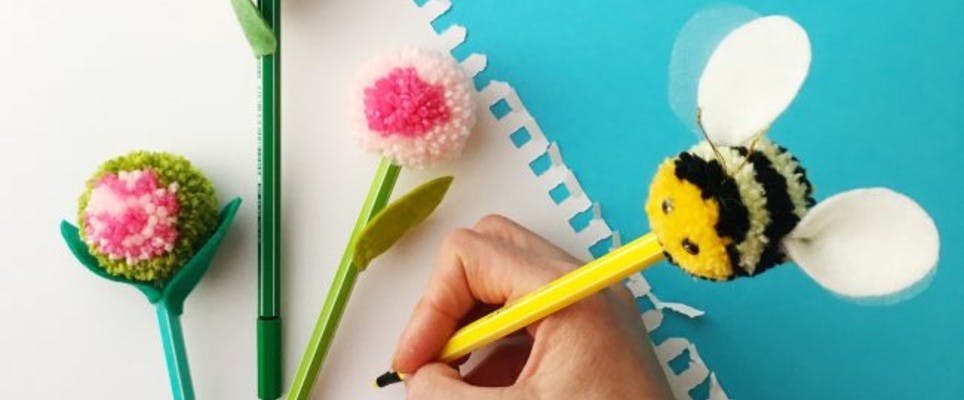
Christine Leech has been a busy bee creating this free tutorial to show you how to make your own hive of 'Pomble' bees!
Materials
- Pom-Pom Maker (Small)
- Paintbox Yarns Simply DK
- 1 ball each in shades Daffodil Yellow, Pure Black and Banana Cream
- White felt and gauze
- Glue gun
- Gold embroidery thread
- Small black beads or sequins
- Pins and scissors
Earlier this week I had a desperate phone call for a friend asking for 25 pompom Bumble bees (henceforth known as Pomble Bees) by the next day. Always one to rise to a challenge I quickly worked out how best to make these cheerful buzzy little chaps. I was so pleased with the outcome I thought I’d share the project with you guys here.
Making the body
1
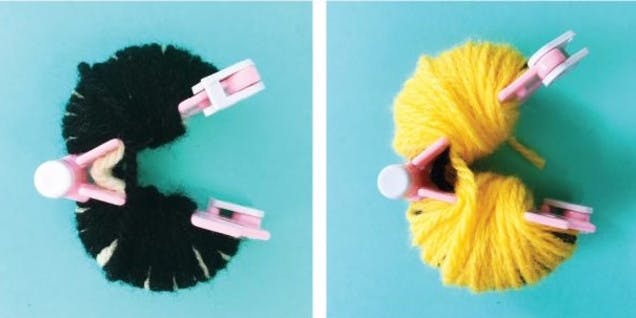
Begin by carefully wrapping the Pure Black yarn 20 times on each half of your maker. (That’s 20 wraps on one half and then 20 wraps on the other. 40 in total!)
Next wrap 40 wraps of Banana Cream over the Pure Black again try and keep the wraps nice and even. (80 wraps in total)

Pro Tip
Try and make sure the wraps lie adjacent to each other.
2
Then 30 wraps of Pure Black. (60 in total)
Finish with 40 wraps of Daffodil Yellow or as many as you can do whilst still being able to squeeze the maker shut!
3
Close the makers, cut through the yarn then wrap a 20cm length of yarn through the middle of the two makers.
Tie a tight single knot and then wind the yarn back around the makers and tie a tight double knot to secure the pom.
4
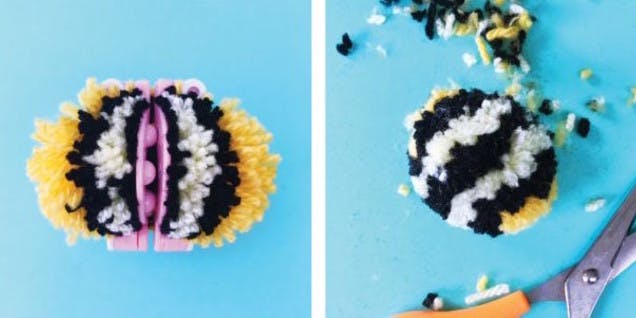
Remove the makers and give the pom a shake.
Trim the pompom into more of a bee shape – a bit more oval than round with the two bright yellow ends as his face and bottom.
Making the wings
1
Cut two wing shapes from the felt and two from the gauze.
Place one gauze wing on top of one felt wing and place a little blob of glue at the base of the wing. Pinch together between your forefinger and thumb to shape.
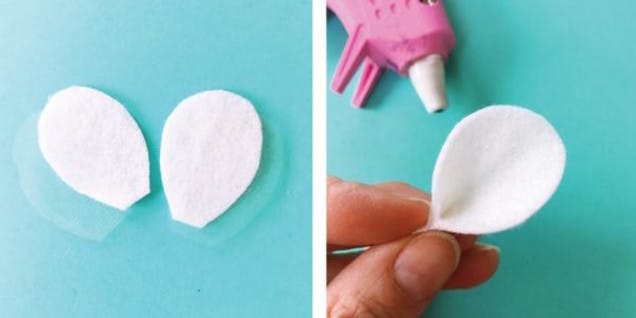
2
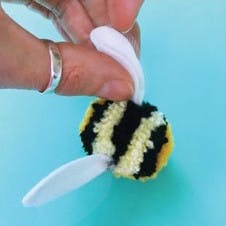
Make a small parting in the wool strands on one side of the bee’s body, add a little blob of glue to the base of the wing and insert in this hole. You can use the tips of your scissors to hold the wing in place while the glue dries.
Repeat with the second wing.
Making the eyes
Take two pins and two black sequins.
Place the pins through the holes in the sequins then insert them into the bee’s face.
Alternatively, you can simply glue the sequins in place.
Making the antenna
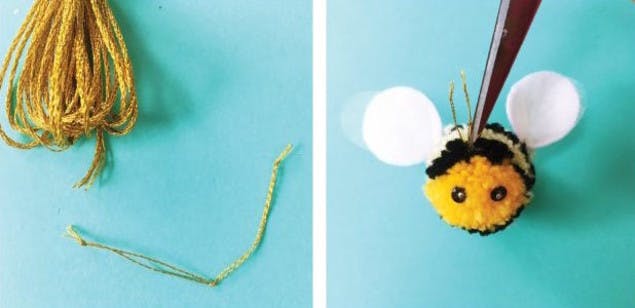
Tie a couple of strands of embroidery floss together.
Tie a knot 3cm down and then another knot 3 cm further again.
Trim both ends.
Bend the antenna at the middle knot and add a tiny dab of glue there.
Insert the antenna into the bee body just above his eyes. Use the scissor tips again to hold in place.
Something a little extra
If you want to make some flower pens like I have here, then all you need to do is make a selection of small multi colored pompoms and glue them to the tops of your favorite pencils and pens.
Cut leaves from felt and glue them to the pen ‘stalks’!
