Cute and quick quilted Christmas tree tutorial!
Published on December 12, 2019 By Holly Butteriss 1 min read
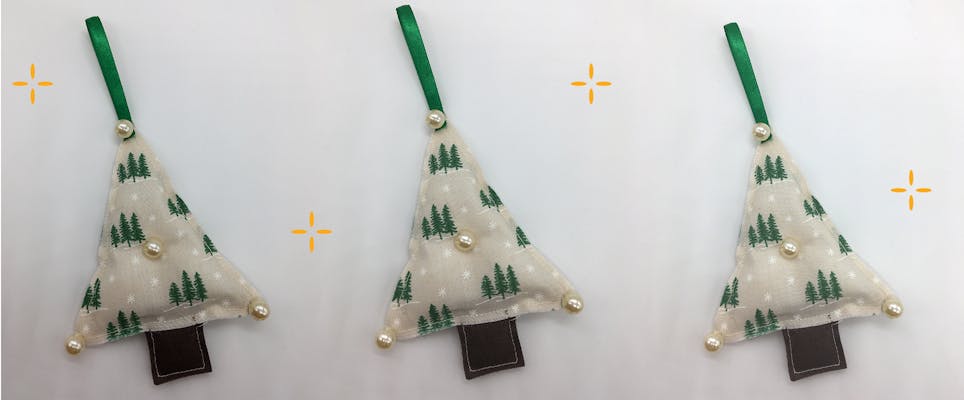
The lovely Natalie of @nattiesbakesandbites is not only a wonderful baker, but also fantastic quilter! If you fancy a quick Christmas project then we've got just the thing for you! This simple (yet stylish!) quilted Christmas tree is the perfect Sunday afternoon craft that will make your home feel a little more festive.
Materials
- Colored/patterned material for tree
- Moda Fabrics Holiday Lodge 10in Squares
- Brown material for tree trunk 1” by 11/2”
- Riley Blake Neutral Confetti Cottons Fat Quarter Bundle
- Beads
- Padding
- 6” long ¼“ width ribbon for hanging
- Thread to sew
This tutorial uses imperial inches.
How to make your tree!
1
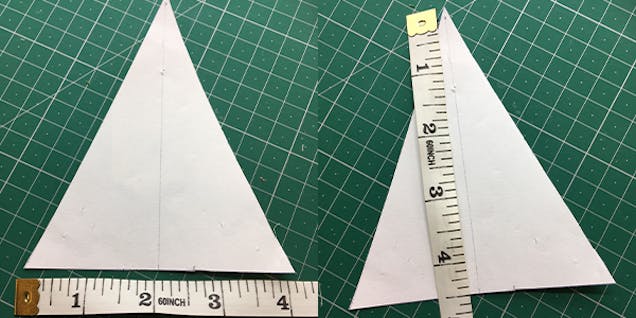
Draw a triangle on a piece of paper which is 4” / 10 cm wide and 4.5” / 12 cm high to use as template.

2

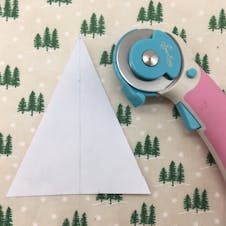
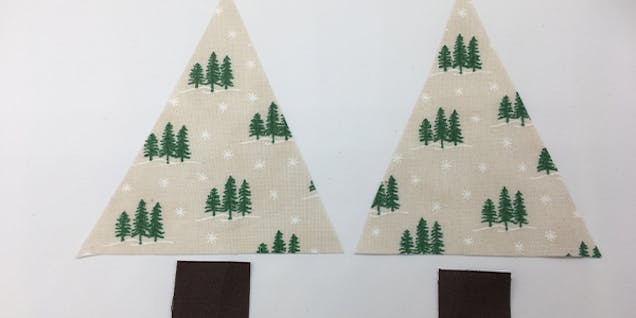
Use the template you made in step one to cut out two triangles of your main tree material. If you are using a patterned material, take care to cut it the right way up.
3
Cut the tree trunk out of the brown material of 1” by 1.5” (2.5 x 4.0 cm)

4
Pin together the wrong sides of the two triangle pieces. Folding the ribbon in half tuck and pin into the top of the triangle. Sew along both of the long sides ¼ inch or ½ cm from the edge, leaving the bottom open.
5
Fill the triangle with a small amount of padding, pin the “trunk” piece in centrally at the bottom of the triangle then sew closed, ensuring you sew around the trunk as well.
6
Sew on beads at each corner of the triangle, along with one in the center, pulling tight to highlight the padding. And there you have it! One adorable Christmas tree.


