Summer CAL: Seaming up
Published on April 29, 2019 By Merion 3 min read
We’ve come to the end of our glorious Summer CAL! Now all that’s left to do is put it together. Follow Amanda Perkins' instructions and tips for joining each layout.
Whether you’re still working on your motifs, or you’ve finished, we hope you’re enjoying the radiant colors of our Summer CAL! Let’s have another look at the three layouts for the CAL:
Layout 1
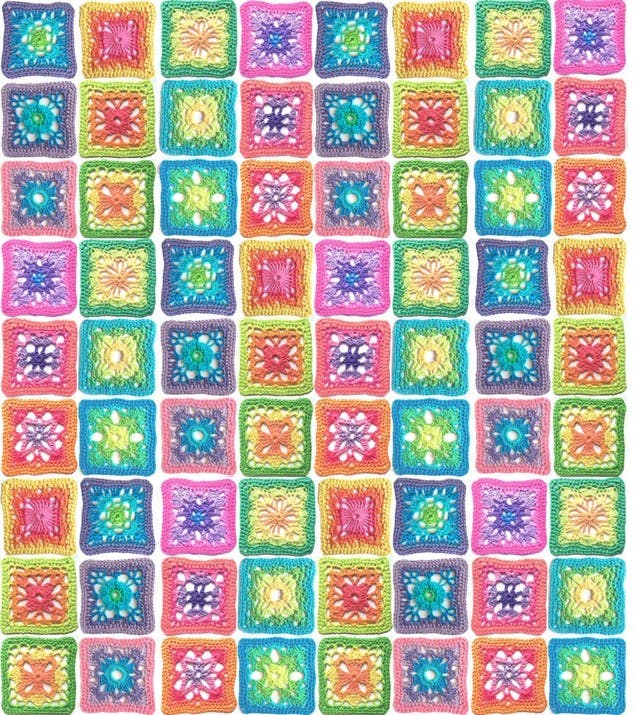
There are 3 sizes for this layout:
Small – (36×36″ square)
Medium - (54×54″ square)
Large - (66×66" square)
Layout 2
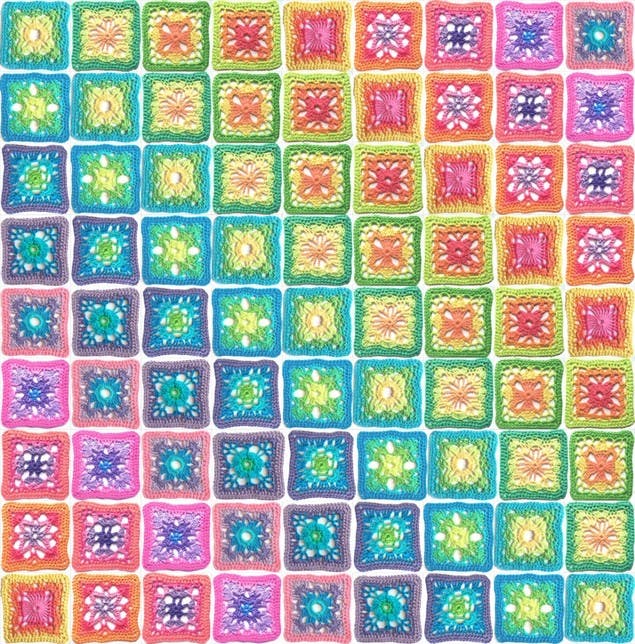
(48x48" square)
Layout 3
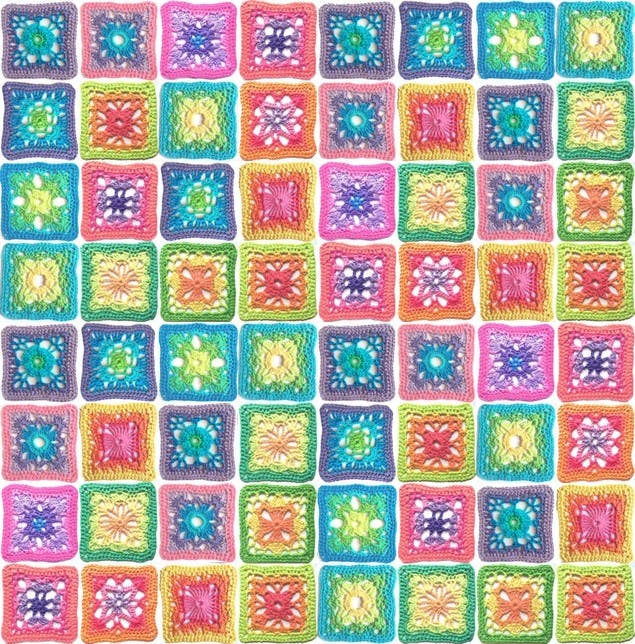
(48x54" rectangle)
Joining the motifs
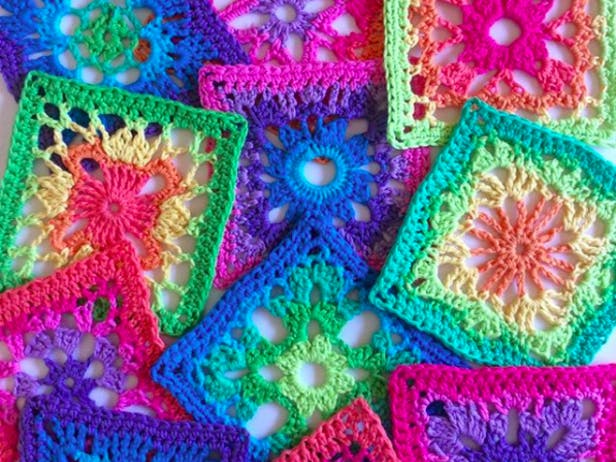
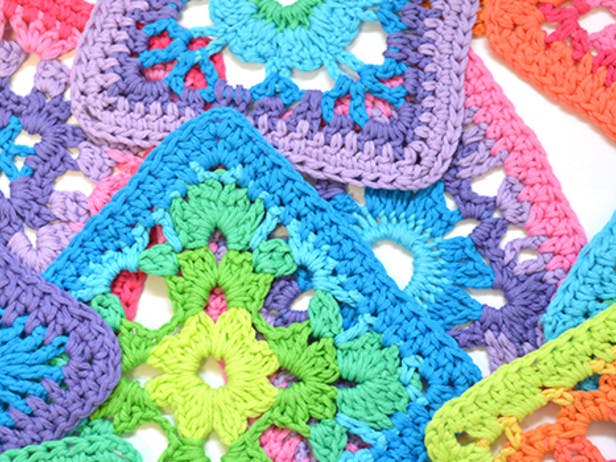
The Summer CAL project was designed without a border for the squares, which means that the motifs should be joined to each other to enable the colors to flow from square to square. Use one of the last round colors from one of the squares to join one to another.
If you would like to add a border to each motif, Amanda would recommend using white to bring the colors out to their fullest radiance. You could also choose one of the shades from your CAL yarns and create a border of your choice.
Sewing in ends
Try not to leave sewing your ends in until the end of making your blanket or you will end up spending days and days sewing in ends! Amanda prefers to sew in all her ends, as it also firms up the motifs and seams.
To ensure the ends don’t pop out, sew the end from the back under the stitches in one direction, then turn the needle round and sew back through the stitches you have just sewn. This may leave a little bump but it will smooth out and become unnoticeable when the blanket is washed.
Outer-edge border
The Color Wheel Project blanket does not have an outer border because Amanda’s design encompasses seeing the colors together at the edge of the blanket.
If you do choose to add a border, choose one of the shades used in the blanket (if you have already added a border to each motif, use the same color for the outer border).
Blocking
You can block your motifs as you go - this will straighten up the edges and make them easier to join. Amanda recommends washing the blanket when finished, to neaten the stitches and help them lay neatly.
Wet the whole blanket in the sink or bath, and then use your washing machine on a short spin setting. (This is fine for Paintbox Yarns Cotton DK, but you may want to use your normal blocking methods if you have chosen a different yarn, for example, for acrylic yarn).
For yarns that will not tolerate spinning, spray with water until wet, and roll in towels to absorb as much water as possible.
Lay the blanket flat to dry.
